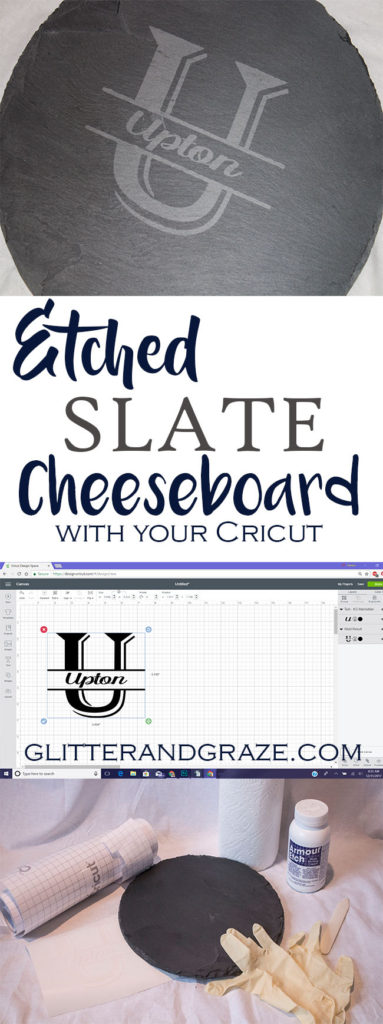
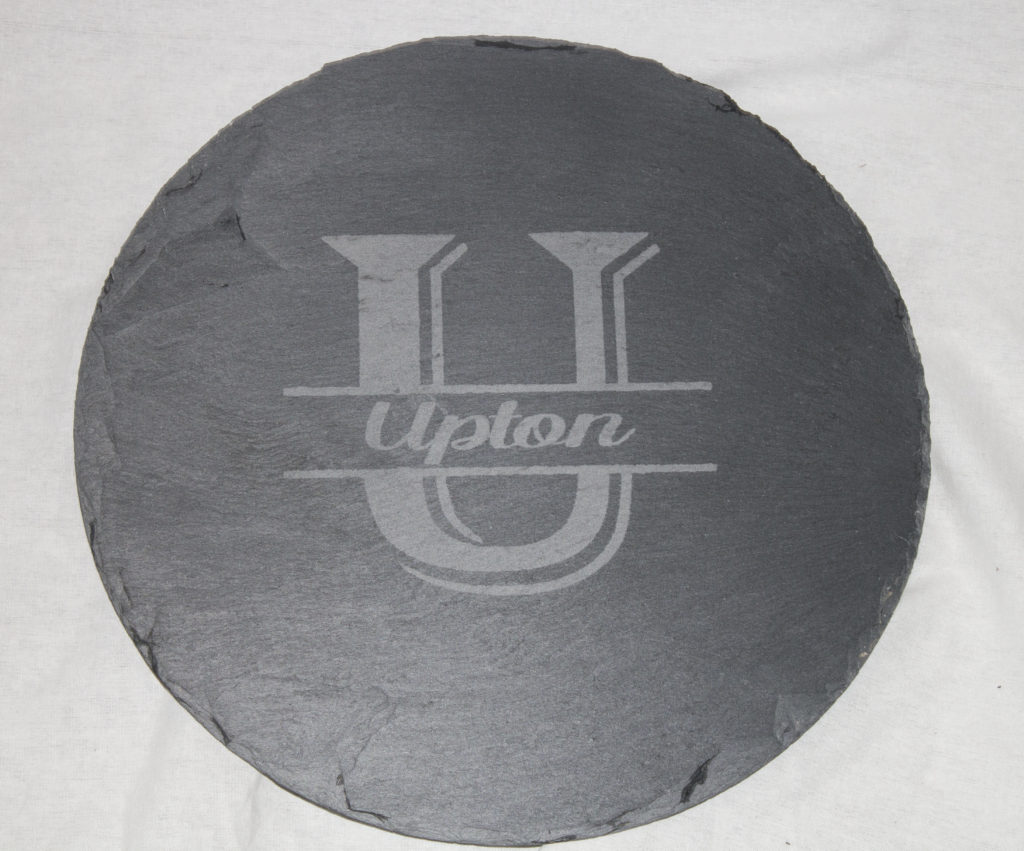
Etched Slate Cheeseboard
Create a one of a kind gift with this
etched slate cheeseboard with the
help of your Cricut. In no time you
will have a personalized gift that
will be cherished for years.
Disclaimer: Please note that some of the links below are affiliate links in which I will receive a commission
if you purchase those items through that link. I used and recommend all the products below because I have
found the company and products are reliable and are my personal preference.
I’m one of those people that love making personalized gifts. Even with a 2 month old in the house this past Christmas, I still made most of the gifts I gave. People love it when they know you made it yourself. I won the best gift this past year a couple times over. Plus making stuff yourself you save money rather than paying someone else to do it.
Etching makes any plan ole thing turn into something beautiful. Etching glass I have done a handful of times. It’s not as easy as some other projects, but if you do it right it turns out beautiful. When I mess up with etching it’s always because I get etching cream on areas I don’t want etched. I can’t stress enough watch your etching cream. One little dot can mess up a whole project.
So we all know you can etch glass with etching cream, but what about slate? Slate has become pretty popular. Those slate cheeseboard are so much fun because you can use chalk and write down what type of cheese is on your board. So why not personalize the middle of the board that won’t wash off. That’s where the etching cream comes in.
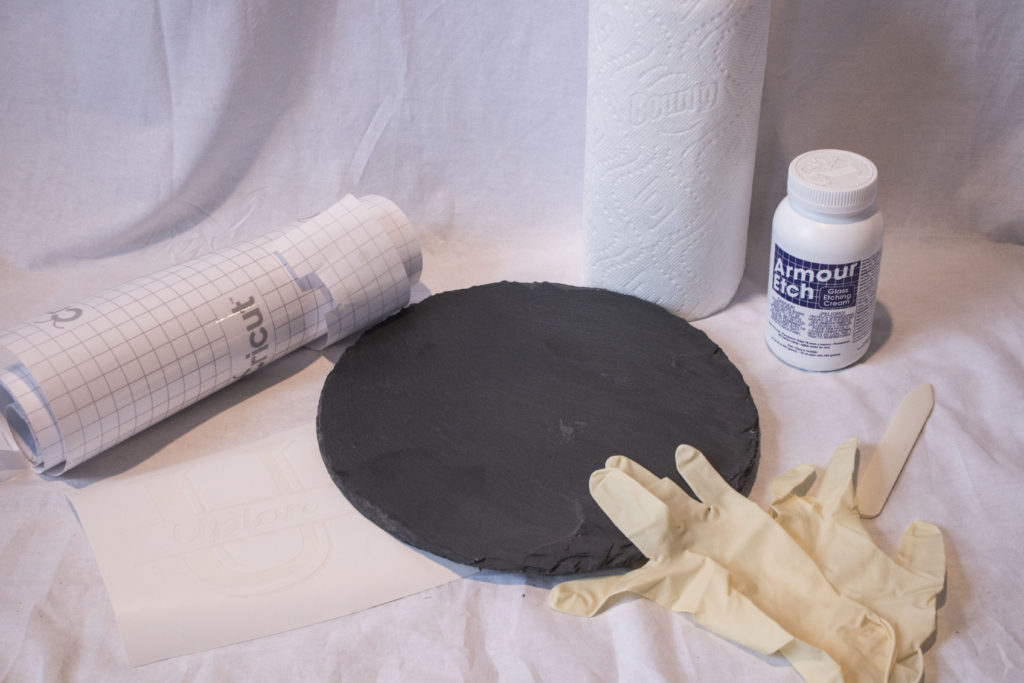
The items you will need are:
- Slate cheeseboard or piece of slate
- A personalized stencil (made mine with my Cricut)
- Etching Cream
- Transfer tape
- Gloves
- Paper towels
- So sort of tool to spread your etching cream
- Hairdryer
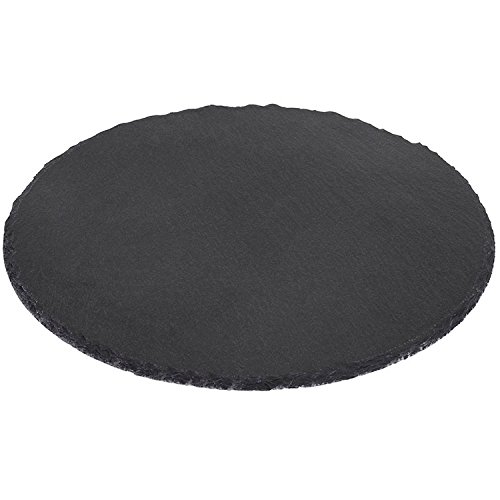
I ordered this Slate Lazy Susan Cheese Board – 11.8″ off of amazon for about $15. I really like the idea you can spin the board around. You can use any board just make sure it is actual slate.
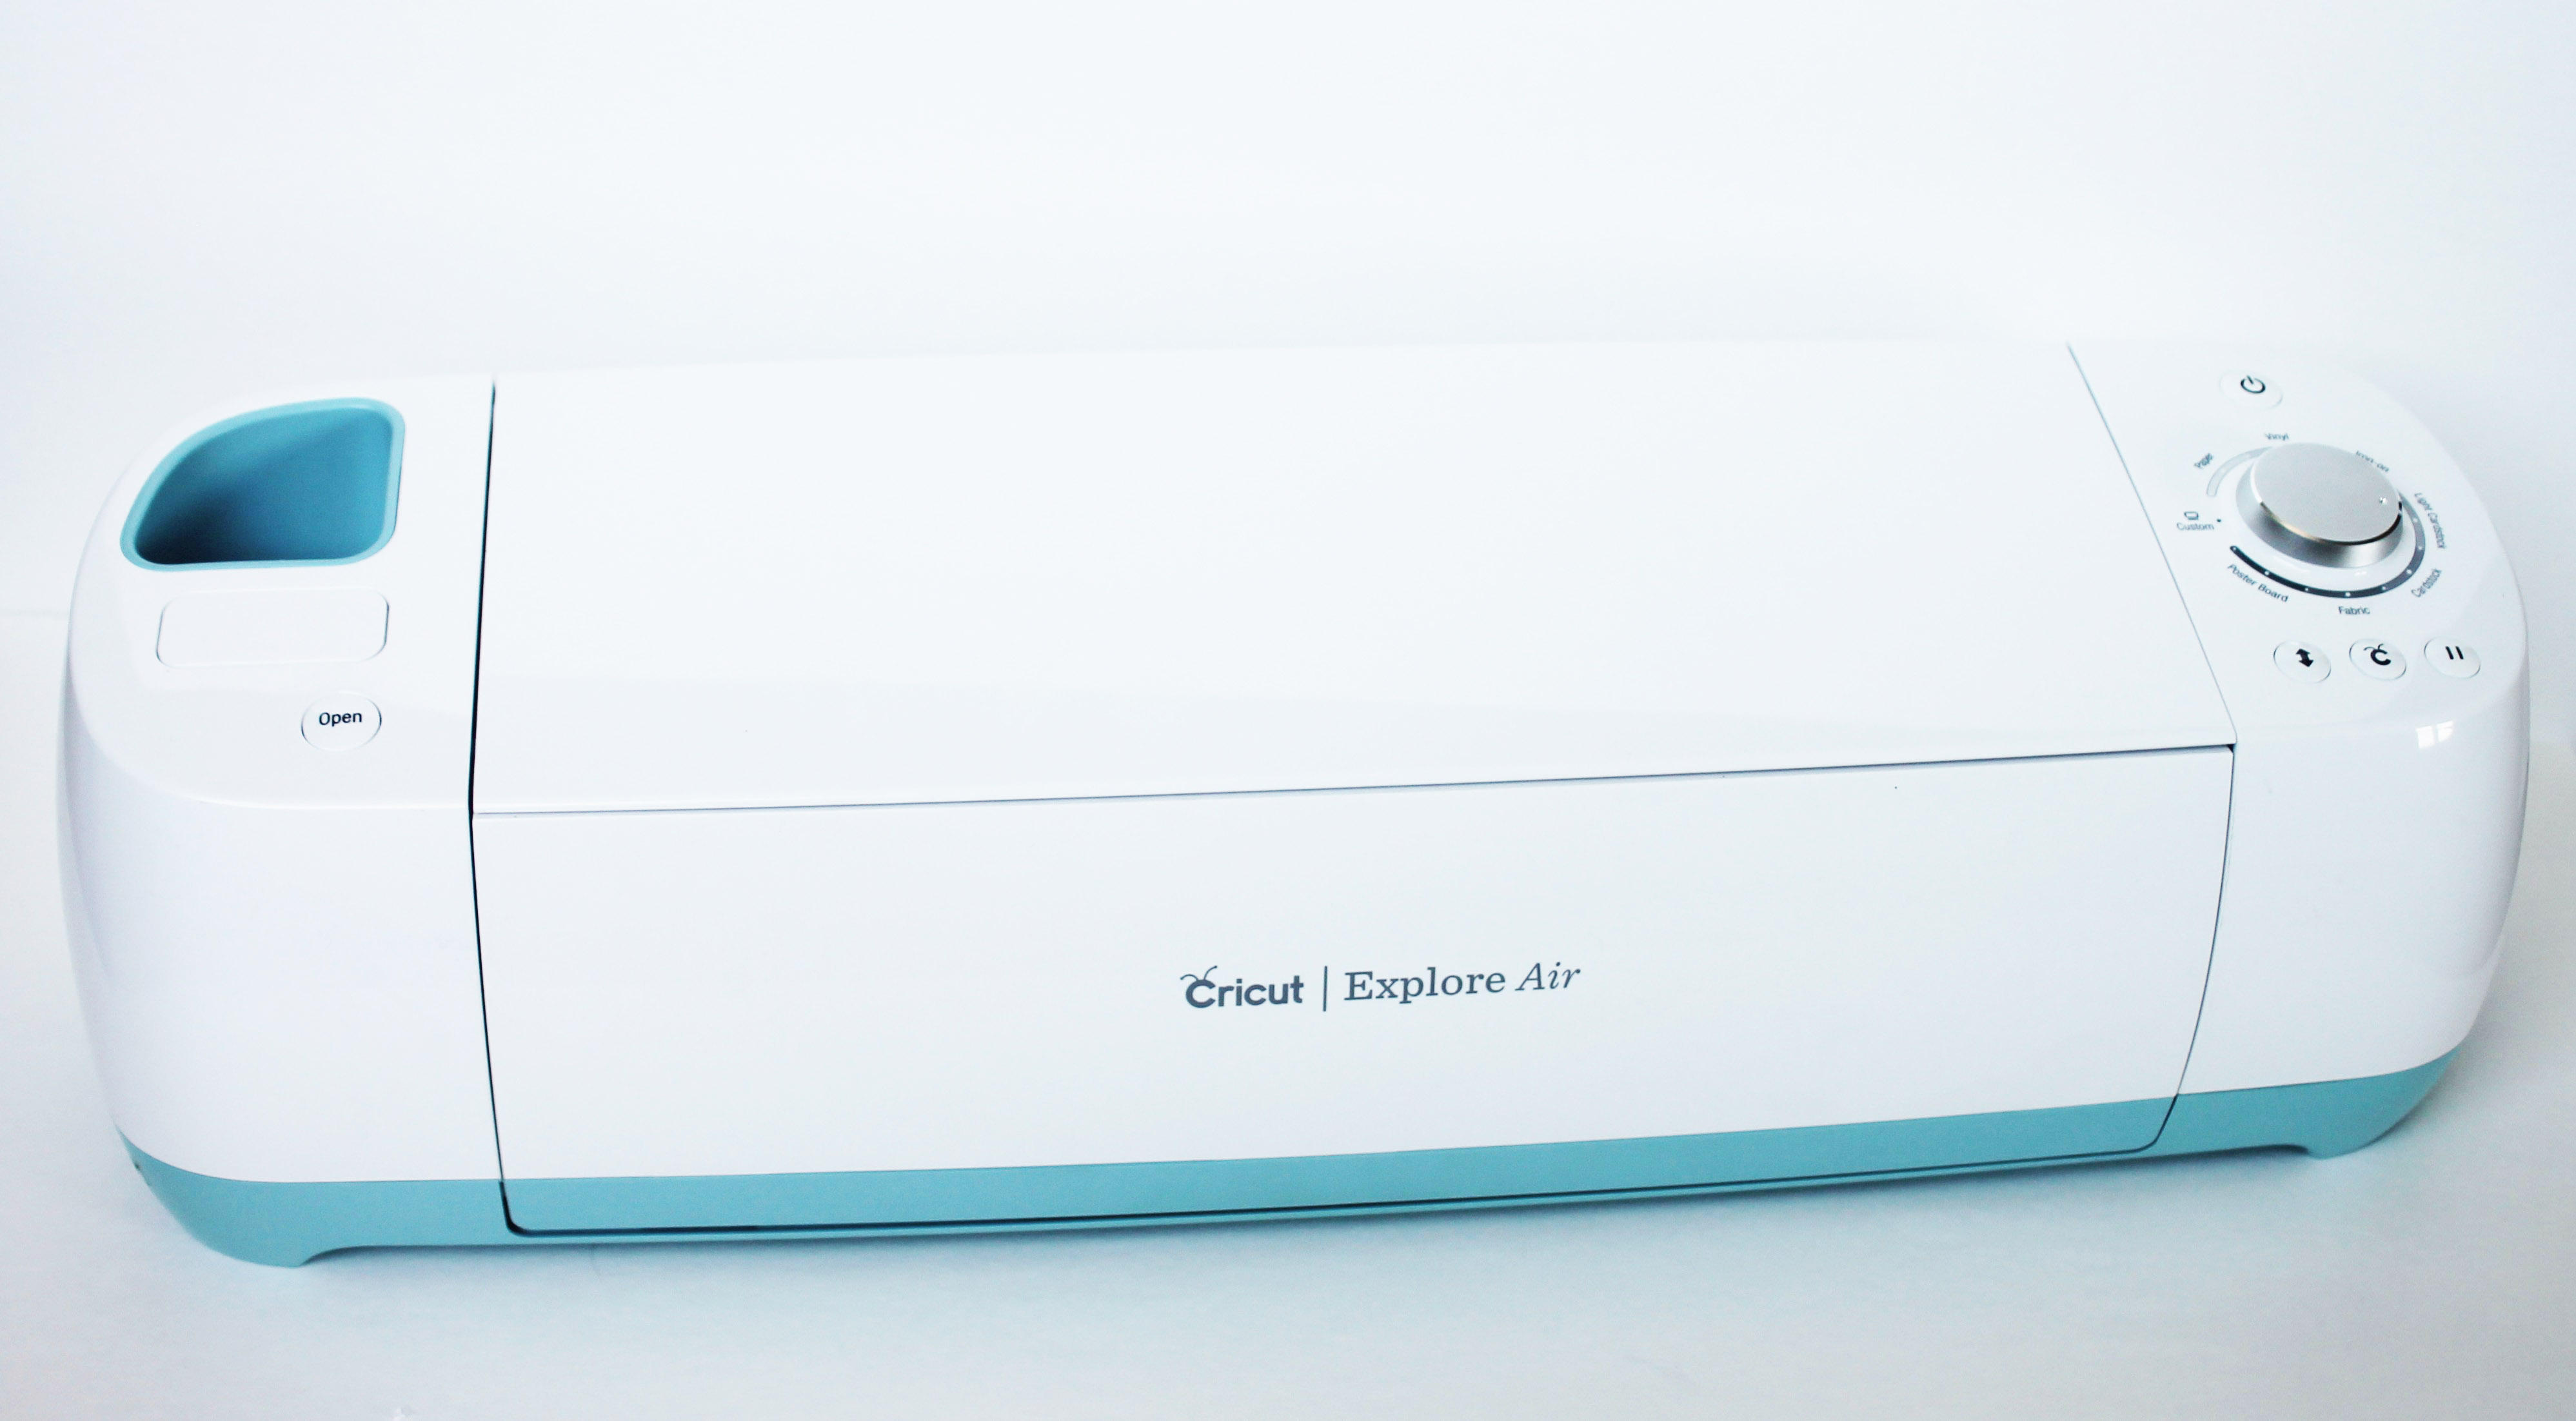
You will need a a stencil for this project. That’s where my Cricut comes in handy. If you don’t have one and you are a DIY person you are really missing out. I originally started with the Cricut explore and sold that and got the Cricut air2 when it came out. Then this past Christmas I got the Cricut maker. Now I’m just waiting on the new blade to come out this year that cuts even thicker materials. I’m most excited about cutting wood. The Cricut maker is all about cutting fabric patterns that you take and sew projects together.
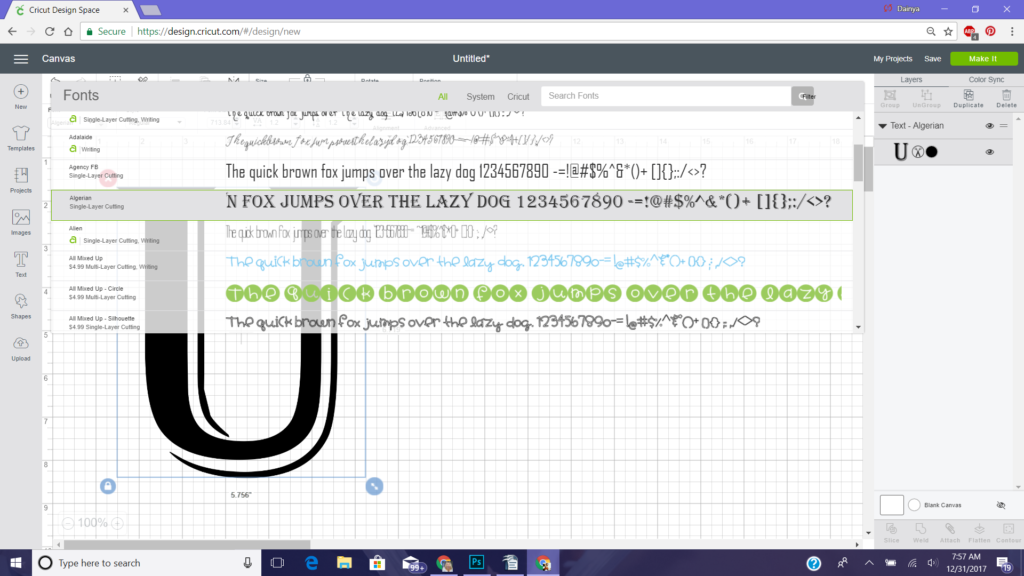
First you want to open a new project in design space. You want to type a capital letter of the first letter of the last name. For this one I used the font Algerian. You can use any font just want one that is a little thicker. I sized mine to about 5×5 ½ .
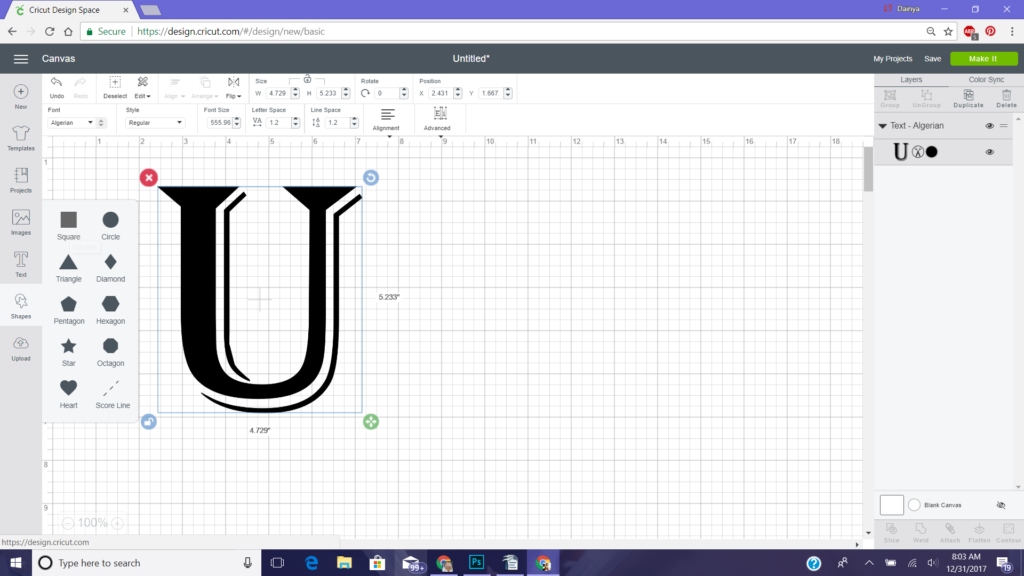

Next go to shapes and pick the square. Now you’ll want to unlock the sizing tool that looks like a padlock that’s in the corner of your image and make a rectangle. This is the area where you will put the whole last name in. So the size you choose is up to you.
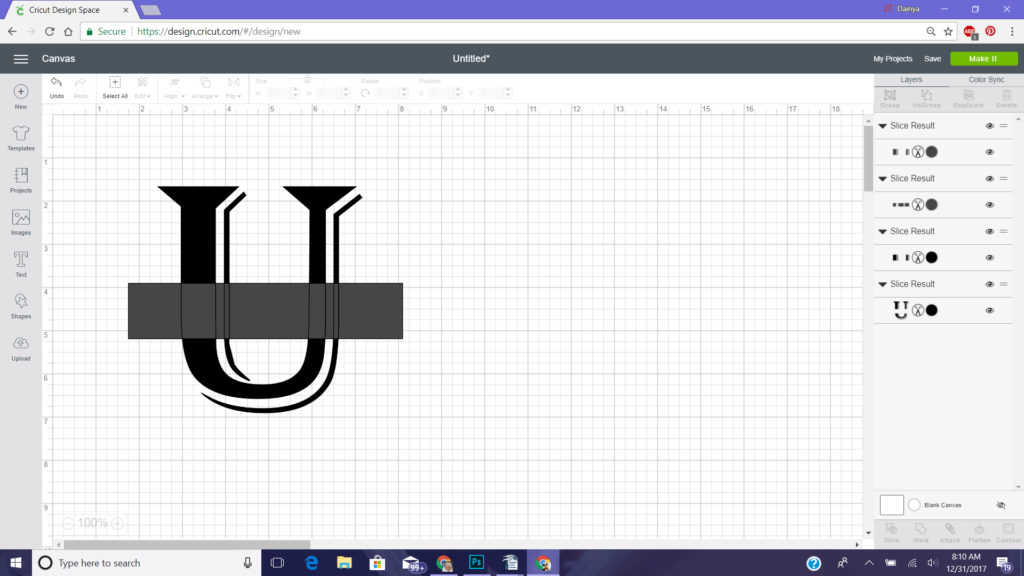
Aline the rectangle where you want it placed on your capital letter that will basically cut out the covered part of the capital letter. Go to select all and then go over to the right hand side of the page at the bottom and select slice.
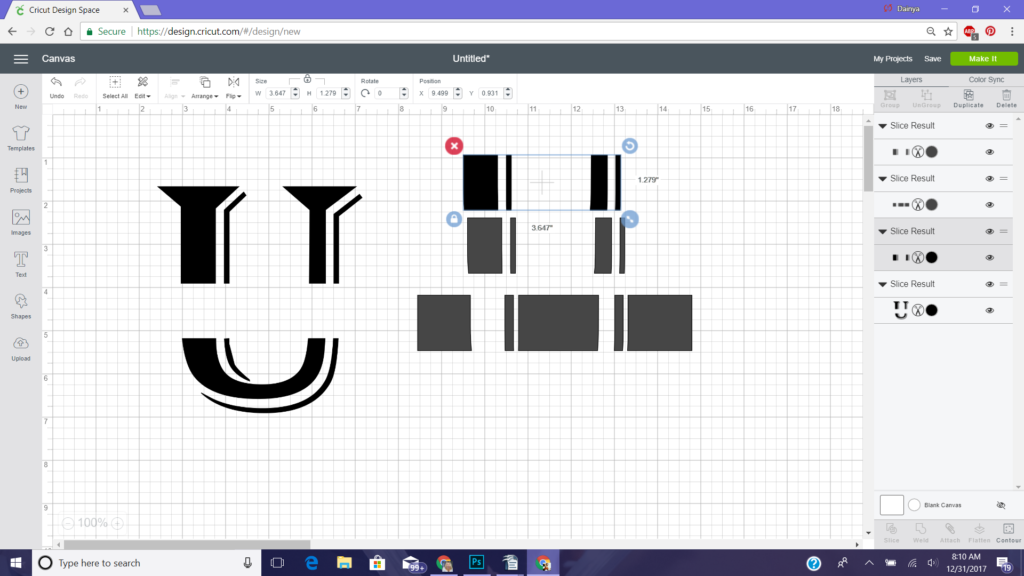
Now there will be 3 layers you need to remove away from your capital letter. The last layer you can’t really see, but trust me its there. I just delete all 3 layers after I move them over to the side.
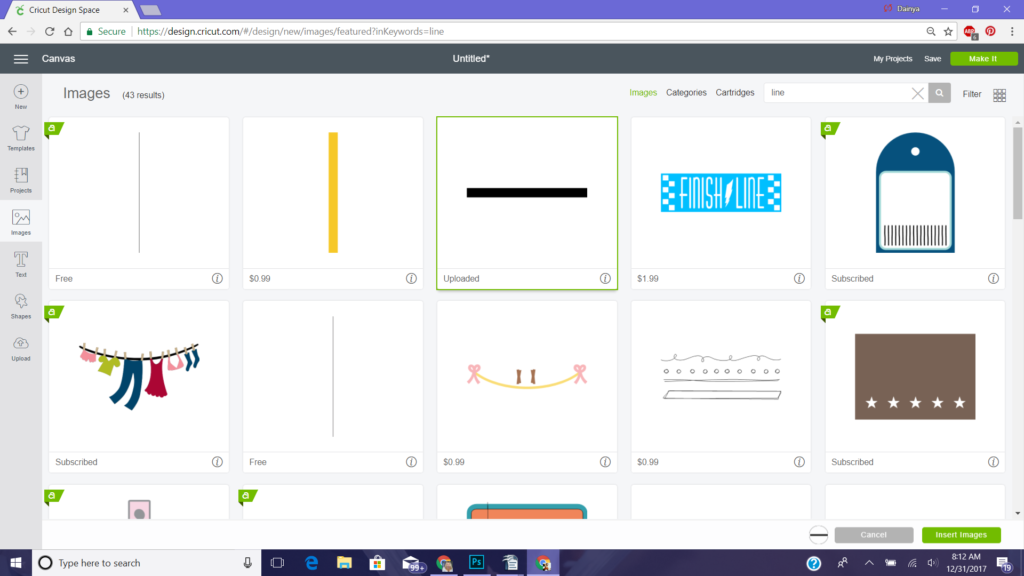
Go to your images and search a line. I uploaded my own line years ago when I couldn’t find one I liked for past projects. I’m sure by now there is one you can use. You just want a line you can change the thickness of by adjusting the size. You could always use the square shape and make it really thin.
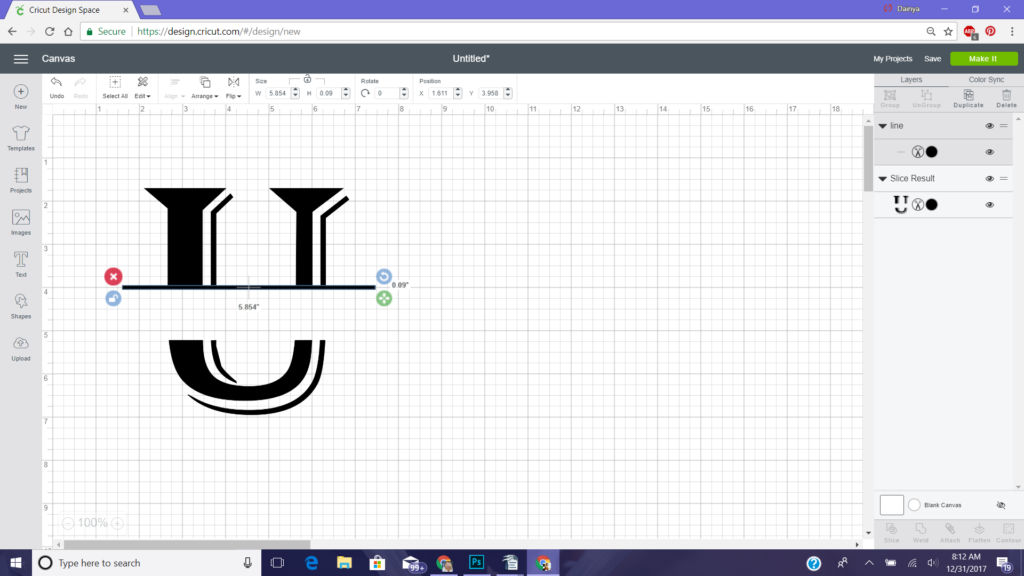
You want to make your line where it has a little thickness. You want a little hanging over on each side of the capital letter. Once you have 1 line the way you like it go ahead and duplicate that line and add it to the other end of the gap in your capital letter.
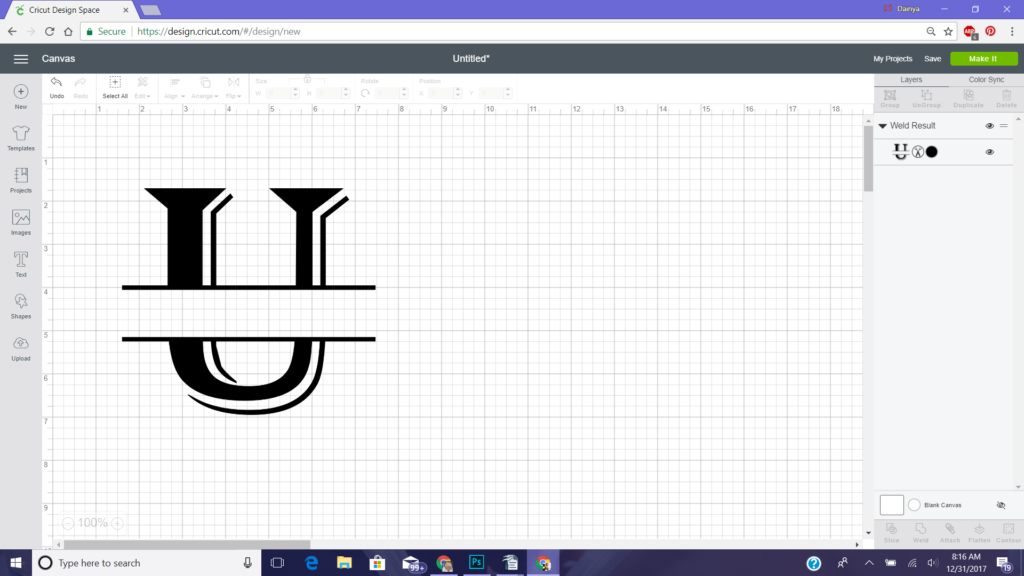
Once you have your lines up right you want to select all and then weld.
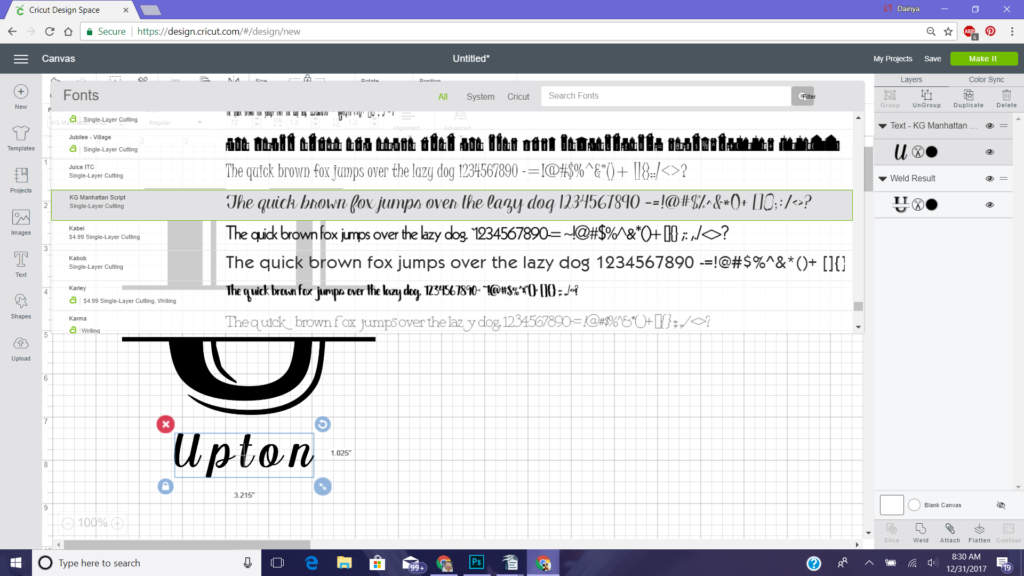

Now type out the last name you are using and pick a nice connective font. I used KG Manhattan Script. I got this from dafont.com. Here is a link to how to download your own fonts to design space for free. Free Fonts
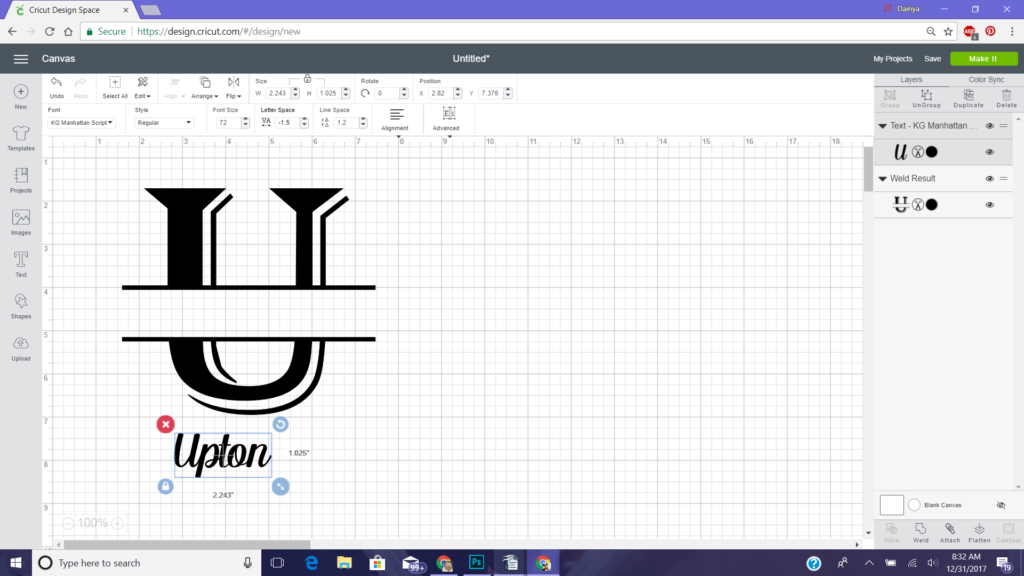
Now you have to connect the font by changing the letter spacing. After all your letters are connecting weld them together.
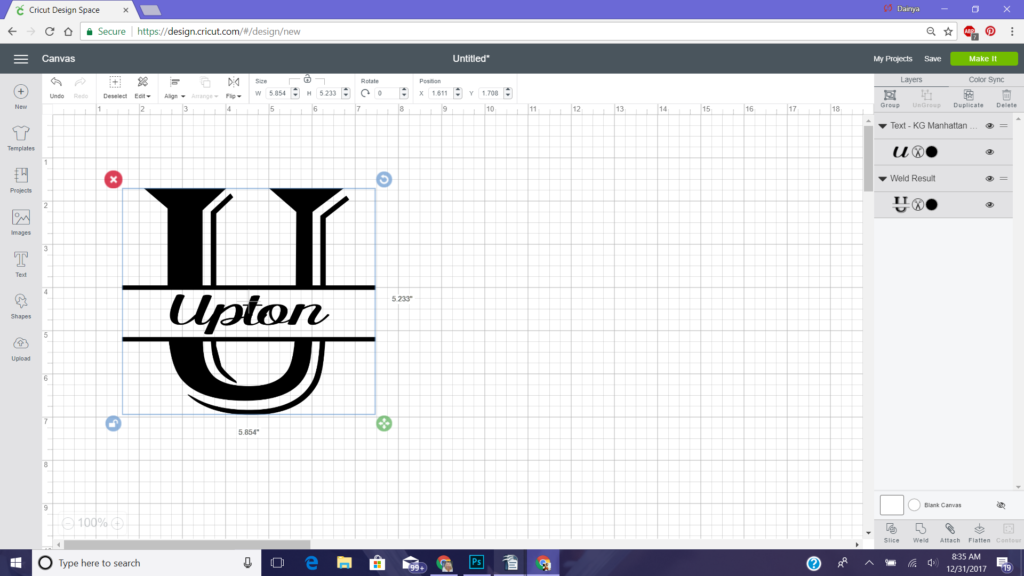
Now size you name where it fits in the rectangle blank space. After you get it sized right weld everything together.
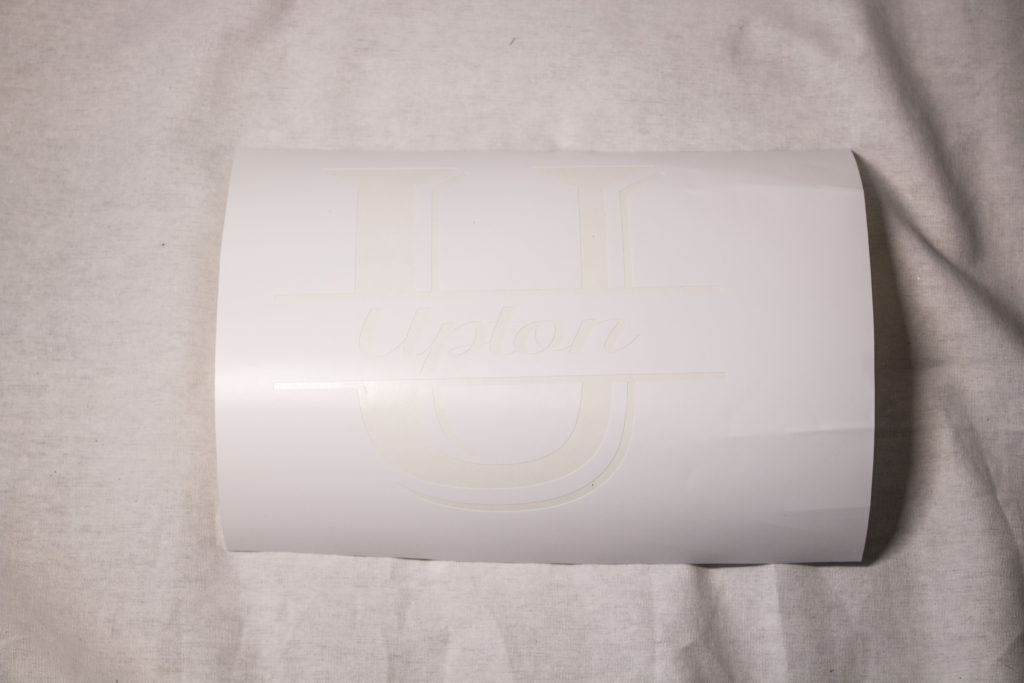
Now you are ready to cut out your image. I use stencil vinyl to cut my image on. You can also use sticky vinyl. Once your image is cut you want to weed out the part you want to be etched. Put a piece of transfer tape over your image after weeding and pull off of your stencil backing paper.
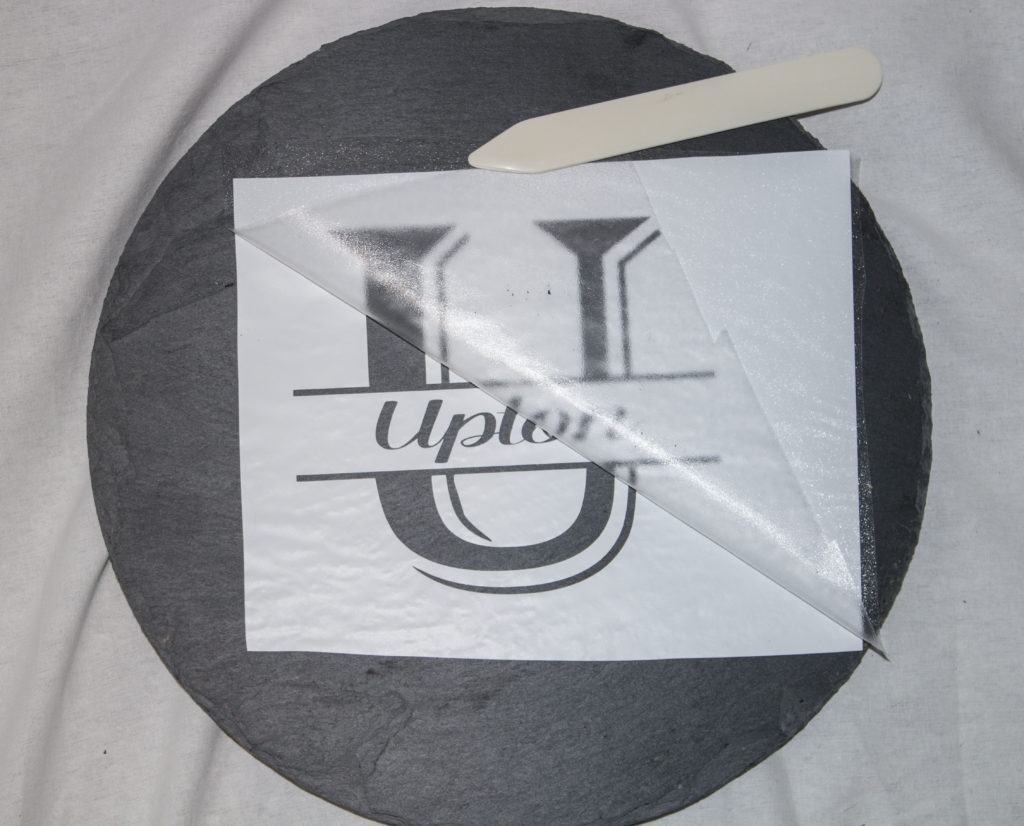
Wash your slate board really well and dry. Now line your image up and rub down the image well. Remove the transfer tape.
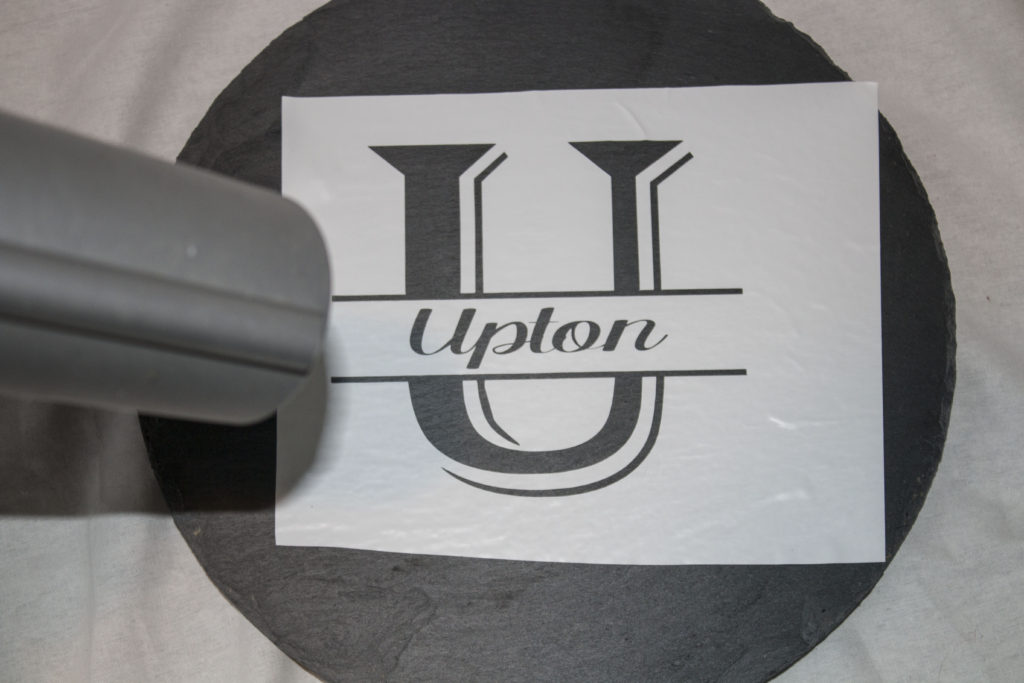
Use a hairdryer to heat it up a little to get the sticky to really stick. Give it another good rub to make sure there are no gaps. If you leave gaps the etching cream will bleed through and your project won’t be perfect. I’ve messed up many projects because of this.
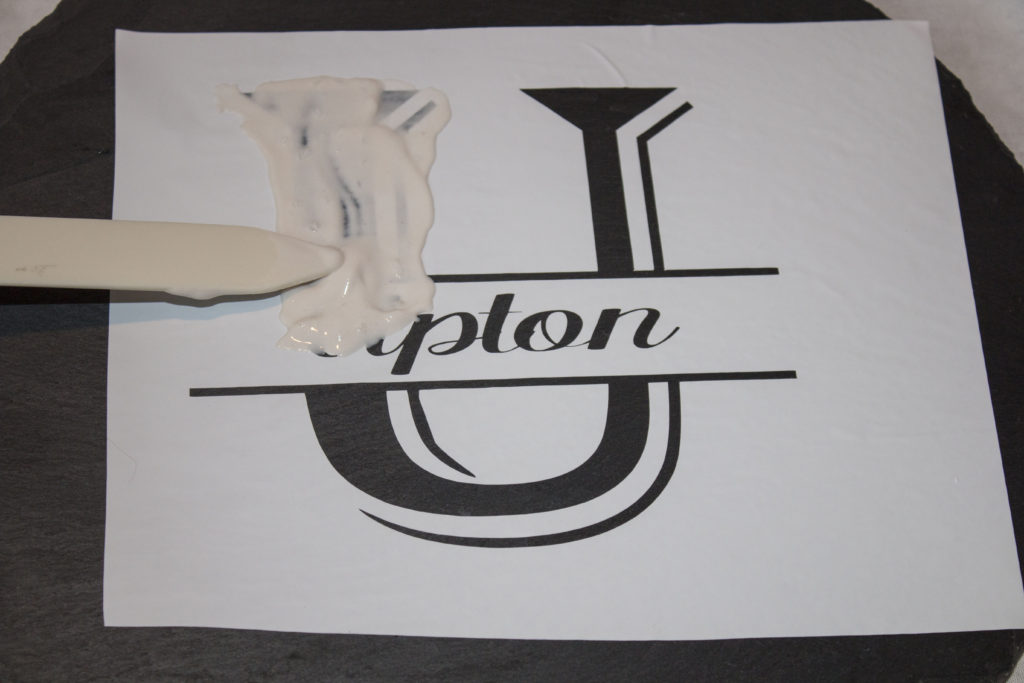
I always wear gloves when using the etching cream especially now since I have a newborn. Take some kind of tool to spread out the etching cream.
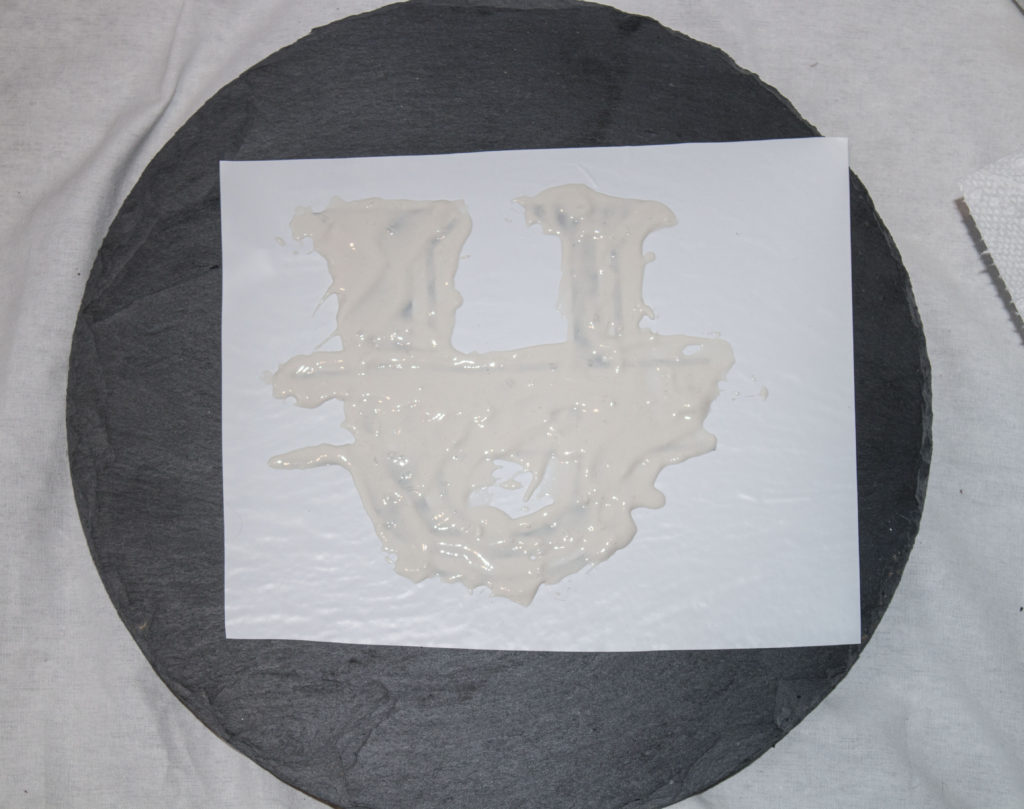
You want a nice layer of etching cream over all exposed areas of your stencil. Be sure to not get any off to the side of your image because it will etch those. Let that stand for about 20 minutes.
When it’s time to remove the etching cream I use paper towels a little damp and start removing the bulk of the etching cream. Once you do that you can put the board under running water to remove the rest. You just want to get the etching cream as fast as you can so none goes on to other parts of your board you don’t want etched.
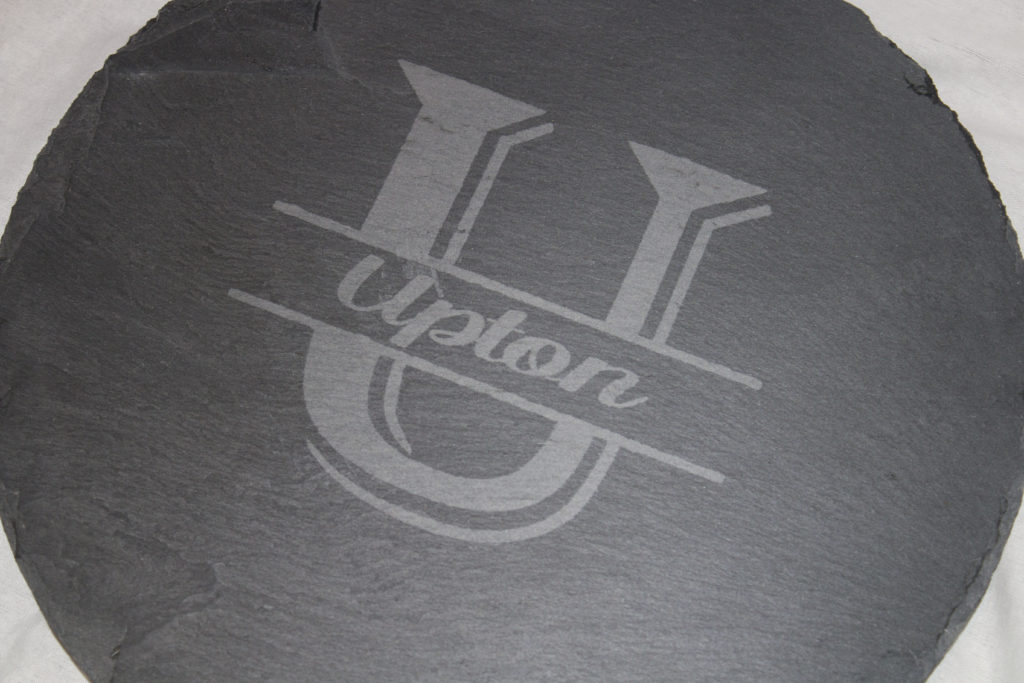
Now remove your stencil and wash your board well with soap and water and then dry. And that’s it you are done.