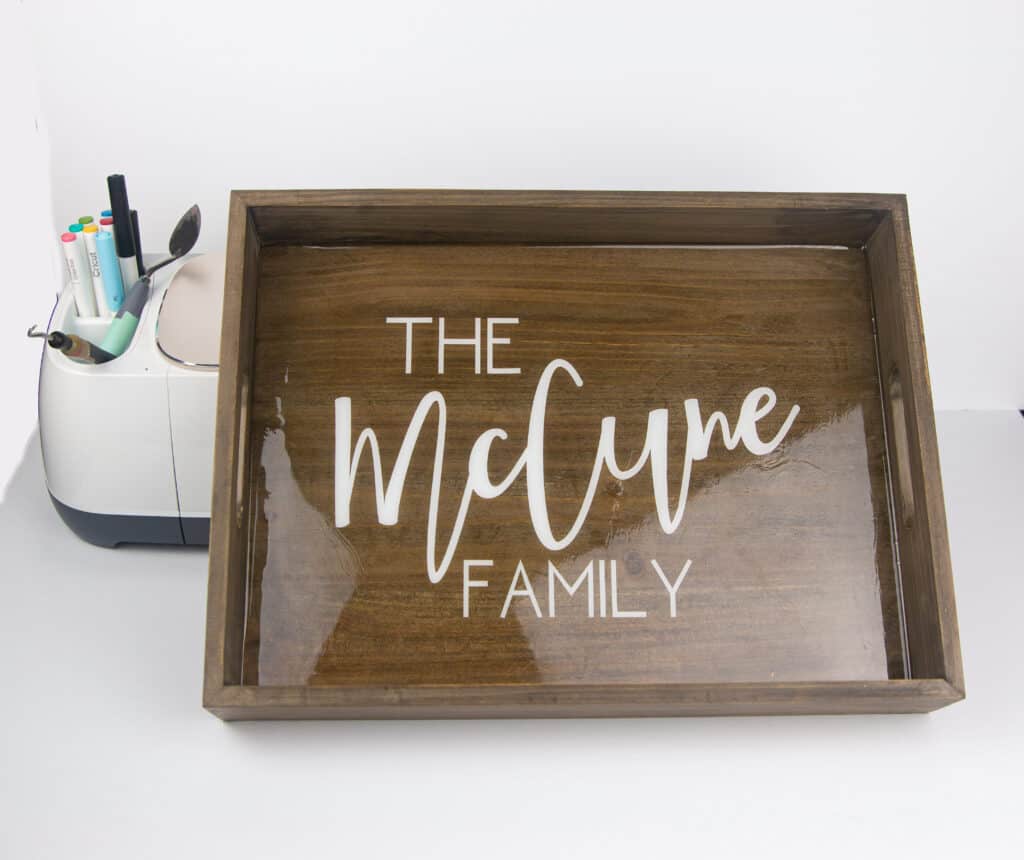
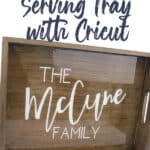
Personalized Serving Tray with Cricut
This personalized serving tray you can make with your Cricut is a great home design piece or makes for a perfect custom gift.
Don’t you just love those personalized home decor pieces? If you haven’t seen any of my past posts, I am really into adding last names to just about everything.
From my Cricut DIY Doormat post, to my Cricut Etched Cutting Board one, and the list goes on. So adding a name to a serving tray and then applying epoxy over it sounded like a great idea.
When could I give this as a gift to someone:
Honestly I believe any occasion would be good, but to name a few:
- Housewarming gift
- Wedding or Bridal shower gift
- Birthday
- Teacher gift
- Christmas gift ( I made 12 of these this year for Christmas gifts)
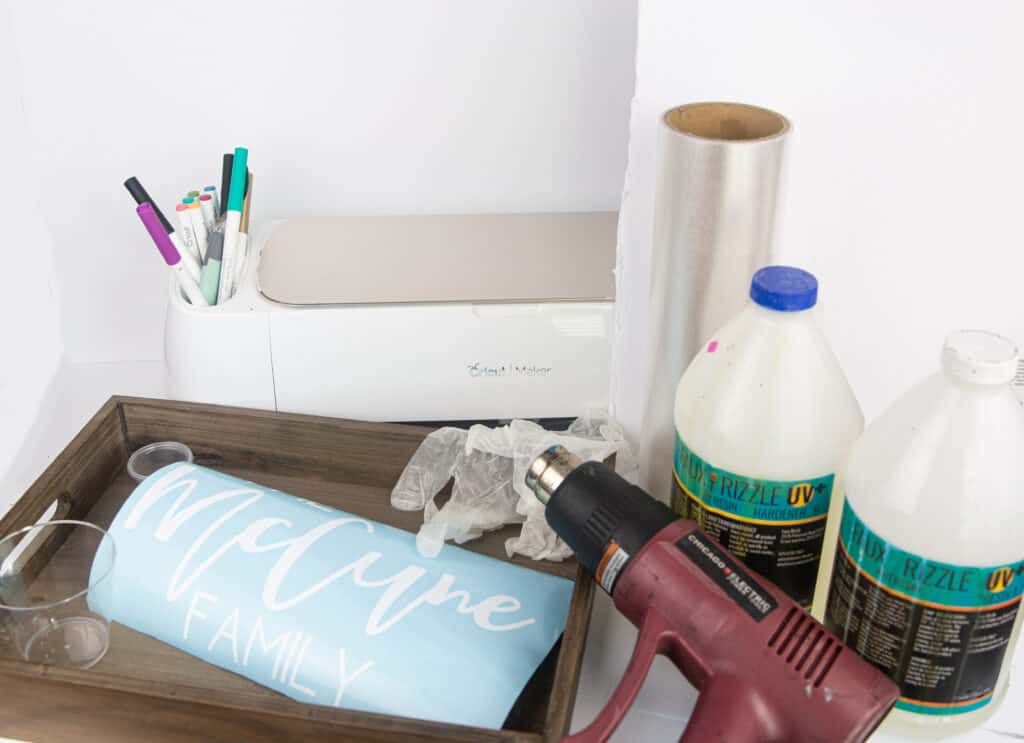
Supplies needed for Personalized Serving Tray with Cricut:
- Serving Tray– I picked this one up at Walmart
- Vinyl Cutout– this is where your Cricut helps out. Measure your serving tray and make a personalized decal with your Cricut
- Transfer Tape– to transfer your decal to the serving tray
- Epoxy– use your favorite brand
- Disposable Gloves– I always use gloves when working with resin
- Heat Gun or Torch– to get out any bubbles in your epoxy
- Epoxy supplies– measuring cups, mixing cup and stirring stick
- You will need something like a poster board to cover your serving tray while the resins hardens so nothing flies or lands on it
Making the personalized serving tray with Cricut:
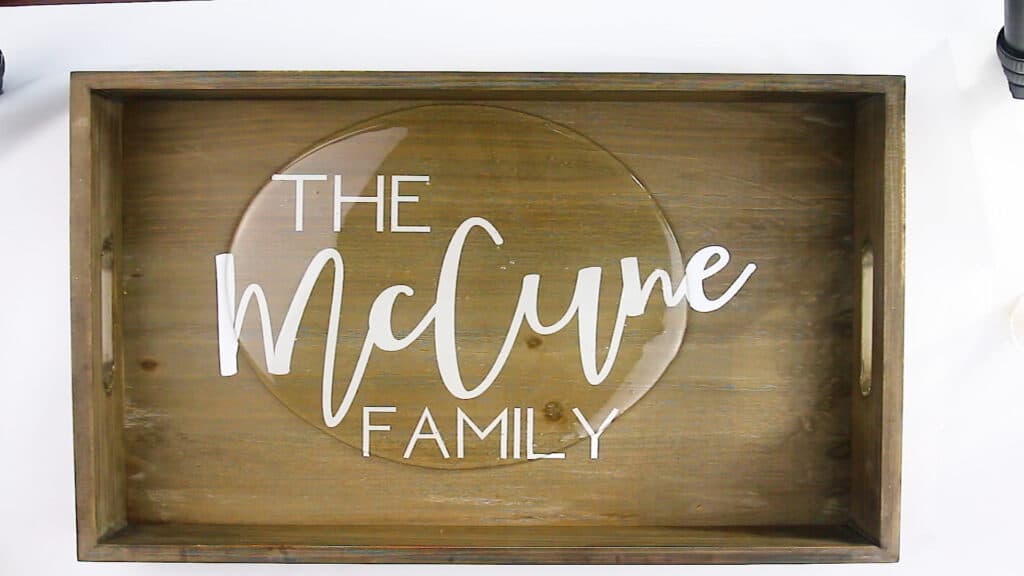
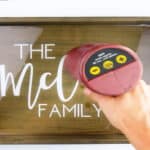
Start by taking your weeded name vinyl piece. For this project I used Neoteric for the & family and used Hafizan Script for the name. I measured how big I wanted it all on my board and attached all the words together and sent it to cut and then weeded it.

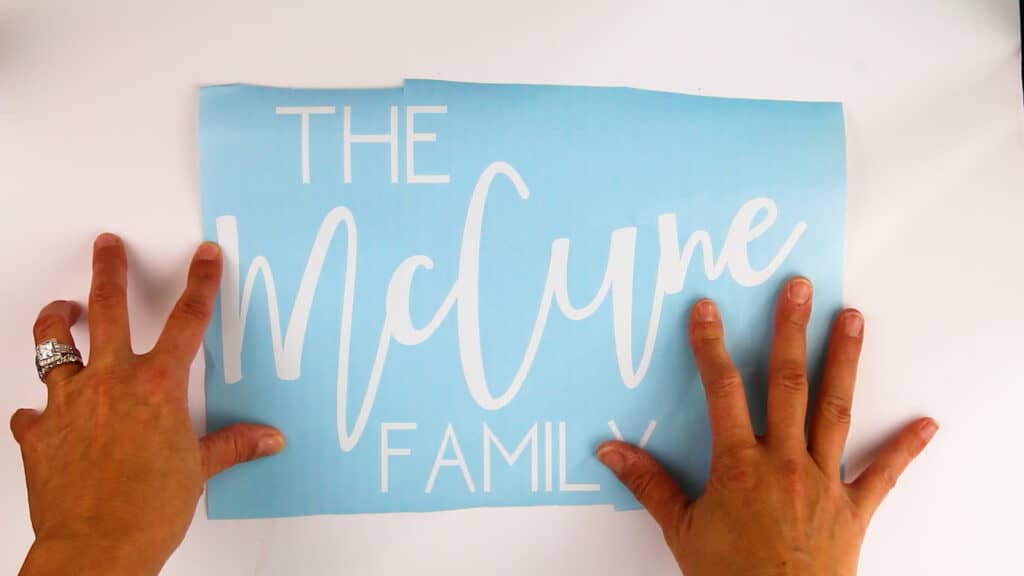
Take a sheet of transfer tape that is as big as your vinyl cut out and place on your vinyl cut out.

Push down with either your fingers or a flat edge surface tool to adhear the transfer tape to the vinyl piece
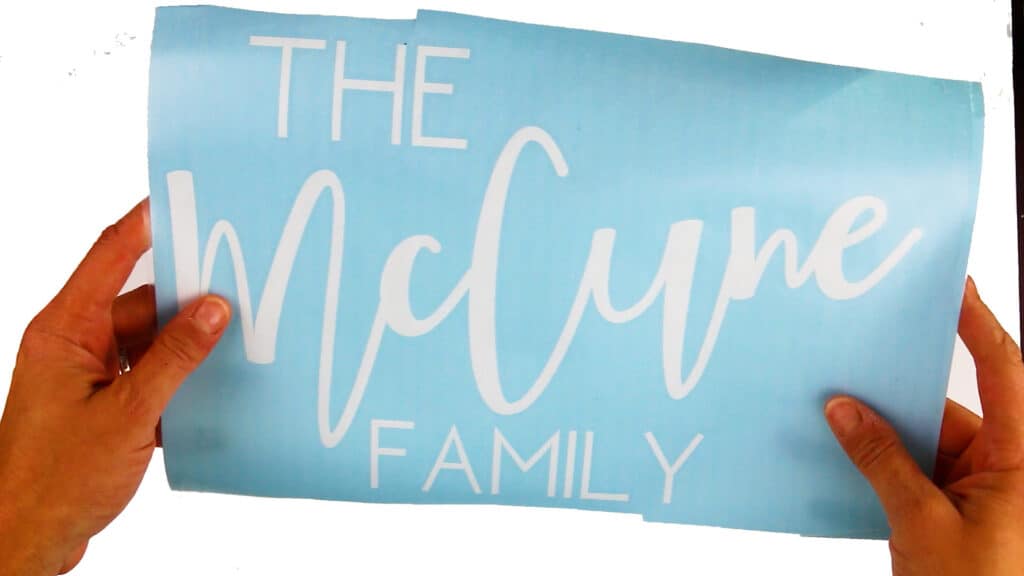
Take that vinyl sheet with the transfer tape on top of it and set it aside for now.
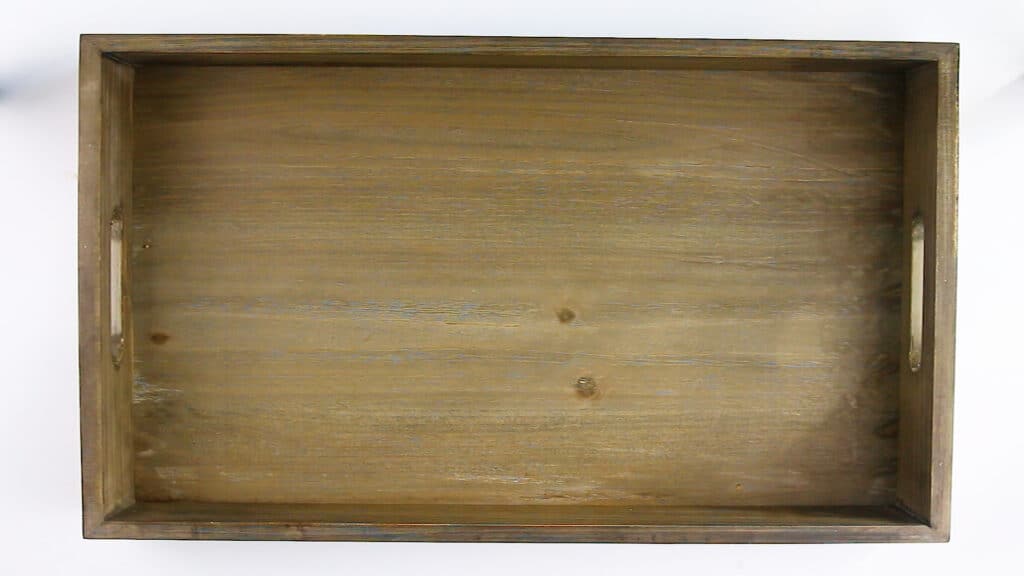
Take your serving tray and be sure when you flip it over to the back side it has no open areas where the resin could leak through. If it does take some wood glue and fill in those areas and let it dry before proceeding.
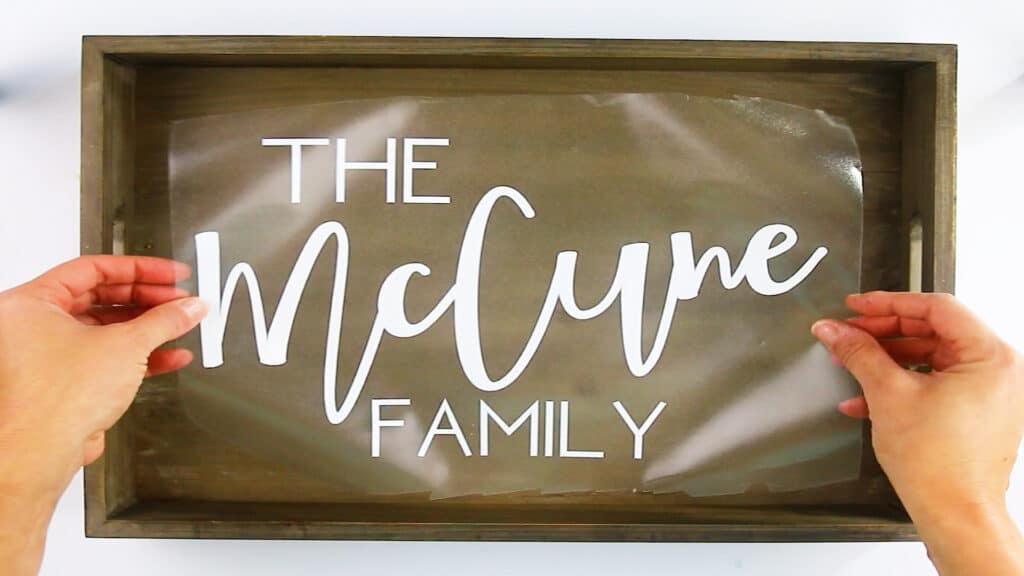
Take your vinyl with your transfer tape and line it up even where you want it on your tray and press down.
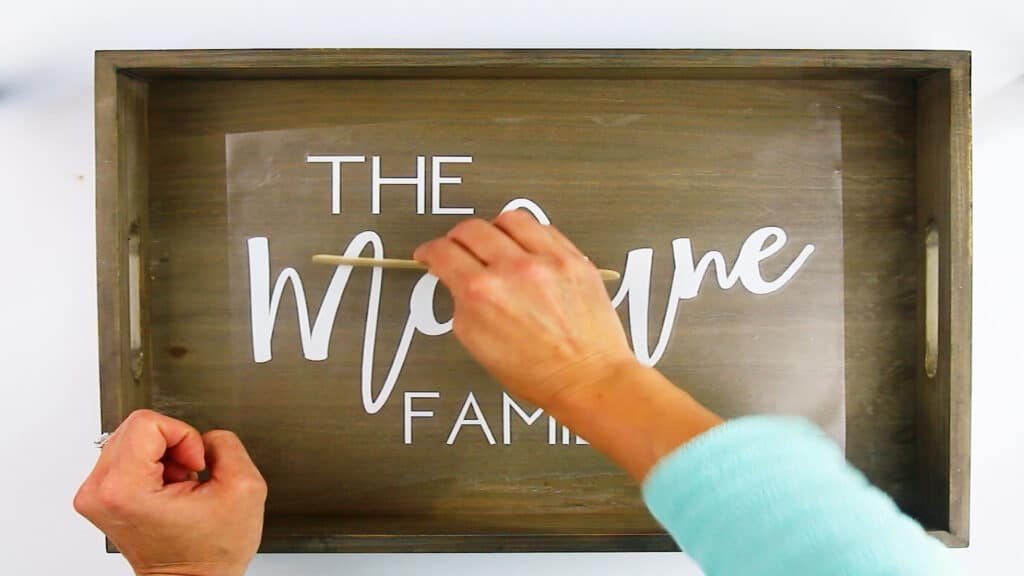
Use some sort of flat object like a credit card or popsicle stick to rub down the vinyl piece to your tray.
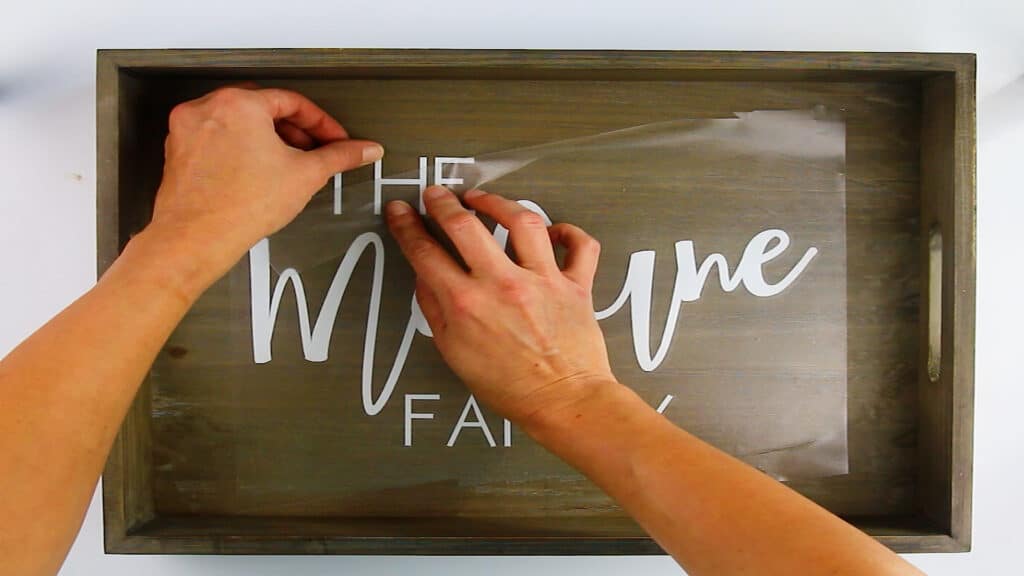
Start to pull off the transfer tape slowly away from the vinyl. You might have to help the vinyl to stick to the tray while pulling the transfer tape off
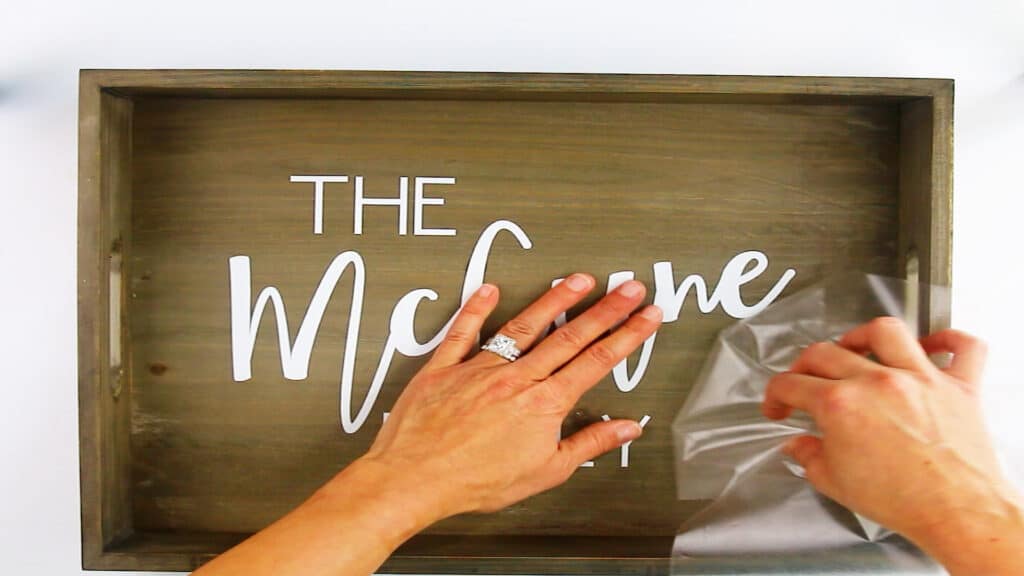
Don’t rush pulling the transfer tape off. You could rip the vinyl if you do. The vinyl doesn’t really like to stick to the wood as it would with other materials. So have patience.
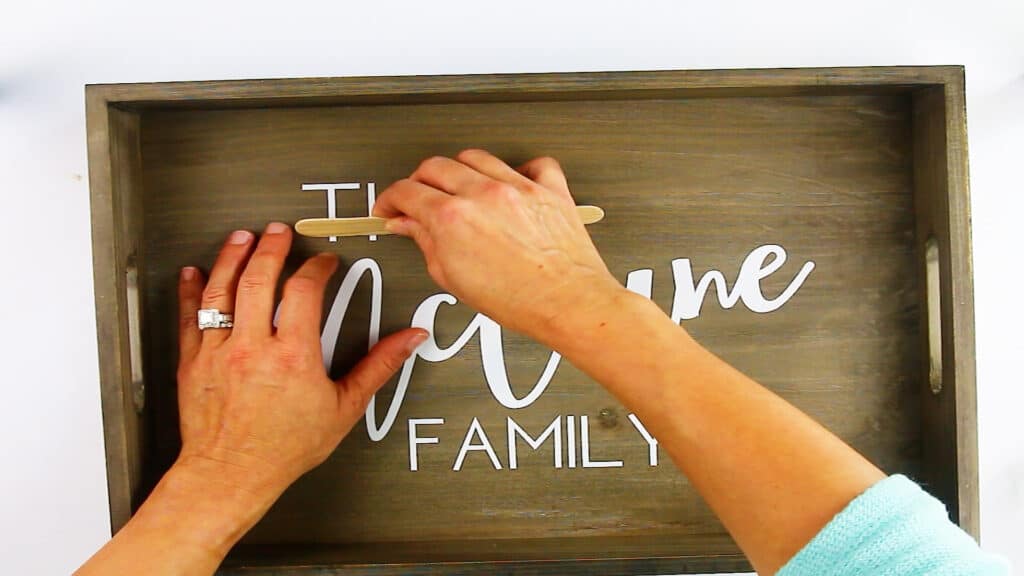
Now take your flat edge tool and rub down the vinyl to the wood and work out any bubbles if you have any. Pro Tip: you can also take a hair dryer and blow it over the vinyl while rubbing it down to make it really stick
Epoxy Time
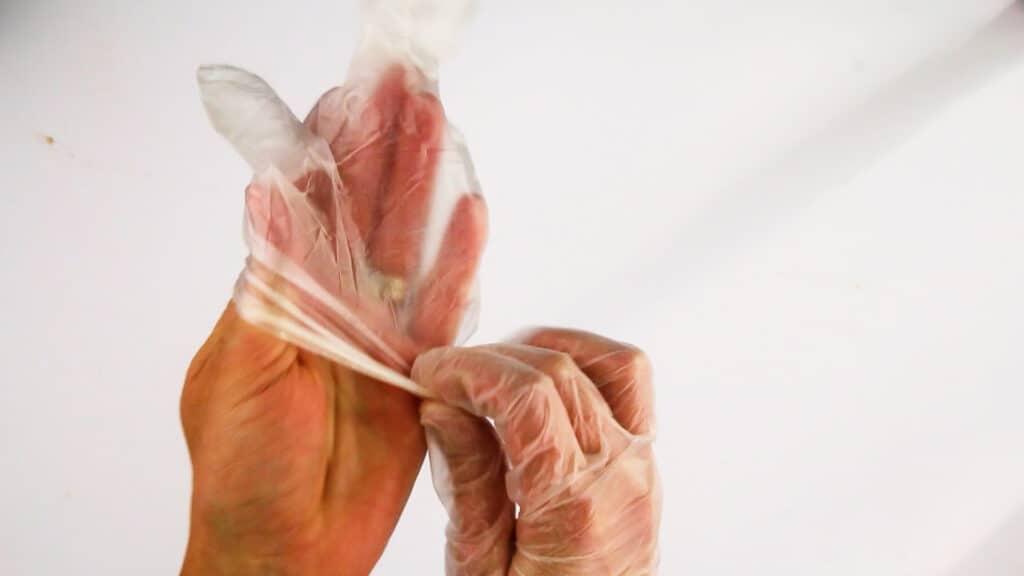
Now get some disposable gloves on before working with epoxy. You really don’t want this stuff on your hands. It is hard to get off your hands
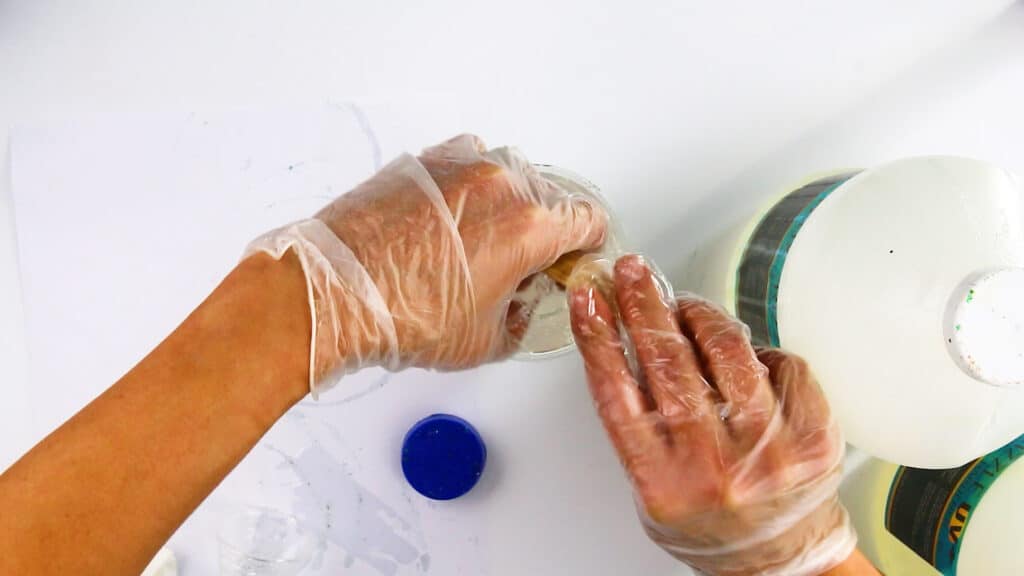
Use your disposable cups and measure out one of your solutions, there’s always a A & B part of the solution. The epoxy I use is a 1:1 ratio. Check your ratios before measuring out.
I measure out 4 ounces of each part so it’s a total of 8 oz. But first measure out 1 part at 4 ounces and stir with a popsicle stick for one minute
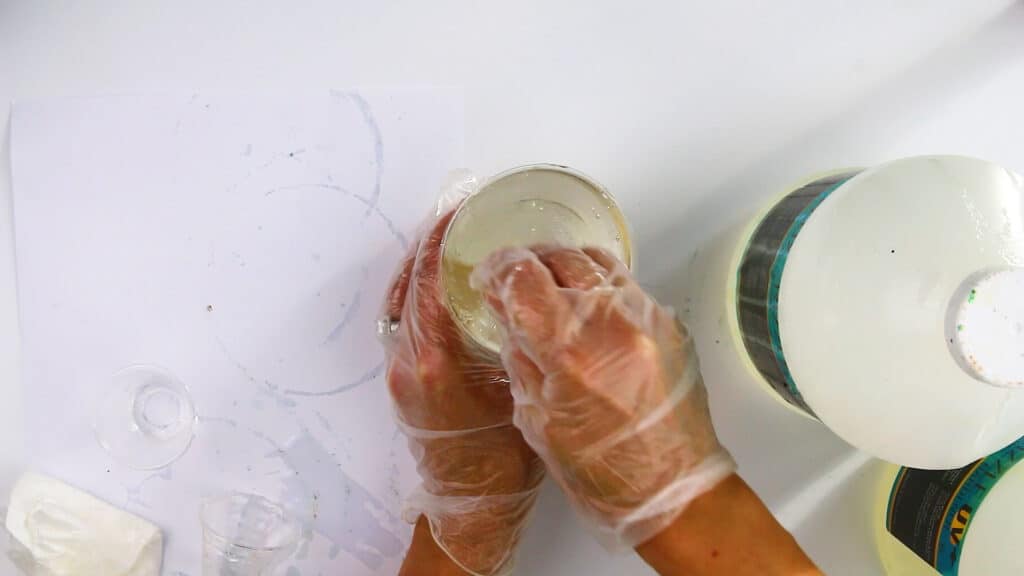
Then measure out 4 ounces of your part B and stir for 1 minute.
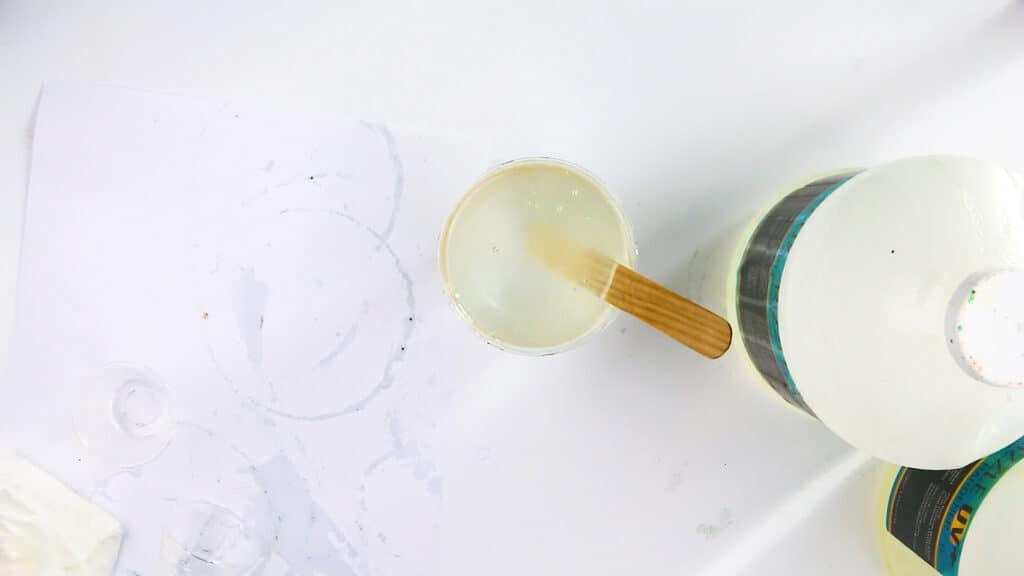
Then combine the two parts together and stir for 3 minutes. You’re not wanting to stir fast because this creates more bubbles. You just want to make sure both parts are mixed together well.
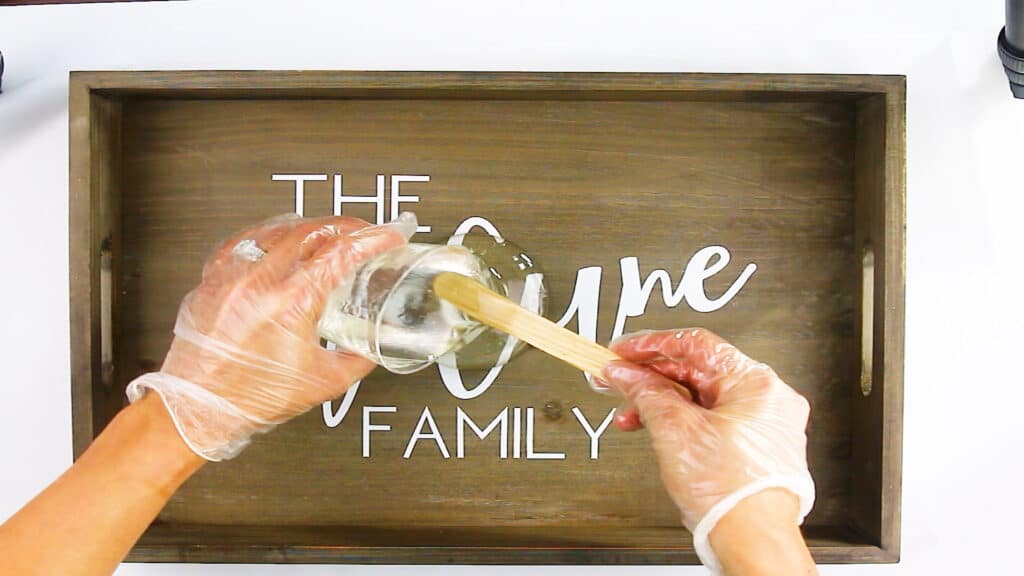
Now start to pour your epoxy mixture on your tray. I like to pour right in the middle
You can let it start to spread out on it’s own
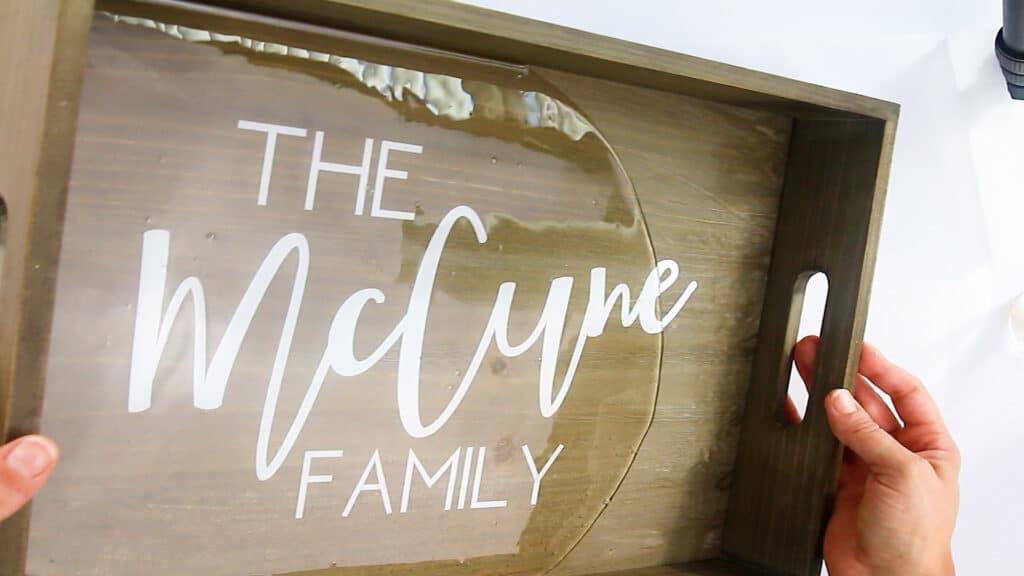
Then pick up your tray and start to tilt it to move the epoxy to cover all four corners.
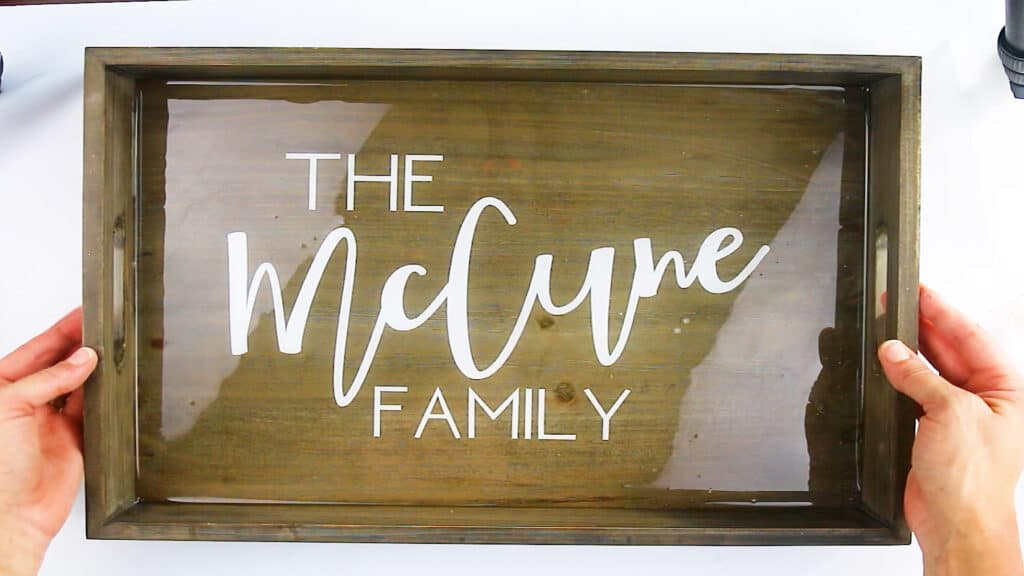
Make sure the whole bottom of your tray has a layer of epoxy over it and set it down.
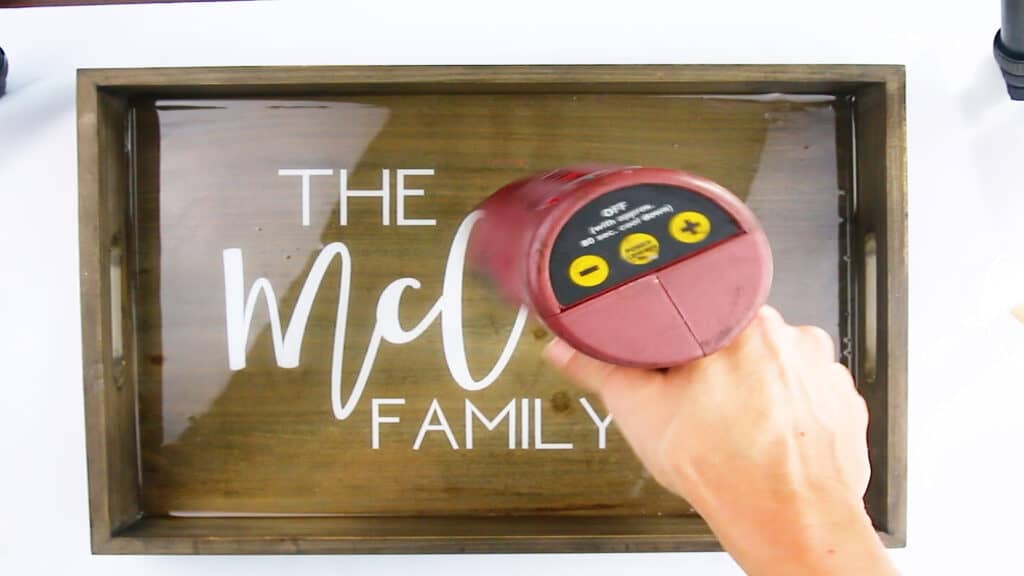
Use a heat gun or torch to get rid of any bubbles. I found out I prefer my torch for this. I was scared I would burn the wood, but I never did and this was the most effective way to get all the bubbles out.
Put something over your tray like cardboard or poster board while your tray dries to prevent any dust getting on your tray while it’s drying.
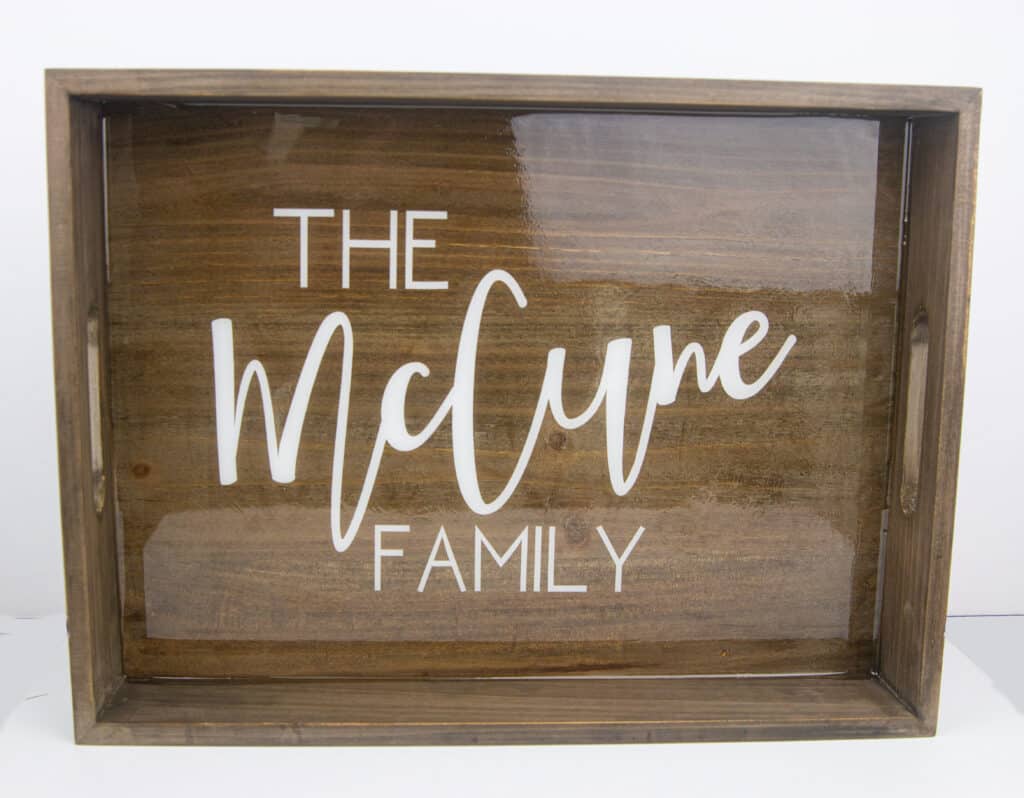
It will start to feel hard after 5 hour, but I leave mine overnight to make sure it’s fully cured.
And that is it. Now you have a personalized tray that you don’t have to worry about the vinyl coming off. I made about 12 of these for Christmas gifts this year and everyone loved them.
Tips and Tricks for Personalized Serving Tray:
- Make sure the back side of your tray doesn’t have any open spaces where the epoxy could leak through. Use some wood glue to fill in those spaces.
- Be sure and peel the vinyl off slowly from your transfer tape since the vinyl doesn’t stick well to the wood. If you peel to fast you could rip your vinyl.
- If your vinyl is not wanting to stick to the wood very well use a hair dryer to heat up the vinyl to adhere it to the wood.
- Don’t mix your epoxy like your whipping eggs. This will create a ton of bubbles. Just a regular stir motion to make sure Type A and B and mixed together well will do.
- Pour your epoxy in the middle and pick up the tray and tilt it to move the epoxy around to fill the whole area of the tray.
- Use a heat gun or torch to get out any bubbles but keep your heat source moving so you don’t burn anything. You can let it set for 30 minutes and come back and use heat again to get any leftover bubbles.
- Be sure and cover your serving tray with a piece of cardboard or poster board while it dries so nothing can accidently land in your epoxy while its drying (ex: dust, bugs, etc)
Want More Cricut Projects?
Cricut Etched Wine Decanter
Cricut Personalized Slate Coasters
Cricut DIY Doormat
Cricut Etched Cutting Board
Or CHECK OUT all my Cricut related posts to help design your next project


Great post! It is easy and detailed to follow. Thanks!
I made this to my son’s wooden toolbox, and we did have a really fun time!
Thank for sharing it!
I was looking for the chilean sea bass recipe , but it looks like you took it down, do you think you could post it again?
its there https://www.glitterandgraze.com/pan-seared-chilean-sea-bass/
This is such a lovely gift idea, perfect for so many occasions!