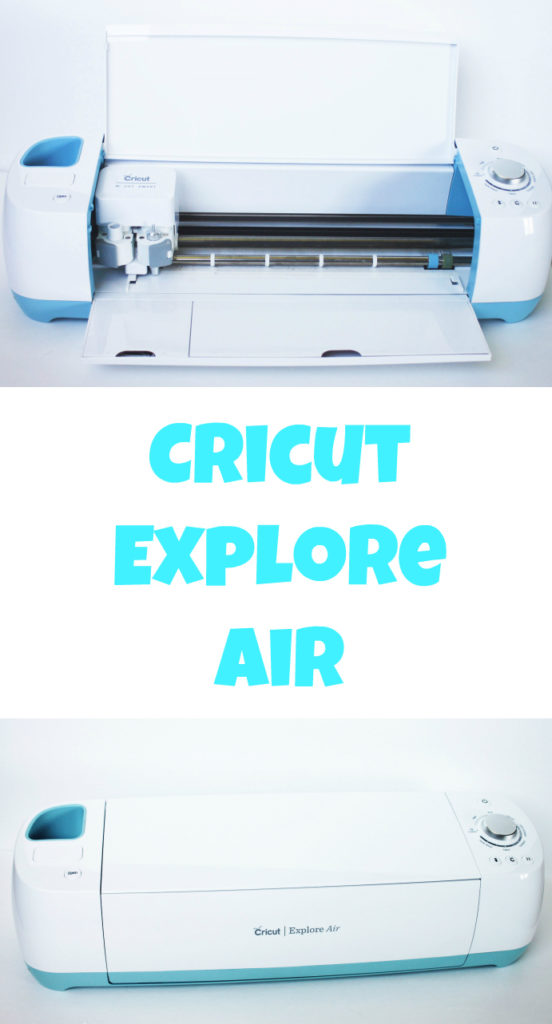
The Magic Behind the Machine- Cricut Exlpore Air
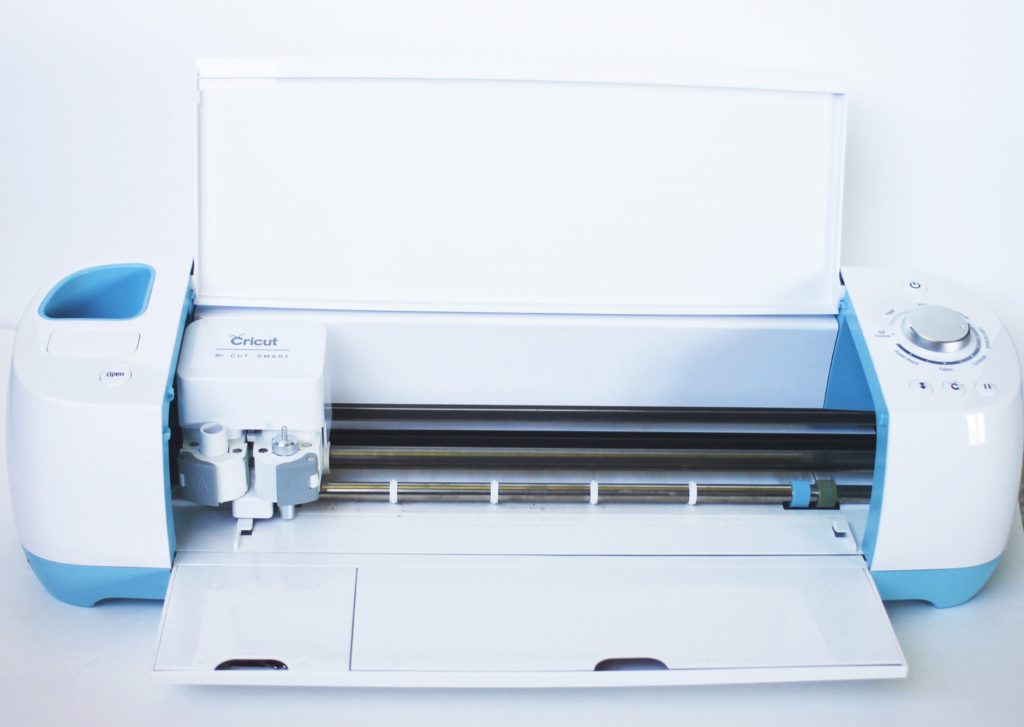
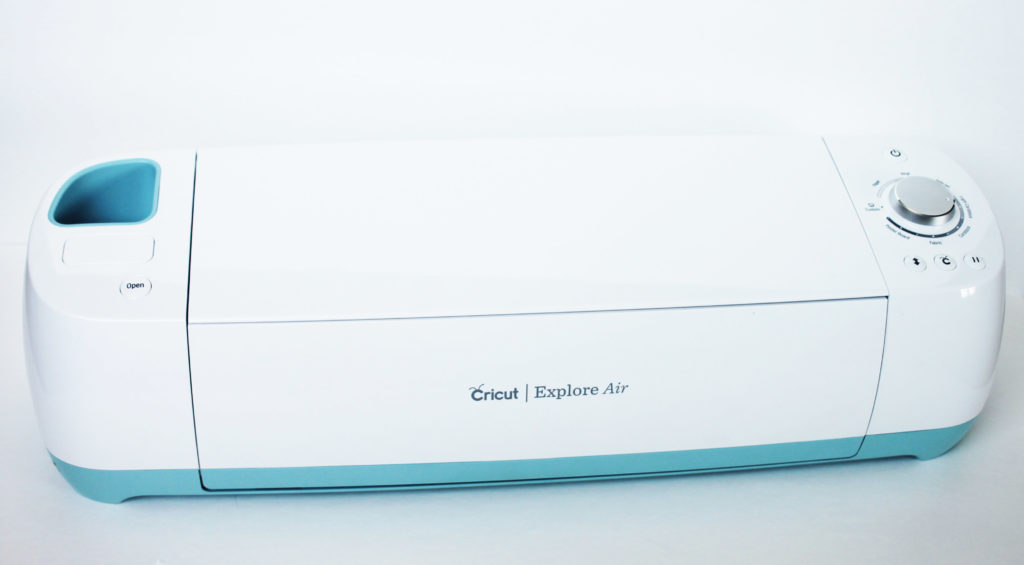
So let me tell you about the other love of my life (hubby comes first, duh). My Cricut Explore Air  machine. I honestly don’t know how I lived life before owning this gem. It is the ultimate crafters dream.
Disclaimer: Please note that some of the links below are affiliate links in
which I will receive a commission if you purchase those items through
that link. I used and recommend all the products below because I have
found the company and products are reliable and are my personal preference.
I found out about this life charger about a year and a half ago through a friend who’s sister had a similar machine called the Silhouette. She was telling me about how this machine cuts out images and words and depending what material you were cutting you could make shirts, decals, paper crafts, and so much more. At the time I was preparing for my wedding and I was a very diy girl for all things wedding. I mean come on, a few months earlier I bought an embroidery machine just because I wanted to get some bridesmaids gifts embroidered and thought why not just do it myself.
So I did a little research because I found out there were 2 popular machines that did the exact thing from two different makers. After reading comparisons from people who had both machines, I decided the Cricut Explore Air was the one for me. Amazon is usually my go to place to buy anything, but for this I was on a time crunch (wedding was coming up fast) and didn’t care about spending extra money to have the machine that day. I went down to the local Joann’s Fabric store and bought it that day. Doing it all again I think I would try and practice a little self control and just get it cheaper off Amazon and wait two days.
Once I got it home I couldn’t wait to get busy. They provide a quick learning walk through. This is cloud based so you do need the internet. You’ll setup an account and they give you 2 weeks free of using their fully loaded Cricut access which provides over 30,000 images, 370 fonts, and 1,000 projects. So don’t create the account until you will have some time to use up those 2 free weeks. After that if you want to continue accessing all those images and fonts, you can either sign up for a monthly fee of $9.99 or a yearly fee for $99.99. I always go with the yearly fee because it works out cheaper and there is never a month I don’t use it.
Some other cool things with the Cricut is it’s Bluetooth compatible. So you can either plug the USB cord from your Cricut into your computer or just use it over Bluetooth. Now where the Bluetooth really comes in handy is with your iPhone or iPad. You just download the app on your device sign in and you can design on the go. Then when you get back to your machine you can send it over via Bluetooth and create. I personally never used it much on my iPhone because the screen was small. I’m a Samsung person now and there is currently no app for Androids. I did design quite often on my iPad though. Super easy to use. But my by far favorite device to use when in Cricut design space is just a regular ole computer.
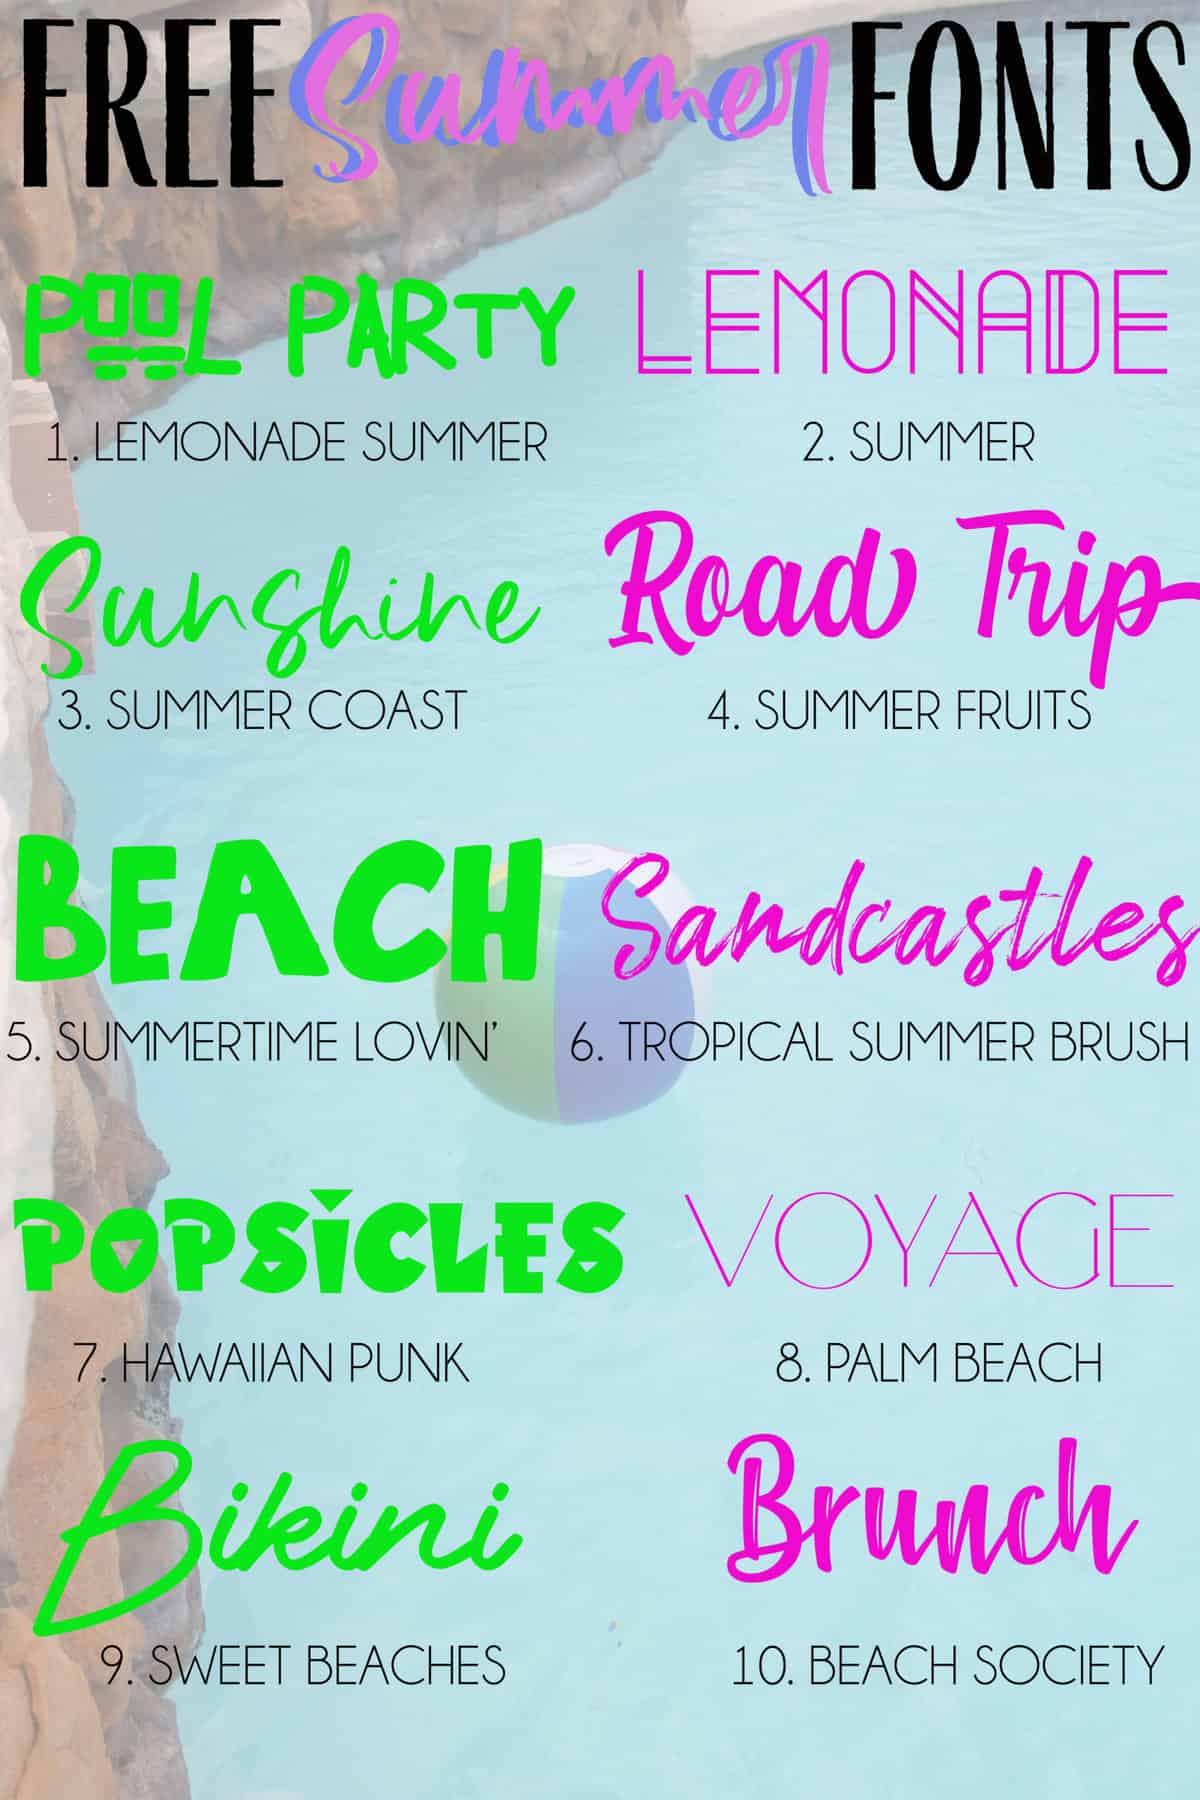
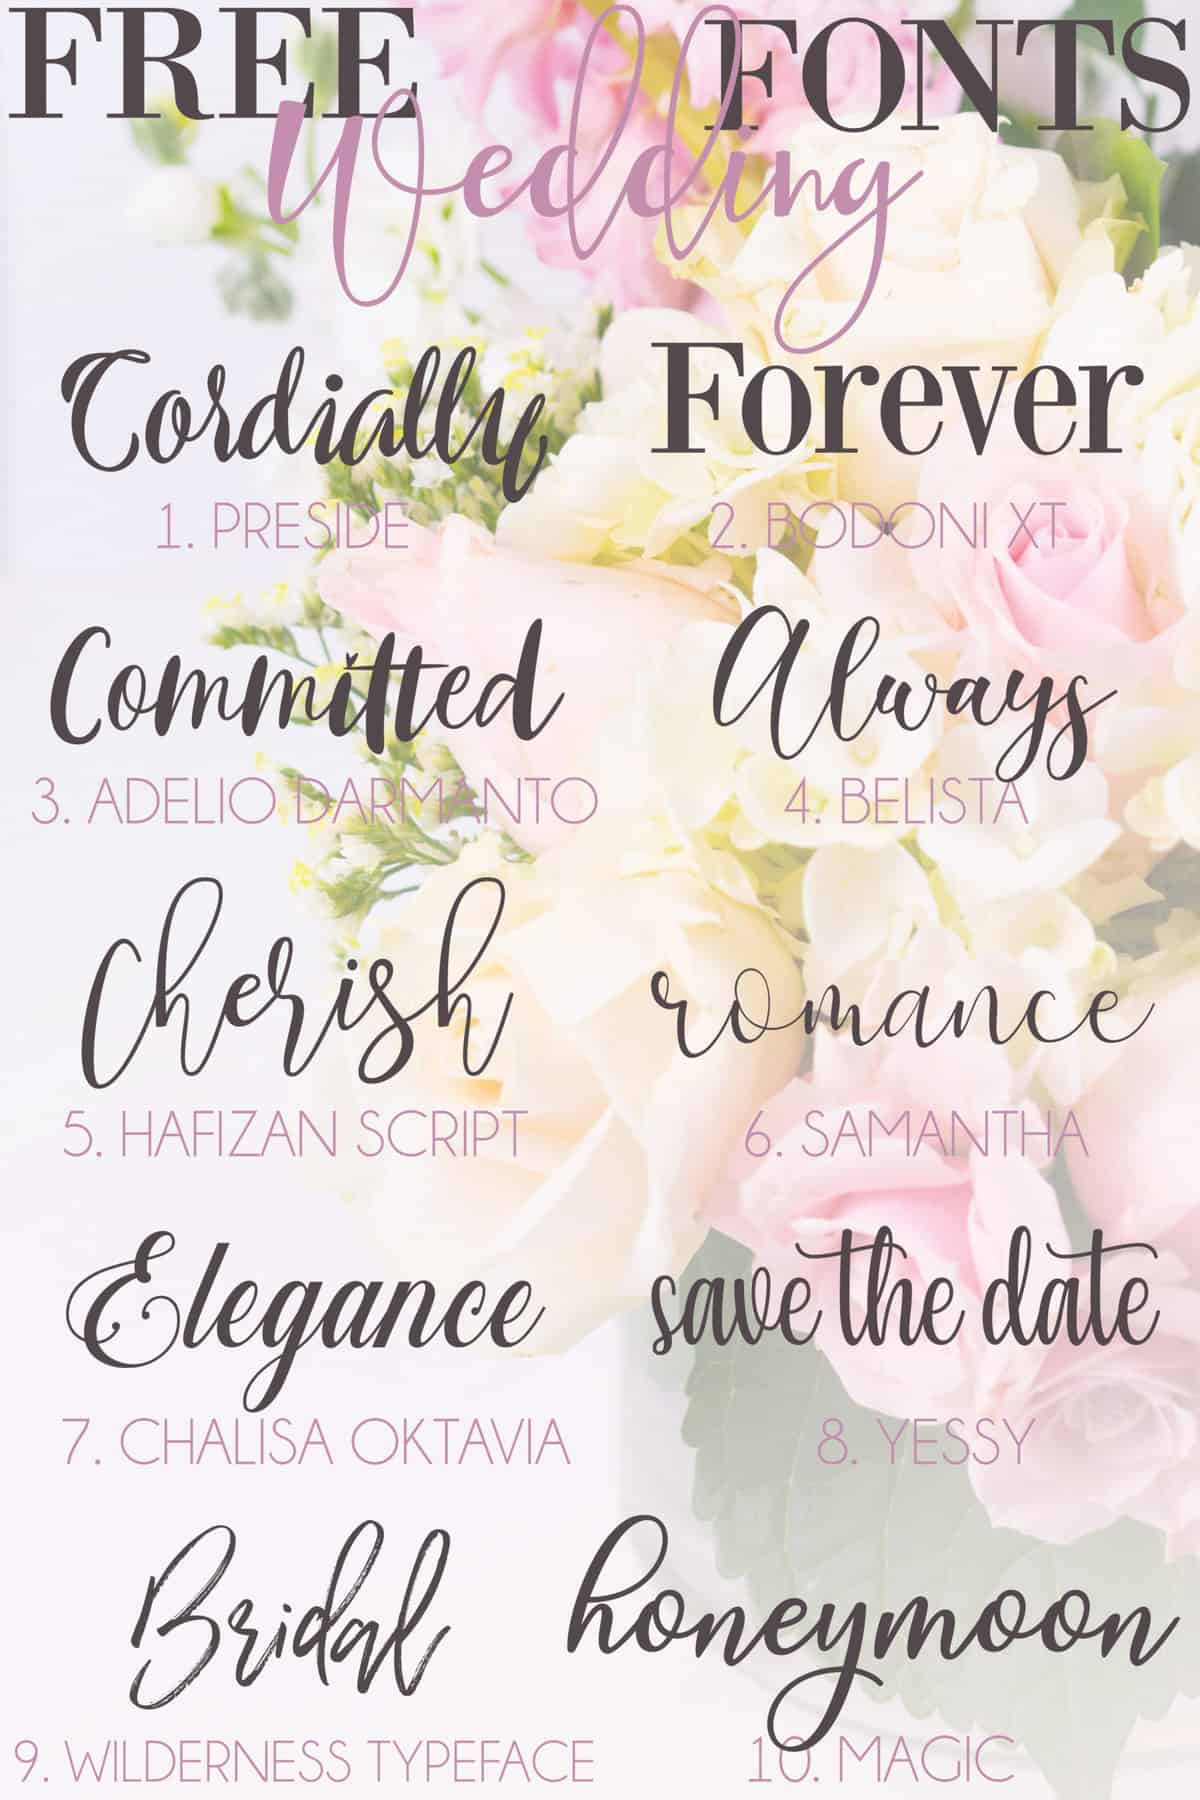
I figured out some great tools through trial and error that doesn’t put you totally dependent on just the images and fonts that are in Cricut access. So for fonts, lets say there’s a font you just absolutely love and think it would look great for a phrase you want to put on a shirt. Download it to your computer and then when you open Cricut design space it will now be in your fonts and you can use it. I’m always looking up free fonts and downloading new ones. One of my rules for making stuff for people that involves words is, go look up what font you want. I just tell people go online and look up free fonts, tell me what it is and I’ll download it and use that. I’m sorry I’m not going through the hundreds of fonts I have to finally have you decide on one. This is truly a lifesaver. Plus you now have access to so many more fonts now. Now not every font is going to work when you are cutting out. Some might be too thin or too many loops. So if you are using a new font I would test it out first.
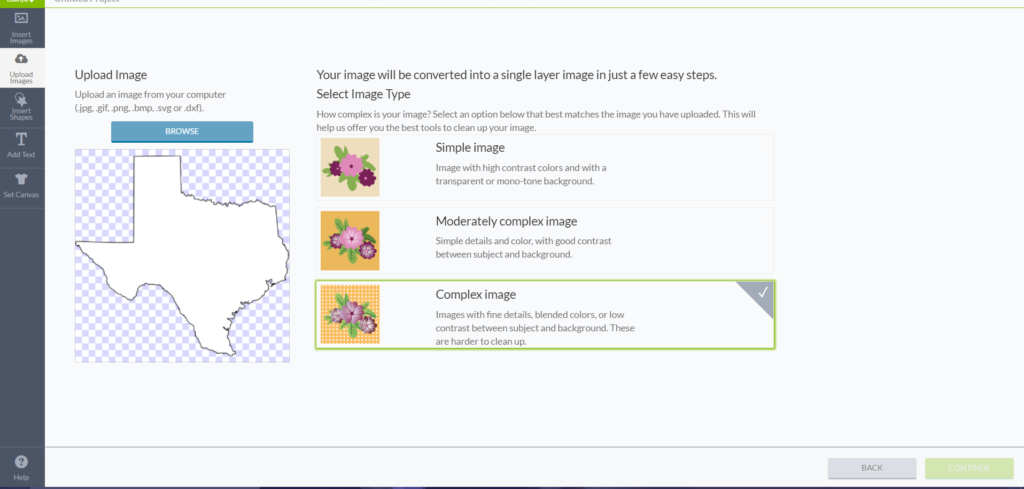
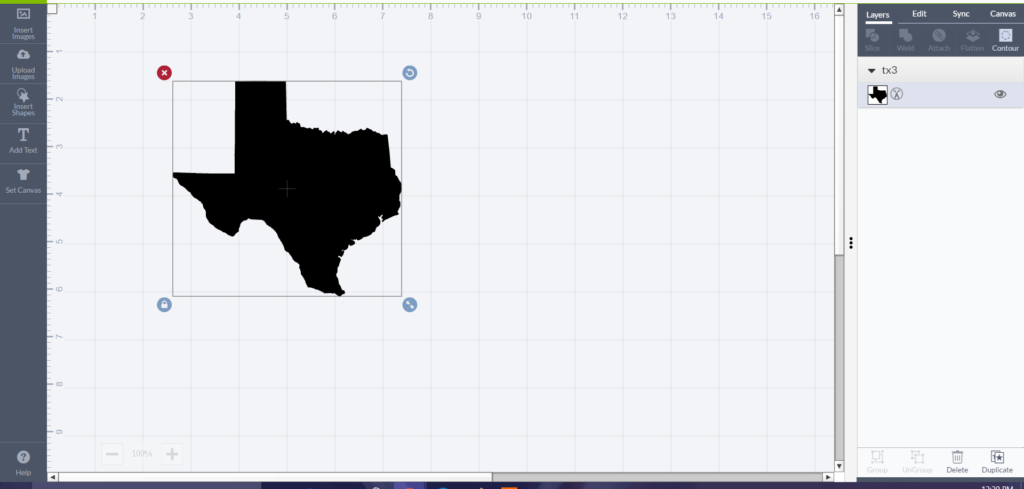
Another great tool is you can upload your own images. So lets say you’ve searched the images in Cricut access and can’t find the perfect image for you vision. You can just go online find the image you are wanting and save it. With one project I was doing I needed an image of a silhouette of the state of Texas. I just searched clip art of Texas found the one I liked and saved it. Then I went to my Cricut design space and went to the left side of the screen and clicked on the upload image button. Now just go to the upload image button on the next screen and press. Click on the browse and find the image you saved and click on it. On the next screen I always use the complex image option.
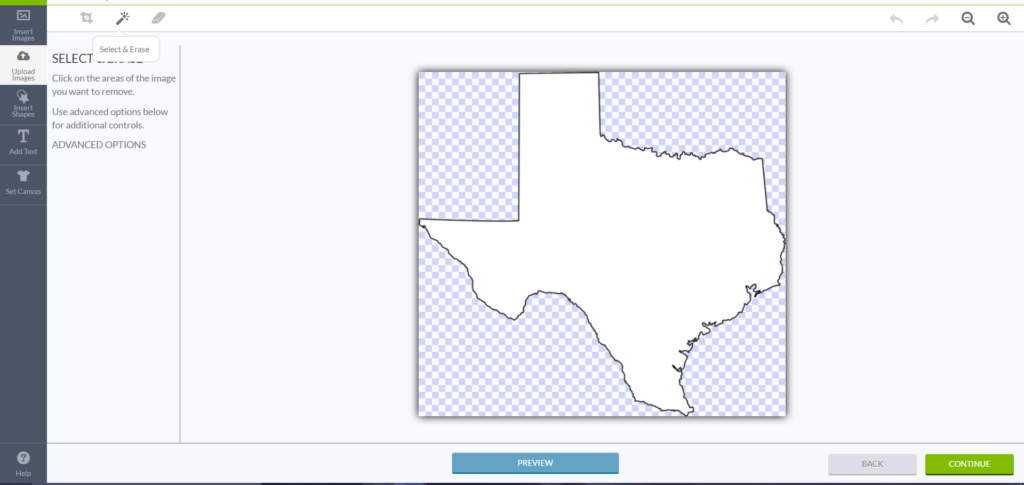
On the next screen you get the option to erase certain areas you don’t want. Maybe it has a background you don’t want, just use the select and erase option and it will disappear. You can always get a preview of what your image will look like so you can keep editing before you save the finished product.
This tool becomes so helpful when you are creating an images with different layer such as colors. That gets a bit tricky, but once you learn it it gets easier. That’s a whole other blog post for another day.
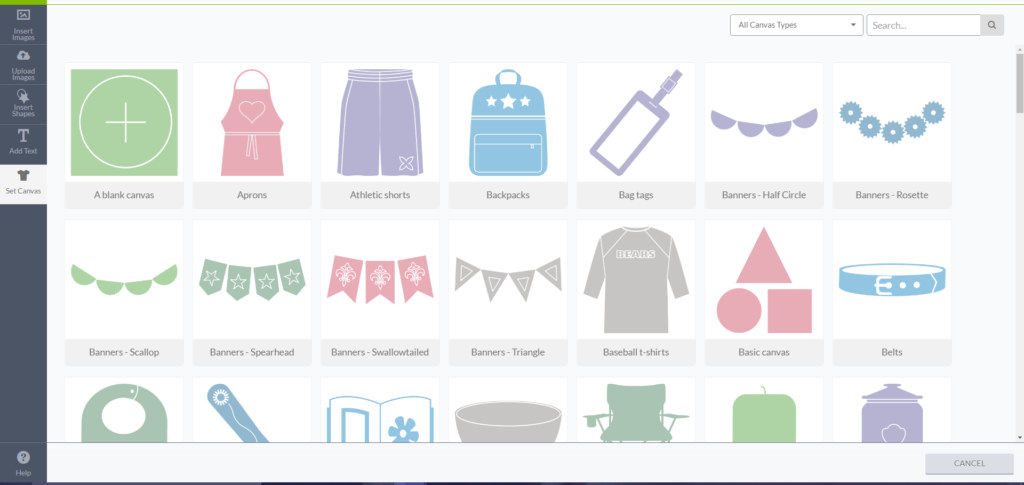
You also have the option of setting a canvas such as a t shirt, backpack, apron and etc. I personally never use this unless I’m trying to show someone where the placement would be of my design on the item I am putting it on. Some people need that visual image completely to design and that is a great way to get the full picture.
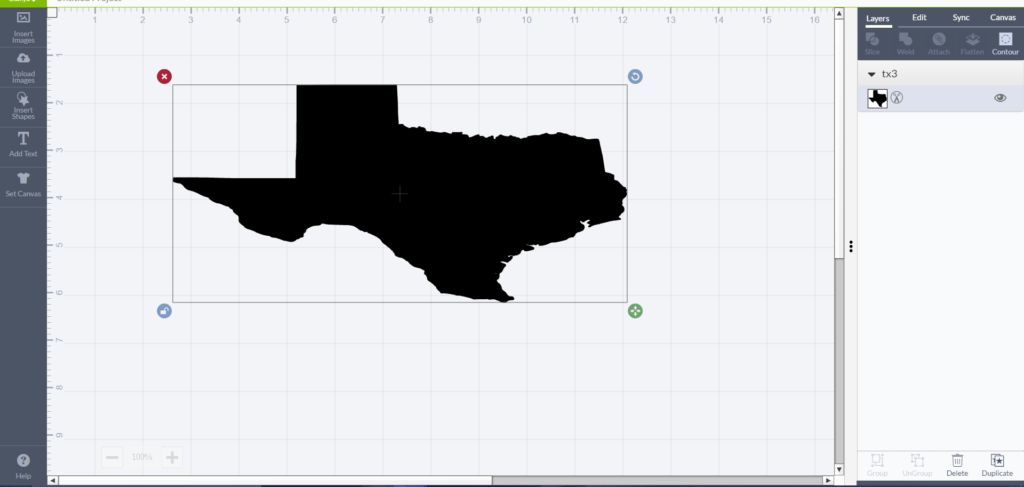
Something that I wish I would of known before I started was the re sizing button. Once you put an image or font in on the bottom right side of the image you’ll see two arrows facing opposite directions. This button is going to increase or decrease the size of the image equally both height and width. Lets say you need the image a lot wider than tall press the lock button on the button left side. Now you can make the image wider without taller or vise versa. Total life saver.
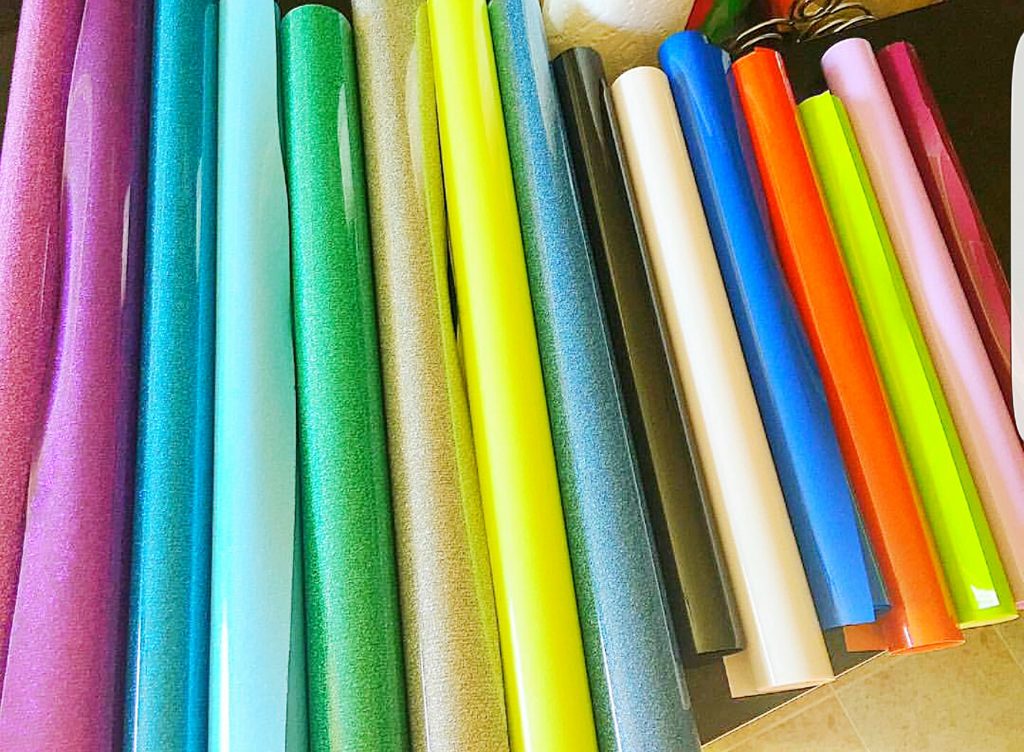
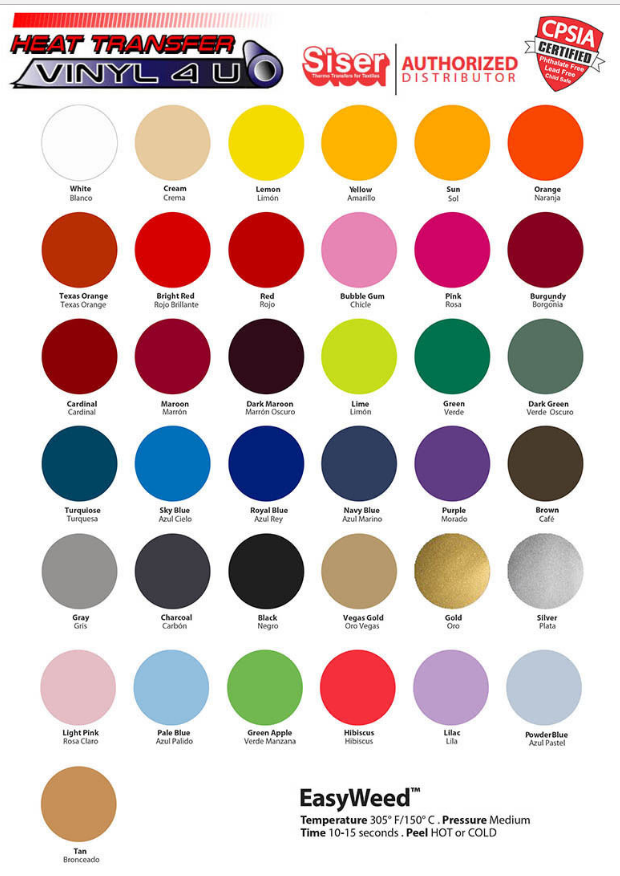
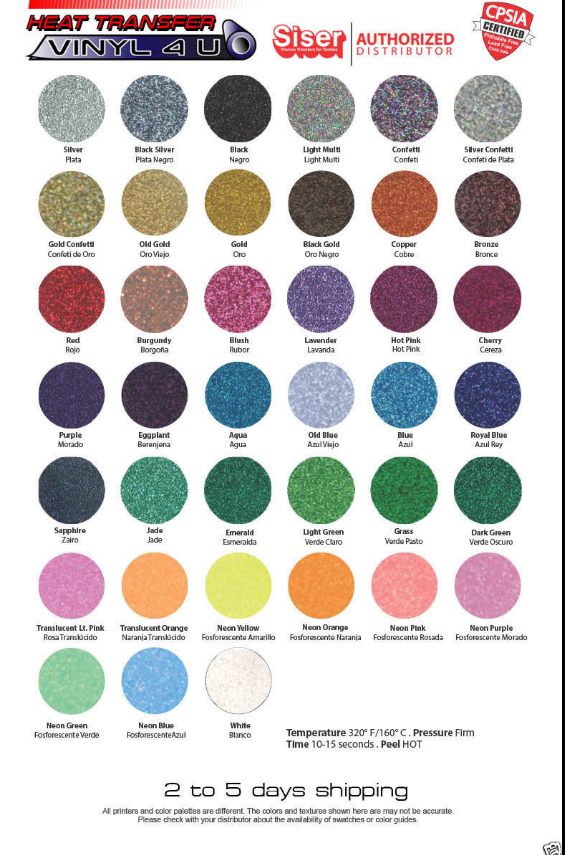
Some of the items included inn the box of the Cricut Explore Air are a blade per-installed, a metallic silver marker, a 12” x 12” standard grip cutting mat, card stock sample, and an iron- on sample. These are items just to get you started and to go through the step by step instructional they provide online when you setup your account. Depending on what project you are wanting to do you’ll need other supplies such as card stock for cards and other paper crafts. Iron-on vinyl for making t shirts and other clothing items. Also sticker vinyl for things like yeti decals or other types of decals. I personally get my different type of vinyls off eBay because you can get it much cheaper, especially when you buy in higher quantities.
When it comes to other accessories for my Cricut I go straight to Amazon. One good package of tools is this Cricut Tools Craft Basic Set. Three of these tools I use almost every time I use my machine. My weeder tool is a life saver. Weeding is when you’re picking out the parts of the cut usually the parts you don’t want. This sharp end tool makes it easy to pick out those pieces instead of trying to do it with your finger nails. Next the spatula is great for paper crafts. Let’s say you had cut out a bunch of stars and after you peel off the excess paper you want to take the stars off the mat. If you try to just pull it off the mat with your fingers you might damage the paper. So you use this little tool to just under the paper piece you want to help lift it off. My other favorite is the scrapper. Great for paper crafts too. After cutting out and getting the part of the paper off the mat that you want to keep this tool is used to just scrap off the mat the left over pieces in one swipe. This saves you a lot of time.
I usually never buy accessories for my Cricut at the hobby stores because the prices are so marked up. Even with those weekly coupons Hobby Lobby, Michael’s, and Joann’s Fabrics offer you are not allowed to use those coupons on Cricut products. Yeah I know, how can I not use my coupon on that when I can use it on about everything else. The nerve, but it is what it is. I have seen the stores run discounts on Cricut items before, but who’s going to sit around and wait for that when you an just go over to Amazon and get it cheaper anytime.
Something you’ll to eventually buy are mats. The mats actually last a good amount of time before you have to replace. All depends how much you use it too. Now I know there are pins out there saying “never by a mat again.” Yeah and pull your hair out because adhesive is everywhere now. I have sprayed my old mats with adhesive spray and it works, but I usually get too much adhesive on the mat where its too sticky or I get adhesive everywhere and everything is now sticky. Personally I rather just buy new ones. For $7 you can get two 12” x 12” standard grip mats. So $3 a piece. Come on now, that’s a deal. Cricut Standard Grip Mat 2 Pack. This type of mat is great to use for most projects. I suggest for paper crafts to use the Cricut LightGrip Mat
. This prevents curling of your paper, which can ruin a product. Also a tip never peel paper away from the mat, but vise versa to help to prevent curling.
If you’re wanting to do projects with sticker vinyl you’ll need to have Cricut Vinyl Transfer Tape. After you cut out your project and weed it you will cut out a piece of transfer tape enough to cover the whole surface of your project. You want to smooth this out as best as possible to prevent bubbles. Your scrapper is a good tool to use to smooth it out. Now you can pull the transfer tape off and you’re sticker should come along with it. Now you’ll be able to put your sticker on whatever you are making and firmly scrap over to get it to stick good on whatever item you are putting it on. I always saved my transfer tape that I just used because it can be used for a future project as long as its still sticky. Less money spending on more transfer paper.
When it comes to blades I have a couple helpful tips. I would go ahead and buy some Cricut Replacement Cutting Blades 2 Pack 2 for under $7 and mark each tip you have for certain type of material you use it for. Have one for paper, one for vinyl and I have a Cricut Explore Deep Cut Blade and Housing
for tougher stuff like poster board. You’ll know when your tip is running dull. Especially when it comes to paper projects. This can help your blades last longer.
The Cricut Scoring Stylus confused me at first. Let’s say you pick out an already setup card project in Cricut access and you see a line with dashes all the way. That’s a scoring line. It knows to use the scoring stylus, which looks like a pen, but is in fact a dull metal tip, no ink. It’s to make it easy to fold because it puts an indention in the paper. Even if you completely design your own card you can add your own score line by pressing the insert shapes button and look for the line with dashes.
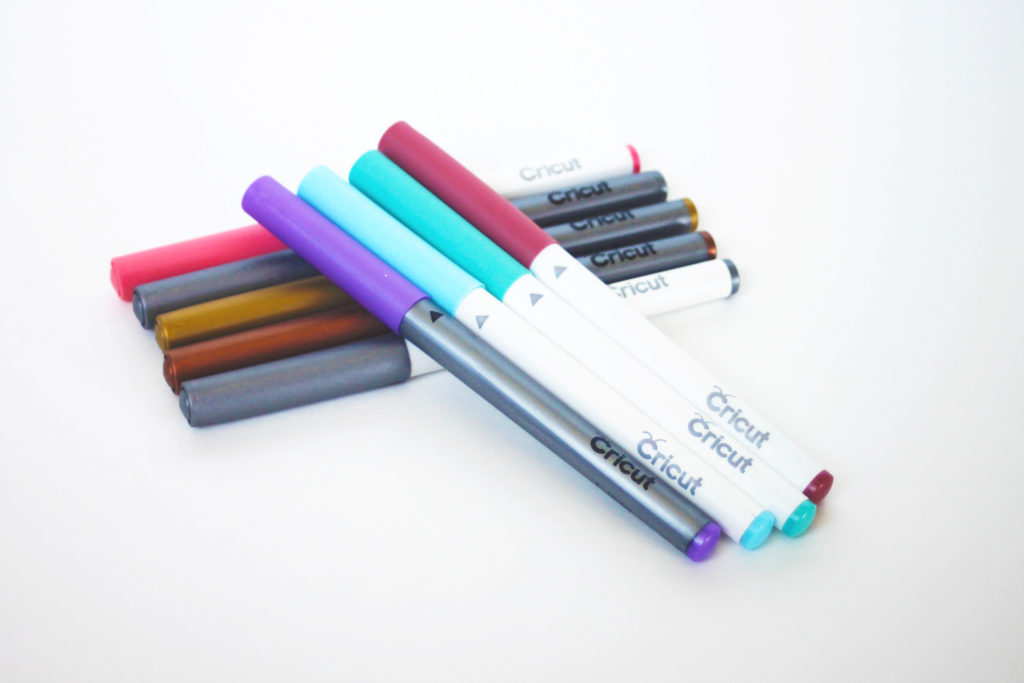
If you’re big into paper crafts you’ll want to get you some pen sets. They come in different point sizes and colors. For small font size you’re going to want to use a fine point. I really love the Cricut Metallic Color Pen Set. They look so nice when making a homemade card for someone. There are many pins out there telling you about other brand of markers and pens you can use instead of just the Cricut brand.
Well, that is my basic introduction to the prized Cricut Explore Air. I just wanted to tell a little bit about the machine I use so much to help with crafts I make. If you don’t own one, plan to or know someone who does you are missing out. My machine has been paid for many times over by the money I have saved doing projects myself and the countless calls and texts I get from friends asking me to make them something. All in all I would say the Cricut is a great investment if you have a little bit of time to spare to make projects and even sell them.






Hi,
Great article! Quite informative!
Quick question, are the Cricut machines only Apple compatible?
Hi Lisa. Thanks for the complement. And actually they just released the cricut design space app for android. Yay! I was always an apple user, but switch to android this past year. I downloaded the app on my phone. I still have an iPad so I’m not sure about the app for the android tablet.
Great article! I have an old Cricut Expression….what are your thoughts on the trade up bundle offered by Cricut. I’m ready to upgrade.
So I looked up the expressions on eBay and none are listed for under $100. So I would personally try to list the item on a local buy sell trade group on facebook or Craigslist first to see if you can get mor than $50. The bundle looks like a good deal, but I would go through and check the prices on everything. The explore air 2 alone is $249 on amazon. So with the bundle being $329 I would add up the cost of all the extras. I personally hardly use ever buy any of my supplies from Cricut unless they are running a mega sale because they cost so much more there. All that being said if you just want to get the new Cricut as easy as possible then do the trade in and buy through Cricut
I am interested in getting a cricut. I would like to make shirts, glass ware, koozies, maybe put a design on the bow I make and on Yeti cups. Which cricut would you recommend?
Any of the airs would work. I don’t know anything about the older machines. The new maker would be best if you every plan on working with fabric pattern for sewing or when they finally come out with the new blade which will cut thicker materials. That’s why I went ahead and bought the maker because I want to cut wood (thin wood) to make signs, but can’t do that until the new blade comes out. I still have my air2. So with what you are wanting to do I would get the air2 because it has the fast mode and cuts way faster than the original air, which comes in handy when doing bigger projects when you’re short on time or want to get stuff done faster. When you do get your machine check out this post on the things you will need to go with your machine. This has links to the cheapest I have found them all. https://www.glitterandgraze.com/best-supplies-for-cricut/