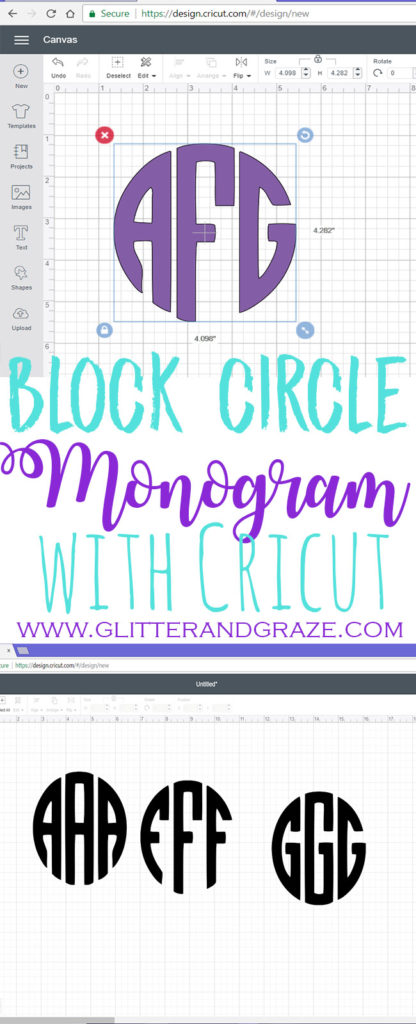
Block Circle Monogram with Cricut
A step by step of how to create a block circle monogram using Cricut Design Space. It’s not as hard as you think.
Disclaimer: Please note that some of the links below are affiliate links
in which I will receive a commission if you purchase those items through
that link. I used and recommend all the products below because I have
found the company and products are reliable and are my personal preference.
Monogramming is such a big craze right now. I’m no stranger to having everything I can think of monogrammed. My sweet little baby girl’s everything is monogrammed as well. She will for sure know her initials at an early age.
I’ve done a previous post on how to do a vine monogram which is very popular. But another that is popular that is a little more modern looking is the block circle monogram.
It’s so elegant looking and can even pass as a masculine monogram. Now how to make one in design space.
This post will give a step by step in detail how to achieve that block circle monogram in design space. Then you’ll be ready to put that monogram on any and everything using some heat transfer vinyl or adhesive vinyl.
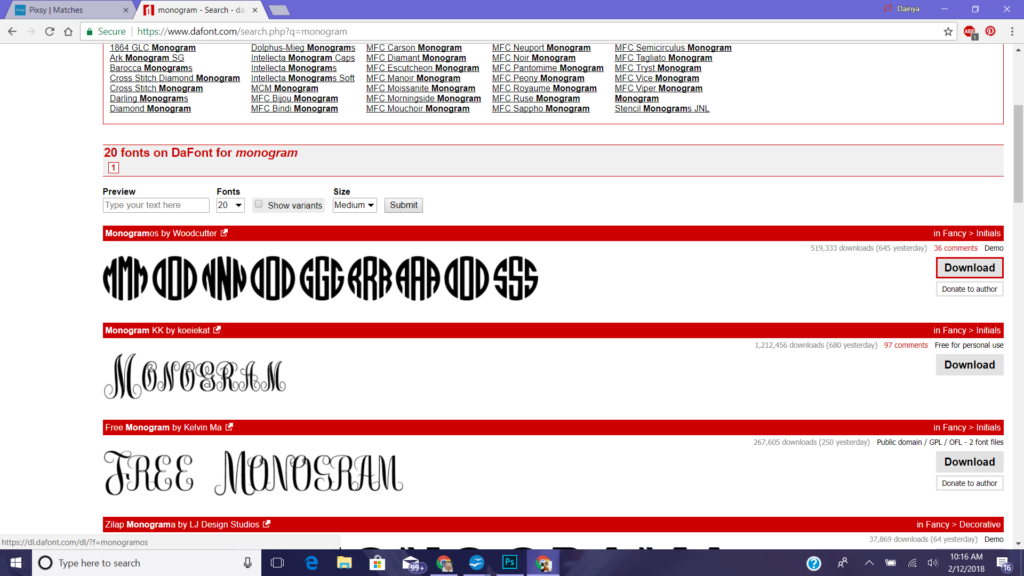
First thing you need to do is go to www.dafont.com and look up the font Monogramos or use this link here. Then click download.
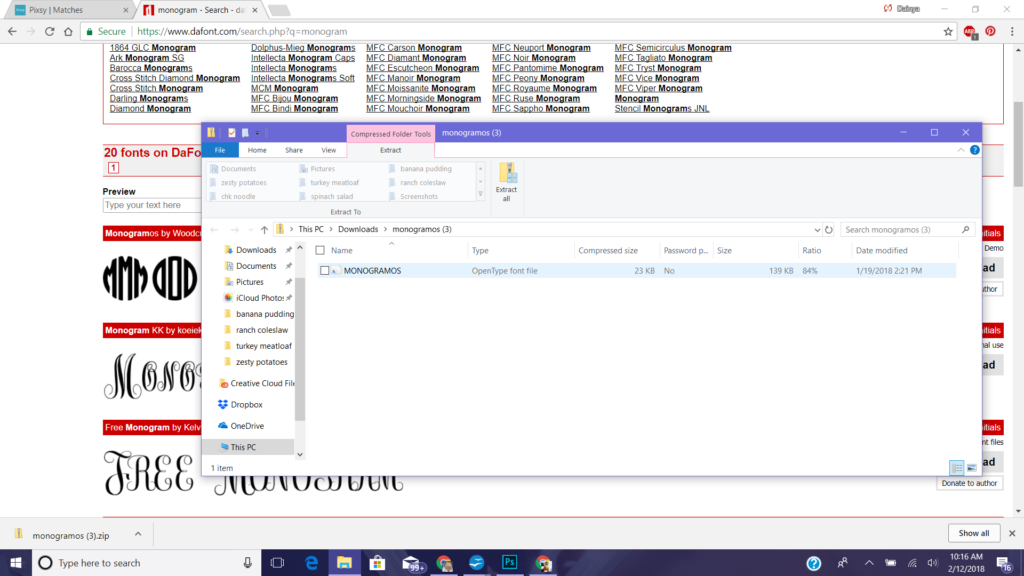
At the bottom of your screen you’ll see it downloading and once done open the box and double click on the file.
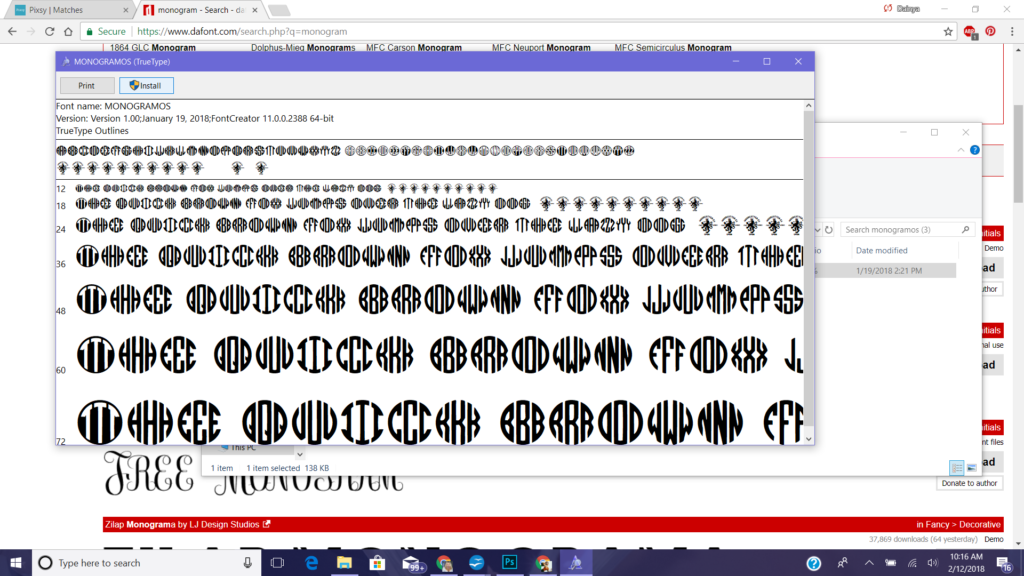
Next will pop up another window and at the top left of that you will click on install.
Now you are ready to open up design space. If you already had design space open you need to completely close it and reopen it. This is the biggest mistake I found people making of why they can’t find the font in design space.

Now open a text box and go up the the left of the screen.
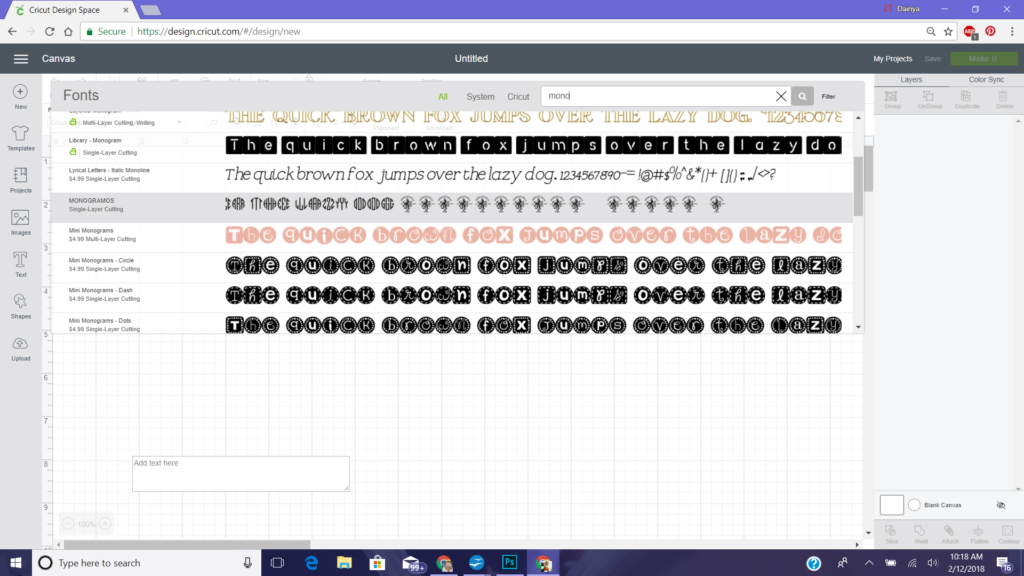
Go up to the top left of your screen and under fonts search for mongramo and click on that font when you see it.
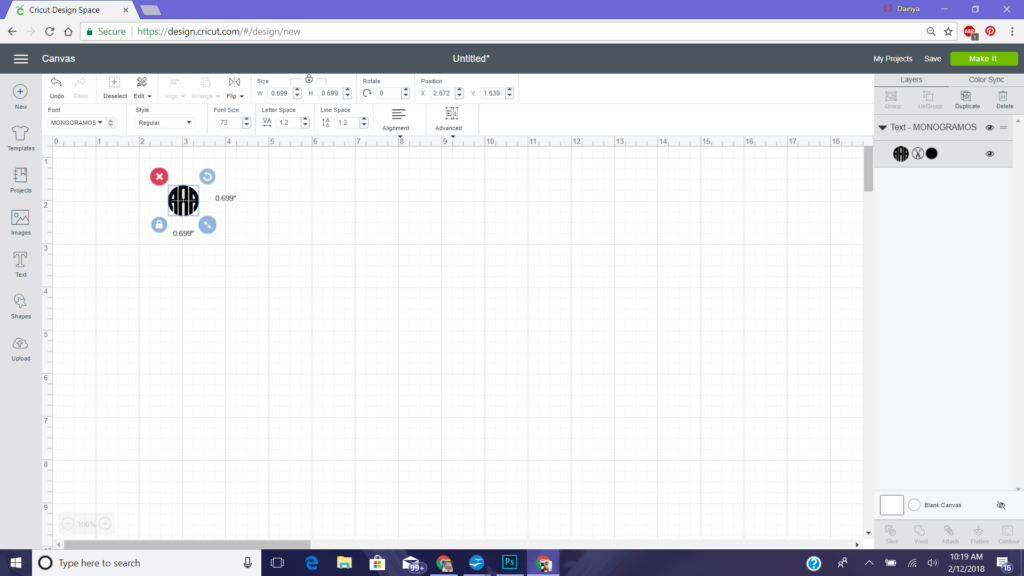
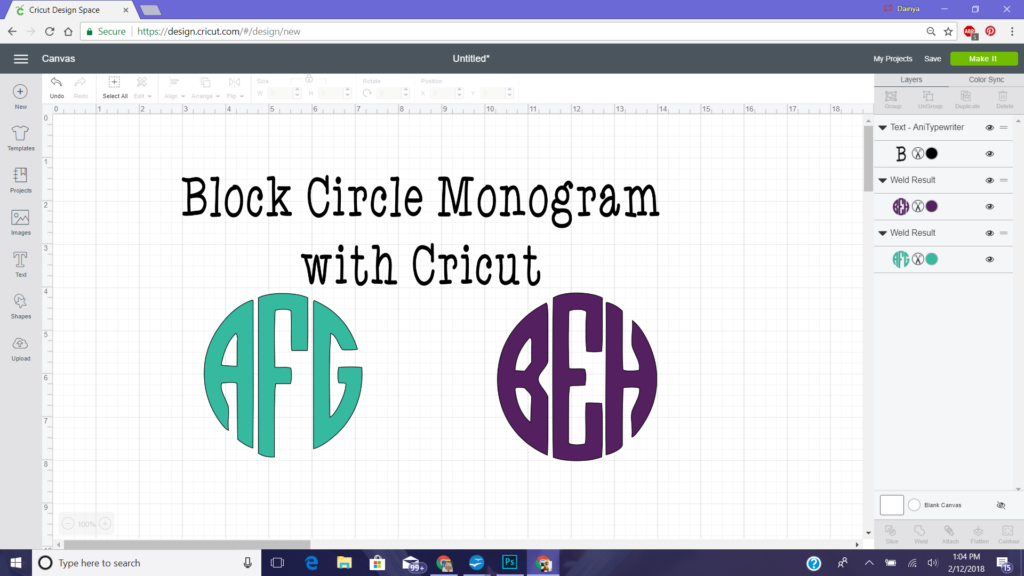
First start with the first letter you will be needing. For mine I’m using the letter a. Notice it makes all 3 letters an a. We will worry about that later.
Just a reminder a monogram goes in this order; first name, last name, and middle.
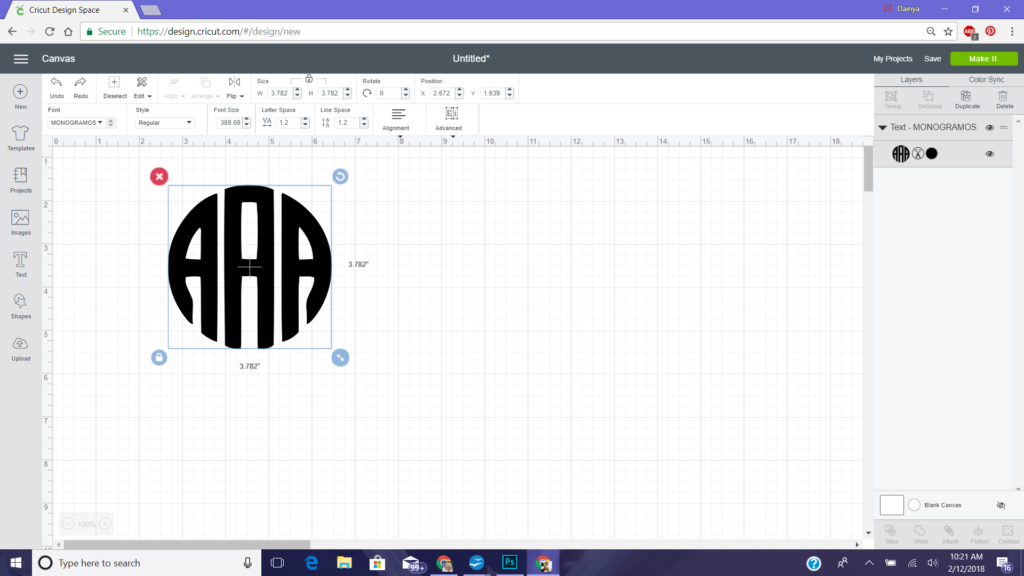
Next you want to size it to the approximate size you would like your final image to be. If it’s not exact that is okay you can always re size at the end.
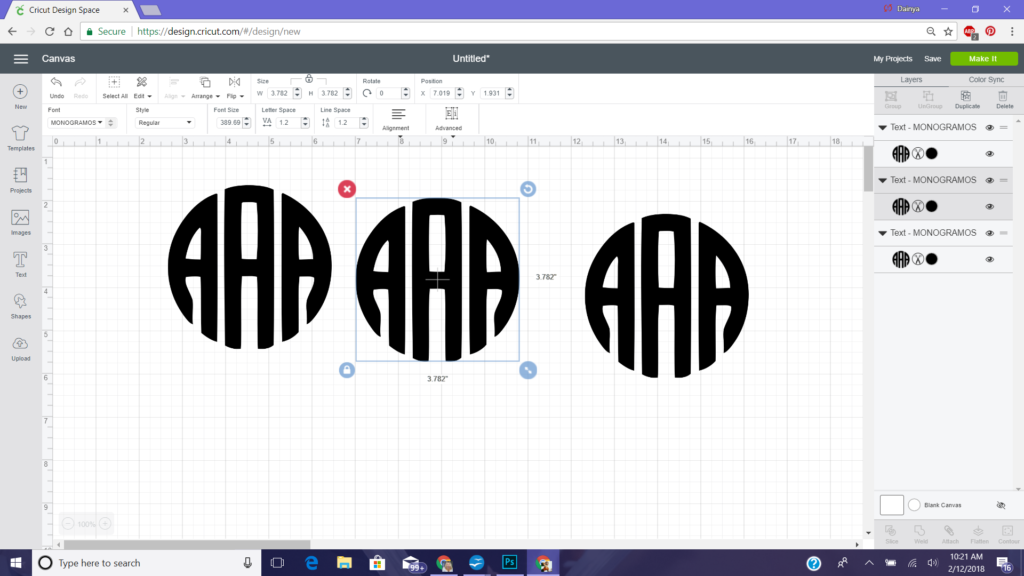
Next you want to make 2 duplicates of your first letter. The reason for doing this is to make sure all your letters will be the same size.
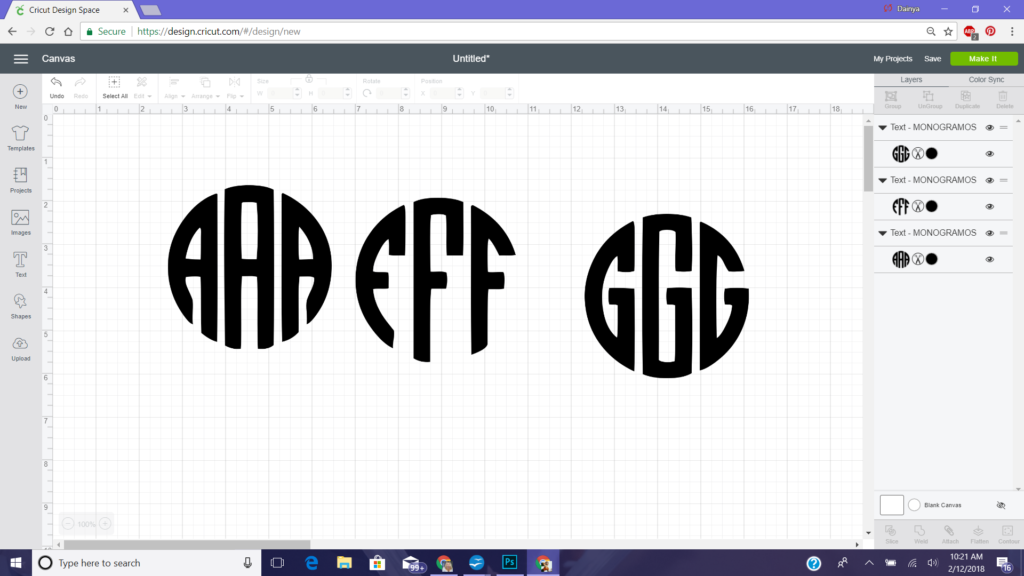
After you can click on the other 2 sets and change the letters to the other two letters you are needing.
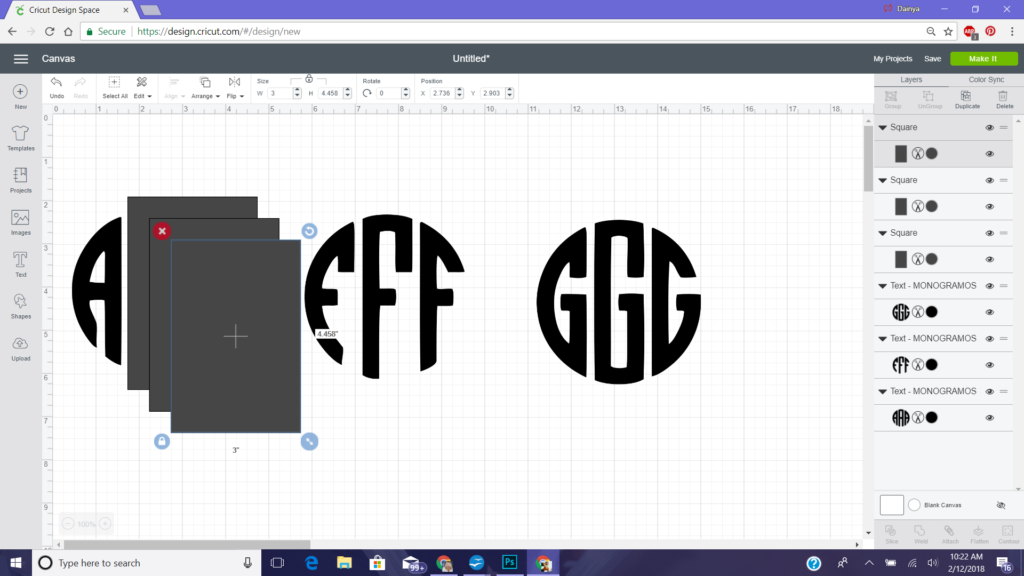
Next go over to the left side of the screen and click on the shapes icon and then click on rectangle.
You want to size the rectangle where it will cover up the middle letter and the one next to it. That way when those letters are covered only one letter is visible. Once you do that duplicate it.
This will only work together the first letter you need and the last one. To get the middle letter will will have to do something different.
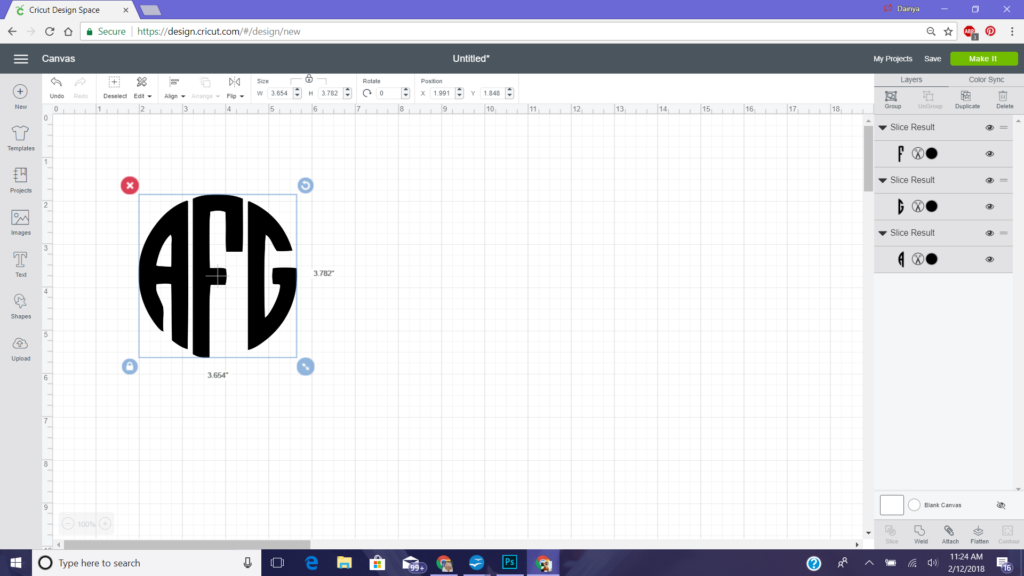
You’ll want to start with your first set of letters. Cover up your middle letter and the last letter and in circle.
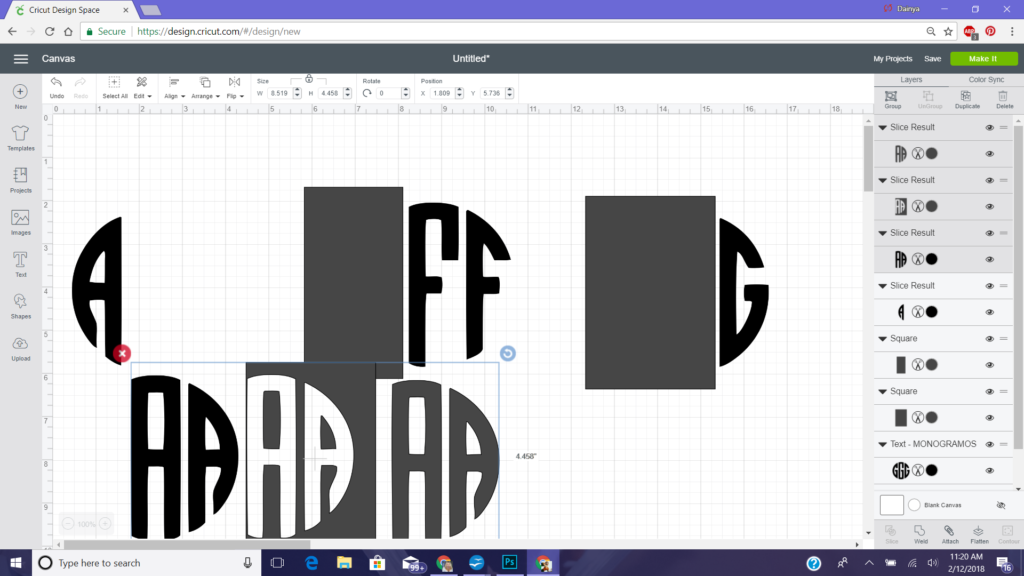
Click on the circle monogram, in this example A and then hold down the control button and then click on the rectangle that is covering up the other A’s. Then go over to the right bottom part of the screen and click slice.
After doing this you’ll have 3 layers to the A’s that were covered up and delete them all by highlighting and pressing your delete button on your keyboard.
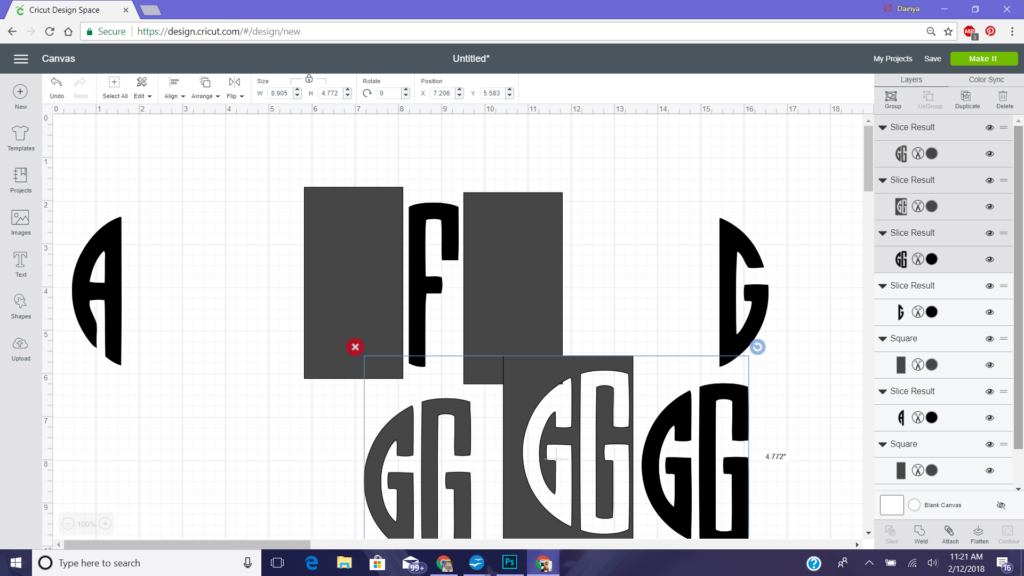
Now you need to repeat this step to the circle monogram of the last letter in your monogram. Example in the monogram I’m making that would be the letter G. I want to cover the first and middle G of the monogram.
Now to get the center letter make a rectangle that will just cover up one side letter then duplicate it to cover up the other side letter.
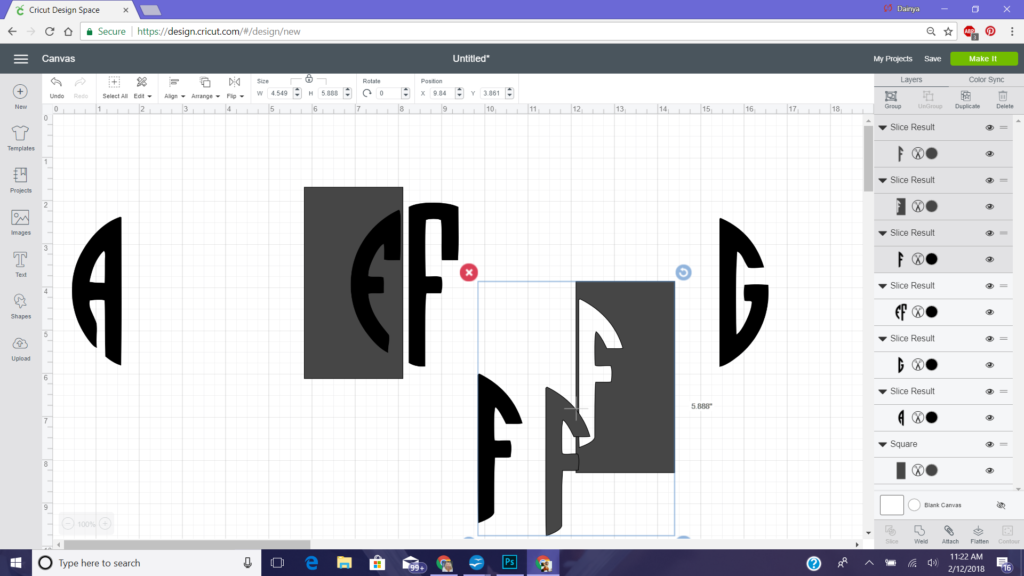
Click on one of the rectangles and hold down the control button to highlight the monogram and then slice. You can not slice both rectangles at the same time so you must do each one separate.
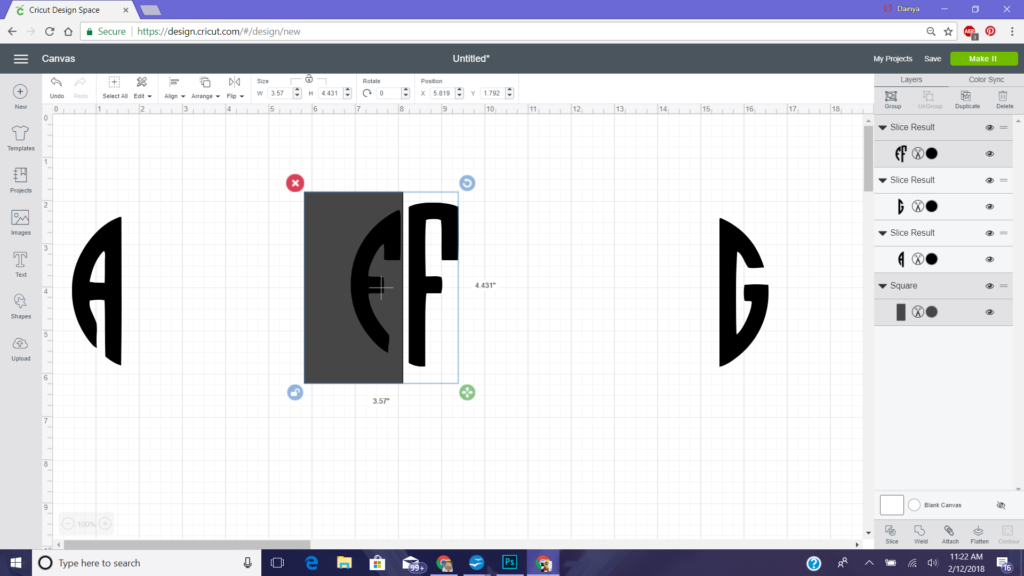
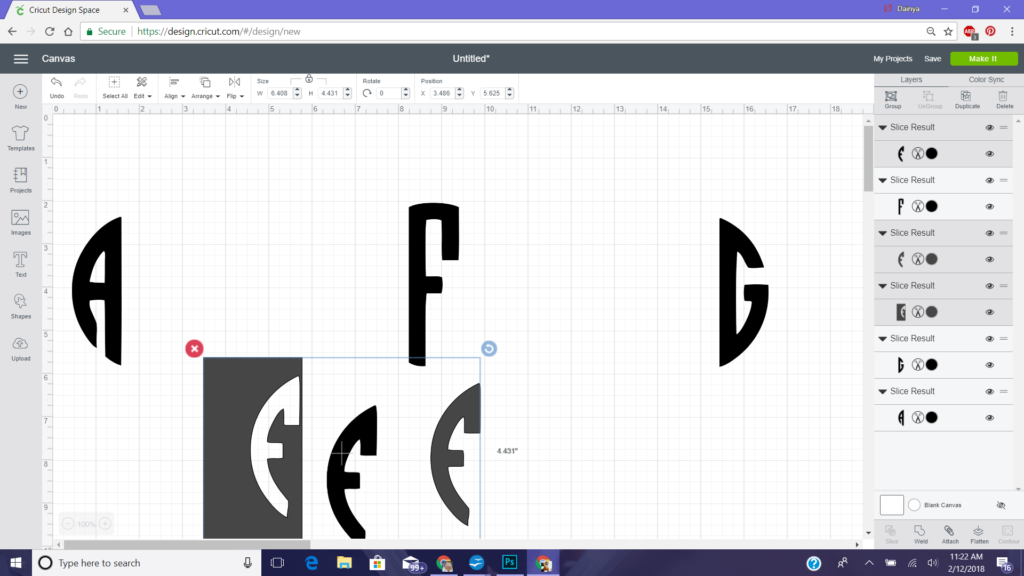
Once you delete those go ahead and do the same with the other rectangle.
Now you just have to line up all your letters together and select all and attach. You can also weld them, but once you do that there is no going back and changing the letters to other initials.
Just like that you now have a circle block monogram. Now get busy putting your monogram on everything you own.

Golly…thats so much easier than what I do… I always screenshot each letter then upload it like a picture, crop the letter that I want, yada yada yada… then put it together that way… thanks!
Glad it helps
Great tutorial… I’ve made my first monogram! Now I can’t figure out how to change the initials; I’ve only attached them (not welded). Help!
Thank you!
Did you unattach them before you tried to change the initials?
Yes, and then I clicked and double clicked on the initial. No text box appeared.
I had a brain fart there for a minute. Now I’m like duh…its because you already sliced them. So in order to do a different monogram you going to have to do it all over again with the letters you need
Gotcha. Thanks!
My monograms are coming out with a black background on the Design space. The letters are see through but have a background. How do I fix this?
That is strange. What color do you have the font color?
I fixed mine from doing that by typing out a word and it eventually changed!
After further testing, I discovered when you make he letters capitalized it created the black background!
Thank you for this comment, that helped me fix mine, too!
Ahh great. Glad it worked
Thanks a bunch. Been wondering how to do this. ? super happy ?
How do I change the letters on the second and third
Re read the tutorial. You are making 3 different texts boxes each with the different letters you need
I understood that. Now it will not let me slice. Pressing control and clicking on my letter. No slice
Are you clicking on the letter and the square box that you were suppose to make? You have to have something to slice the letter with
It is not letting me slice. It gives me option for it. Not lit up
Did you watch the video I have on that page? It shows step by step