Cricut: Weld or Attach
A clear definition and examples of the difference with Cricut: weld and attach options that you will actually understand.

I often get asked what is the difference between weld and attach in Cricut design space. Cricut lingo can be quite intimidating at first, but I always say once you know it seems so simple after that.

Welding
When you weld something together you are permanently combining those 2 objects together to become one object.


To help remember think of a welder. A welder is usually using a heat source to melt and combine 2 metal objects together to become one piece. These 2 pieces of metal are now “welded” together as one.
But do not forget once you weld something and then save that project there is no unwelding. If you haven’t saved your project yet you can always click the undo button until your object is not welded anymore but if you did a bunch of other stuff to your project after welding it all that will be gone by undoing it.
Attaching
When attaching two objects together you are basically sticking them together, but still as 2 pieces.

So to help remember attach think about that you are using tape or glue to attach two objects together. Yes they are now attached together as one piece, but you can still see the original outline of 2 objects. Unlike where if you had welded them together they would be melted into one piece.
When to Use What?
Here are just a couple examples of when you should use weld and when to use attach. Keep in mind there are so many other instances that each should be used.
Welding

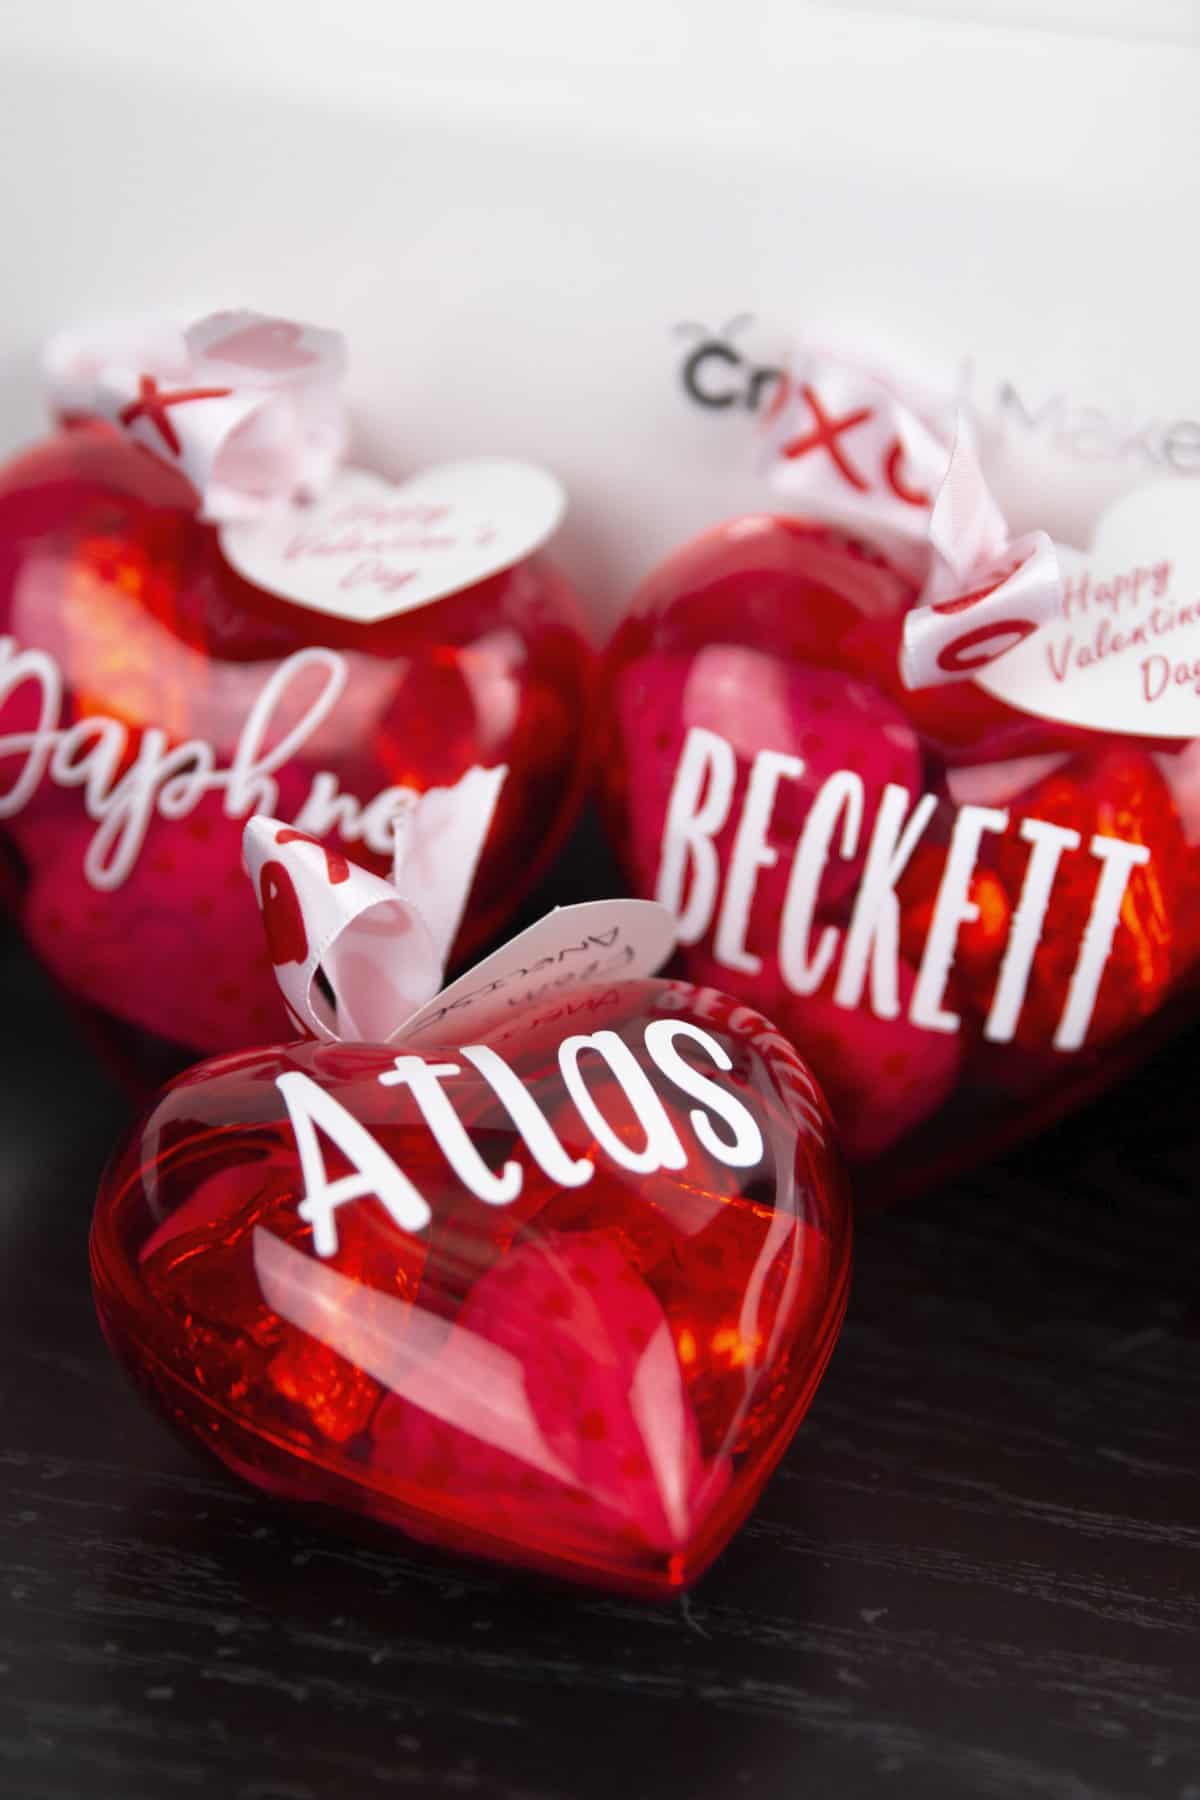
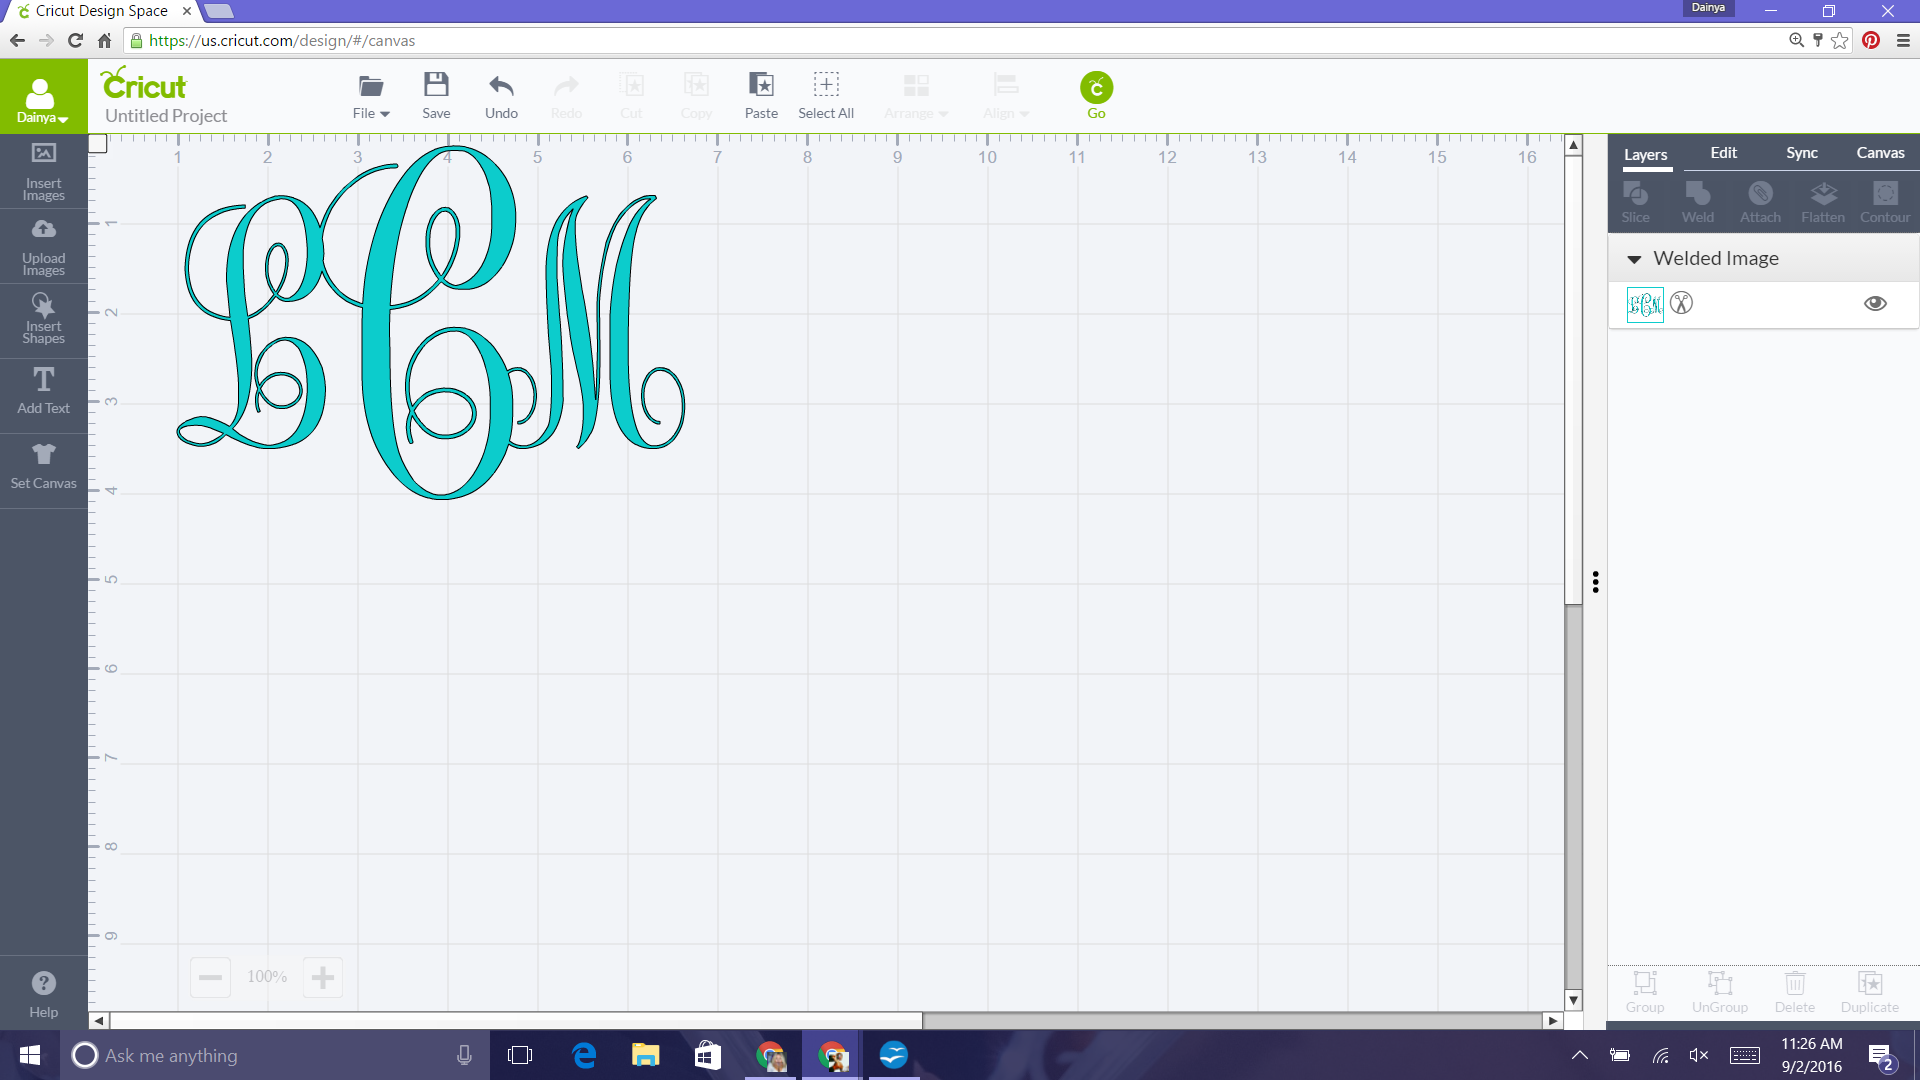
Okay lets say you are wanting to cut out a name or word in a pretty cursive font. Well when you go to type out the name in the font you want not all off the letters are touching in a flowing matter.

So you need to start moving the letters closer together or even start making separate text boxes to get to where the letters are touching.
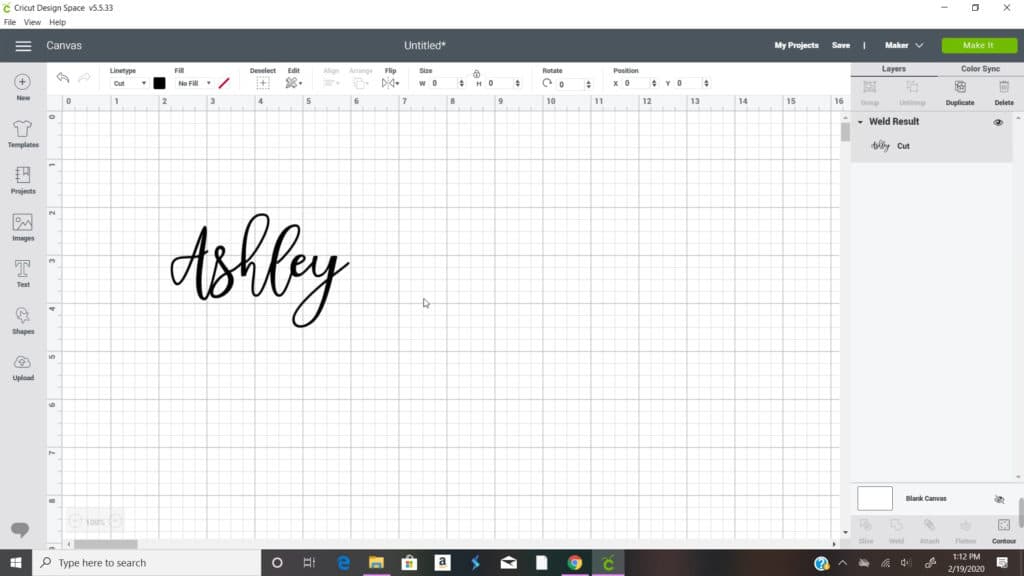
Once you get all the letters touching if you want this to be a smooth one piece cut out of the name or word this is where you would weld all the letters together. Just select all the letters in the name or word and weld.

If you attached all the letters together instead of weld your machine is still going to cut out the individual lines of each letter. So you name would not be a flowing one piece cut.
When to Attach
Let’s say you where making a t-shirt with an image and some words and they were all going to be the same color.

If you want your image and words to be in a specific place and cut in how you placed it in design space you would select all and attach it. You could weld it, but once you weld and save there is no going back. It is permanent. When you attach and save you can always go back and unattach.

Or let’s say you’re doing a big projects with a bunch of different text boxes and you have lined the words up perfectly and how you designed it is how you want it cut, like above.

If you didn’t attach all these words together when you go to cut they would be everywhere on your mat, not lined up and out of order. So you want to be sure and attach them.
Want More Cricut Post?
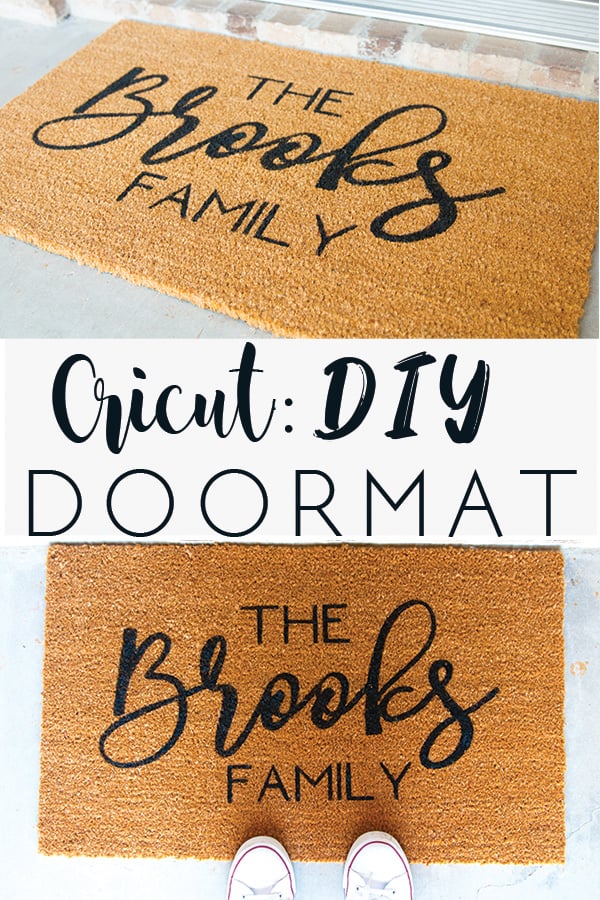
Cricut DIY Doormat
Block Circle Monogram with Cricut
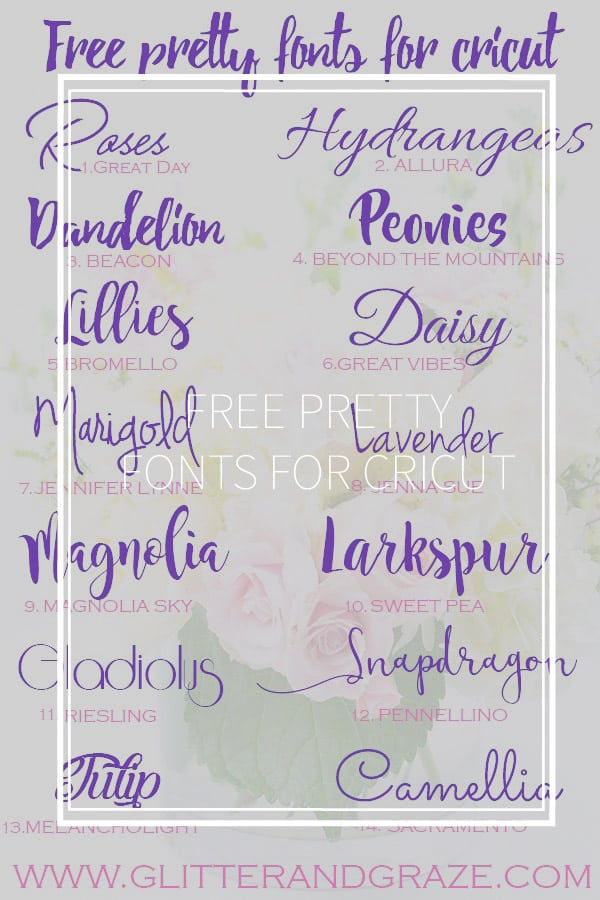
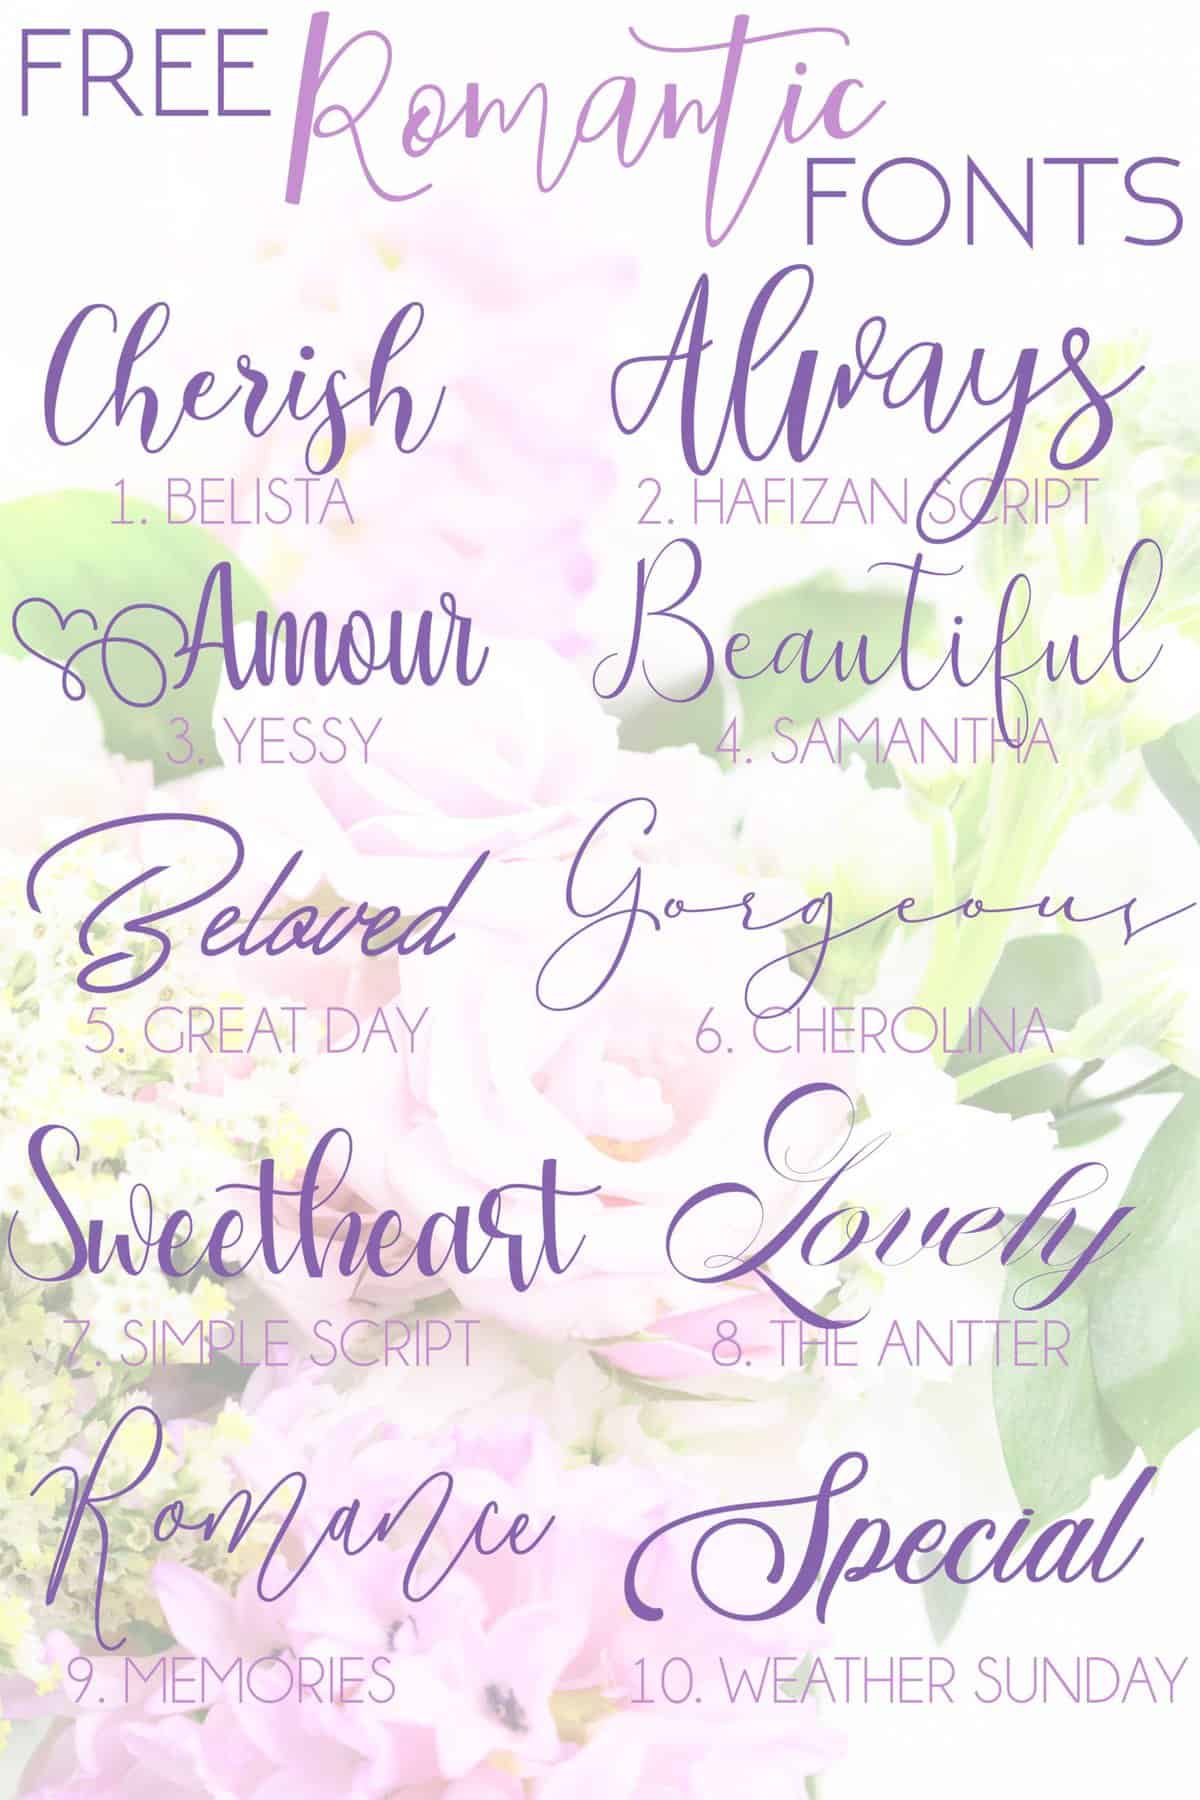
Cricut Explore Air- Free Fonts
Monogramming with Cricut
Or check out all my Cricut related posts to help build that perfect project
This information was great and easy to understand.
Glad it helped