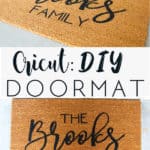
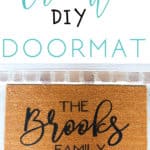
Cricut DIY Doormat
You too can make this DIY doormat using your Cricut in no time at all. Perfect addition to your home or a great gift to give in which they will love.

Nowadays everything is getting personalized. What use to be an expensive thing to get done you are able to DIY in your very own home for pretty cheap.
This is thanks to technology and of course the Cricut machine. I’m on my third machine because I always have to have the latest and greatest. If you don’t have one and love to craft this machine is for you. You can read my previous post Cricut Explore Air 2 to learn a little bit. I still have this machine, but now use my Cricut Maker mostly.
So in this post I will give you detailed step by step instructions on how you can make this DIY doormat with your Cricut.
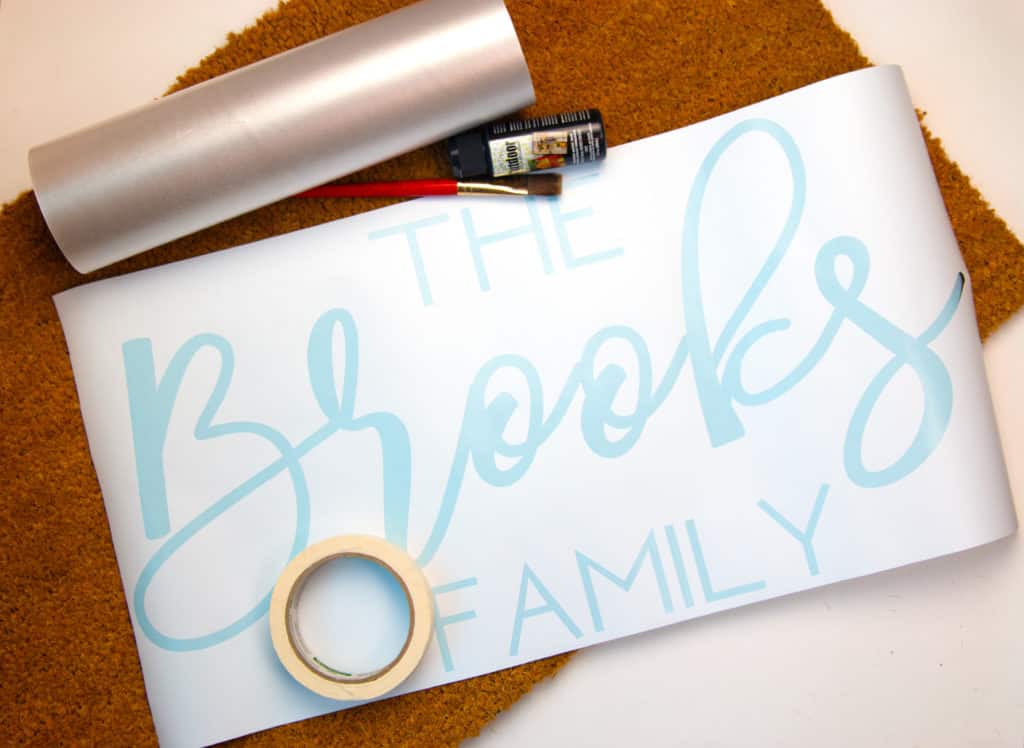
Supplies you will need:
- Doormat- You can find them at home depot, Ikea or Amazon just to name a few
- Outdoor Acrylic Paint which you can get at the craft store
- Paint brush with a flat edge– you do not want a super small one or this project will take you much longer
- Masking tape
- A vinyl stencil which I will show you how to create with your Cricut
- Transfer paper– not a super sticky kind either. The less sticky the better
- Hair dryer
Creating the stencil in Design Space
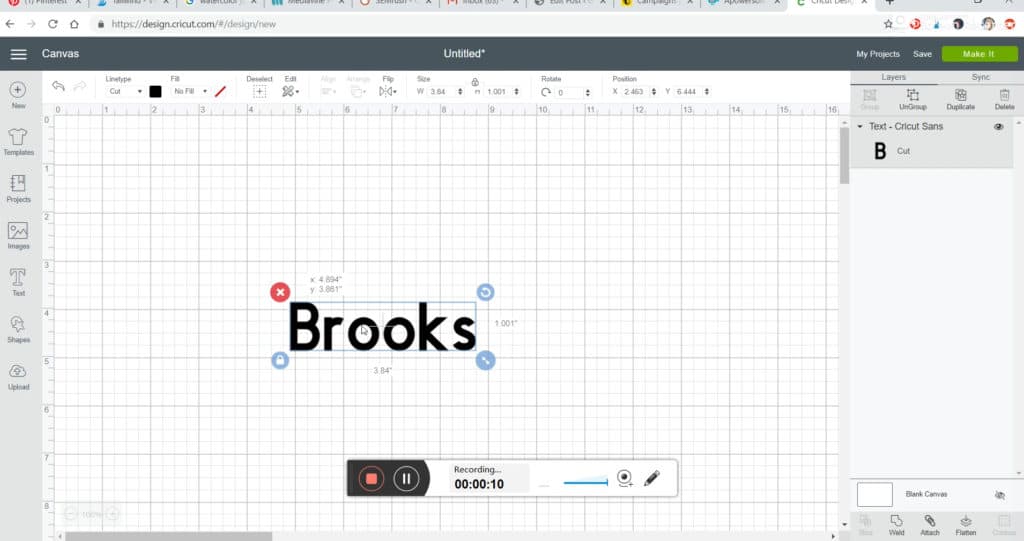
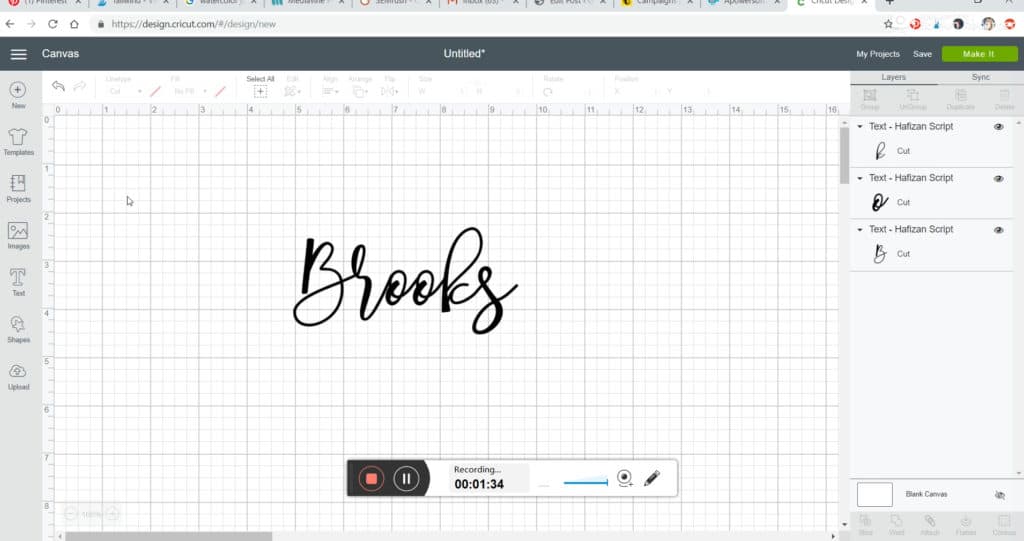
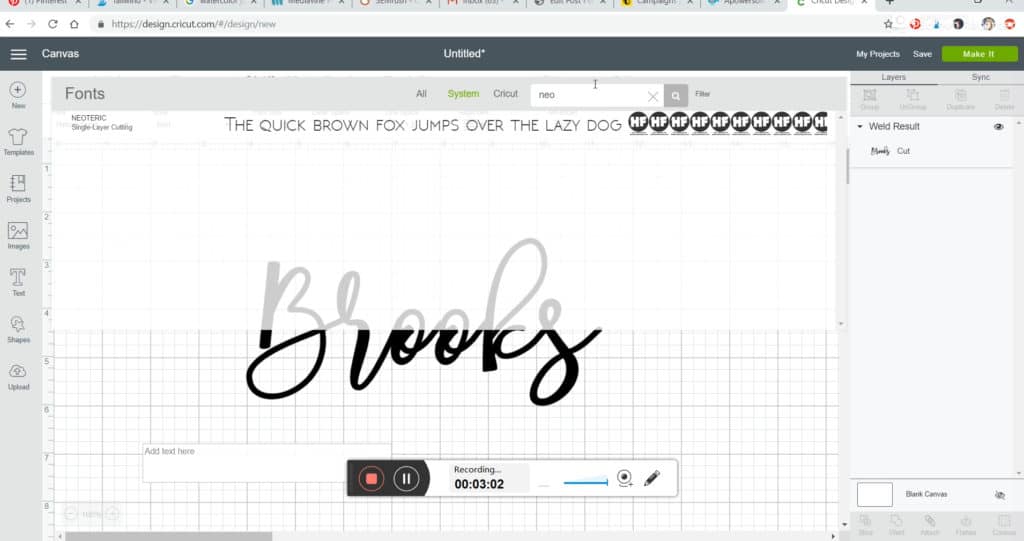
Open design space and create a text box with the last name you are using.
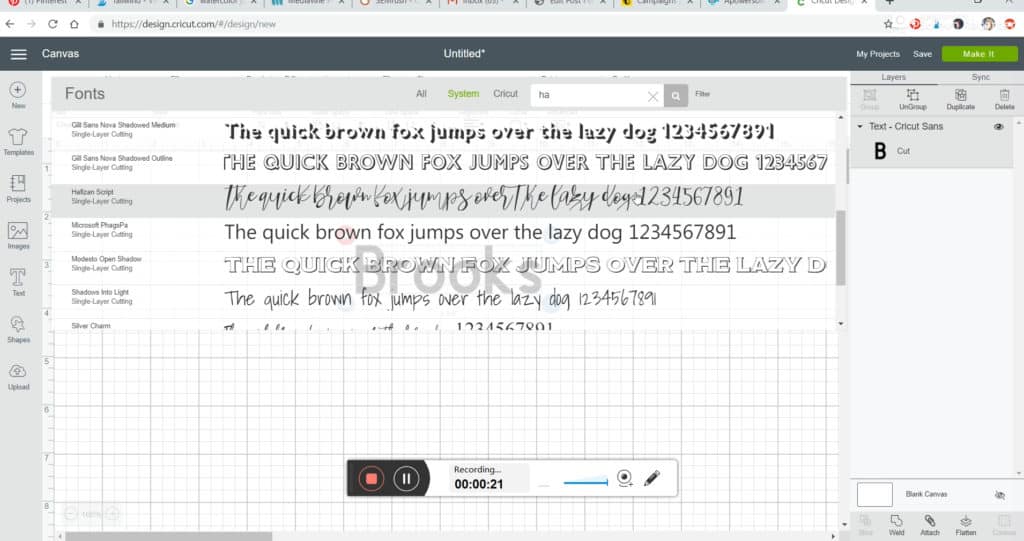
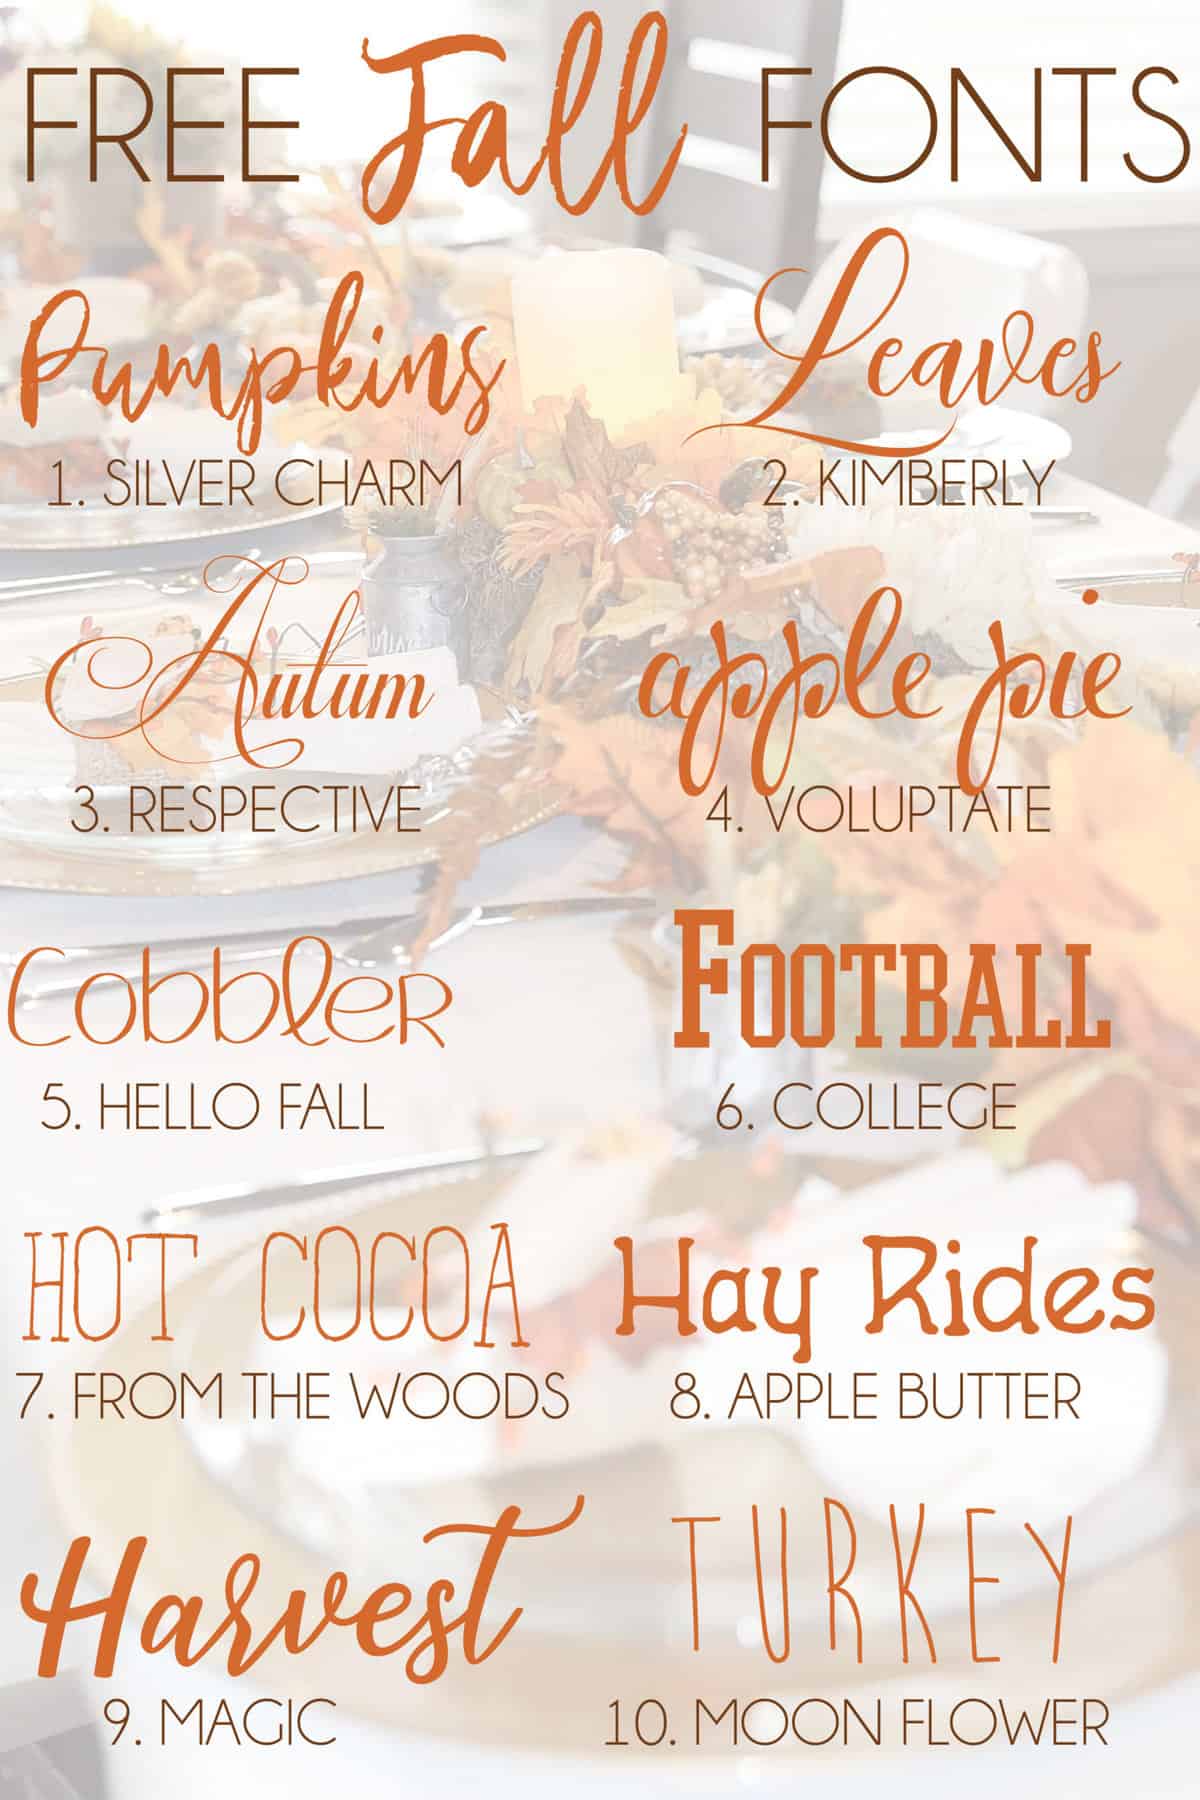
Choose the font you are wanting to use for your name. I picked Hafizan Script which I downloaded from dafont.com. If you need to learn how to download fonts for Cricut check out my other blog post Cricut Explore Air- Free Fonts
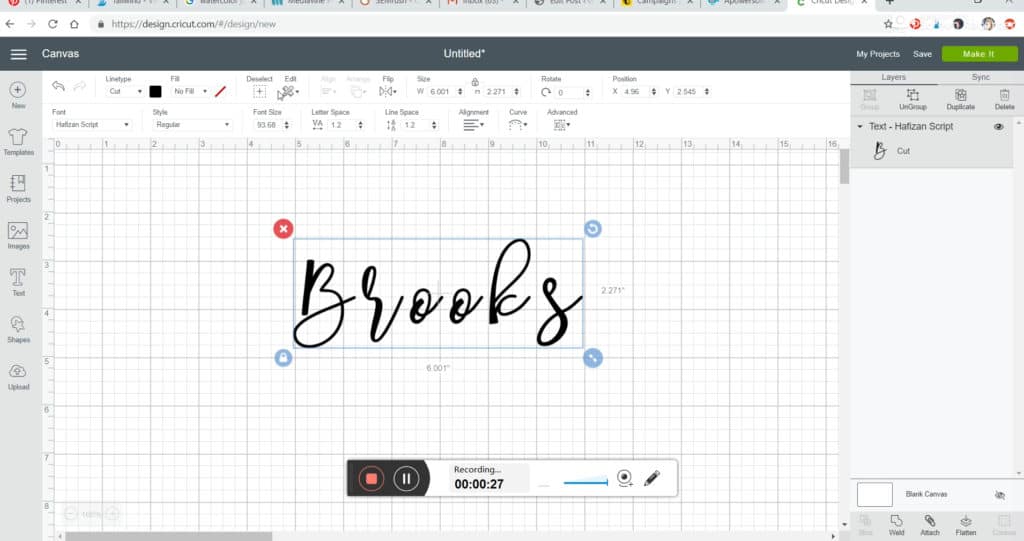
Notice how the letters are not connected? This happens with almost very cursive font you download. No need to worry though. You can easily fix it.
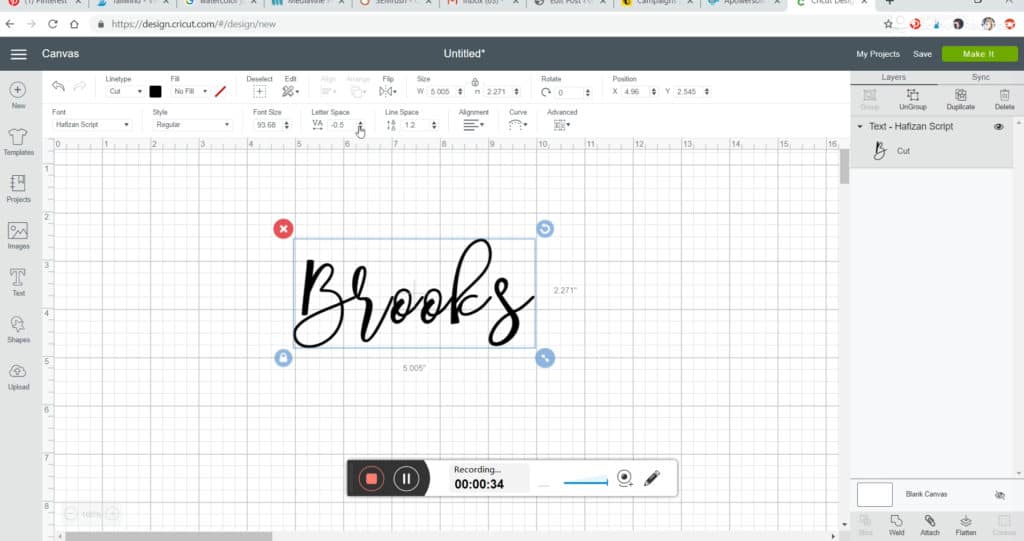
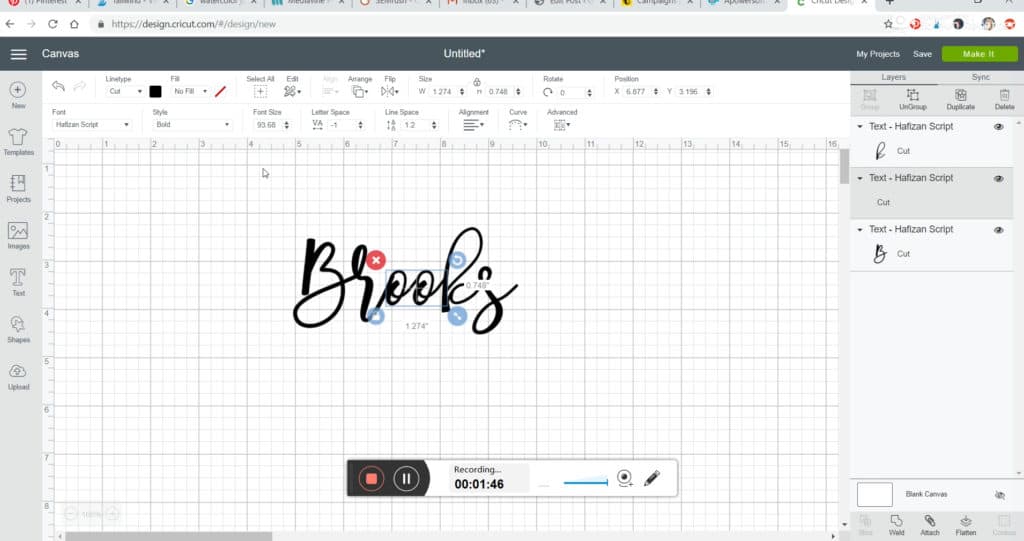
Use the letter space tool that is at the top center of your screen and press the down arrow until your letters start to connect. As you can see some start to connect before others do.
So we are going to have to make multiple text boxes to connect all the letters.

Start by deleting all the letters that aren’t connected with the first letter. In this case only the “Br” are connected. Then duplicate the “Br” The duplicate button is at the top right hand side.
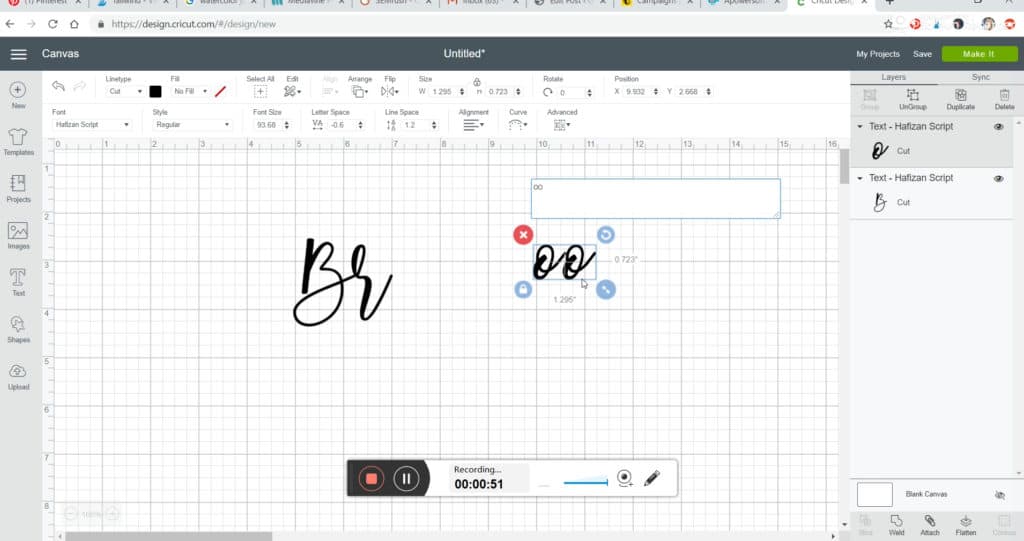
Change that duplicate text to the next letters in the name. In my case it was “ooks”, but only the “oo” would connect because the “k” was still not connecting to the “oo”
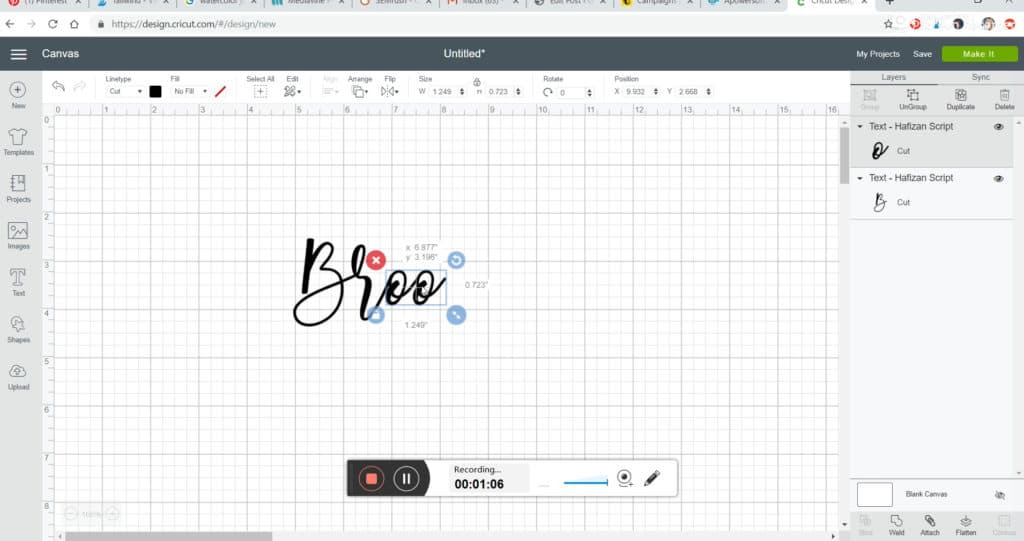
Move the second text box to the first to where the letters connect.
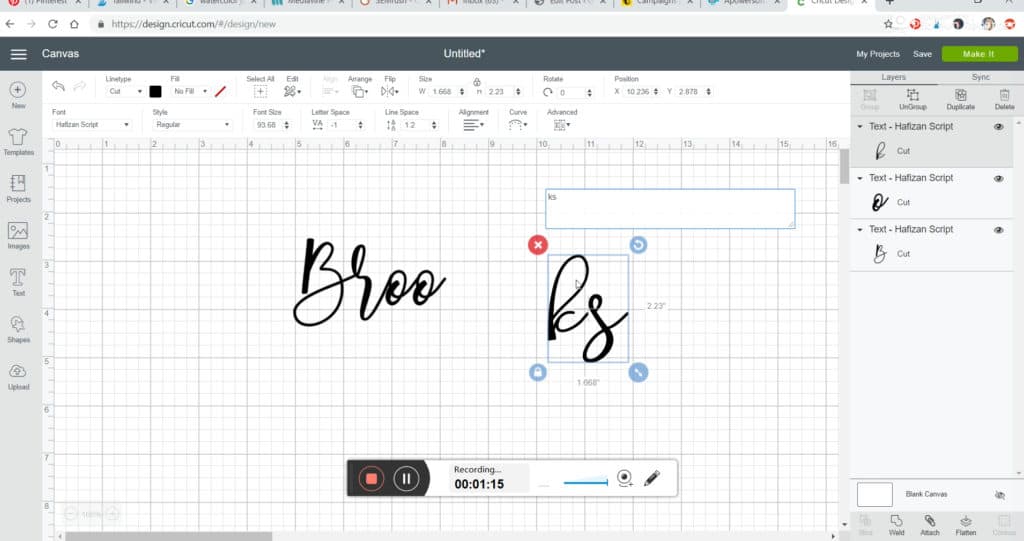
Make another duplicate and change the letters to the next letters that connect in the name. For me it was “ks” Connect those letters using the letter spacing.
Move that text box to connect with the other letters. I only had to make 3 text boxes for the name I was wanting. You might have to do more or less depending on the name and font.
After you get all the text boxes lined up to where they are connecting, go and select all and then go down to the bottom right hand side of the screen and weld.
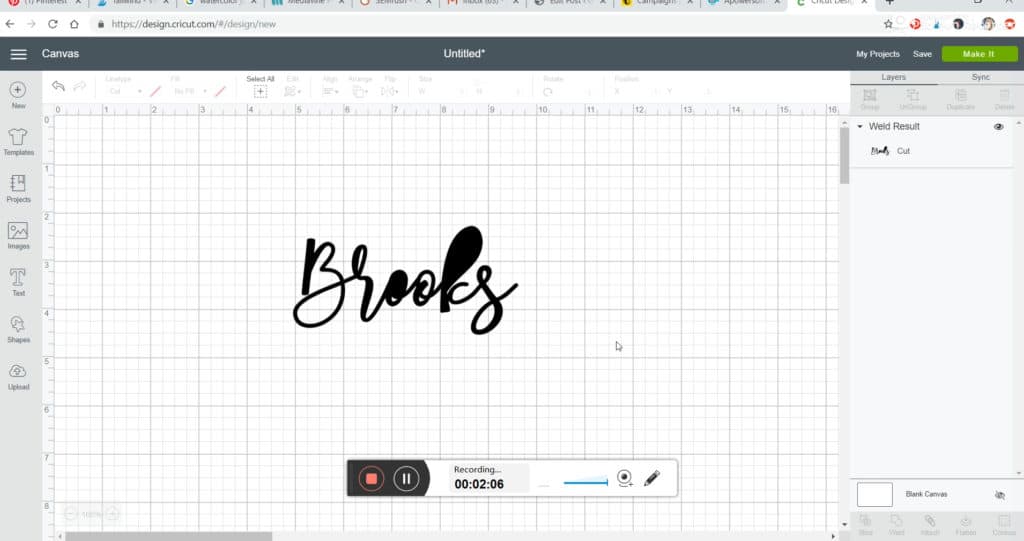
If something like this happens to your letters where parts are filled in, don’t worry it’s fixable. Go to the upper left hand side of the screen and press the undo button that looks like a backwards arrow. This will unweld it.
It did that because some of the letters are too close together. Start by moving some of the text boxes apart just by a little, but still where they touch. Try to weld again.
If it still does it “up” the letter spacing on the text box of the letters that are shaded. You can weld and undo until you get it right. Believe you’ll eventually get it where no letters are shaded in.
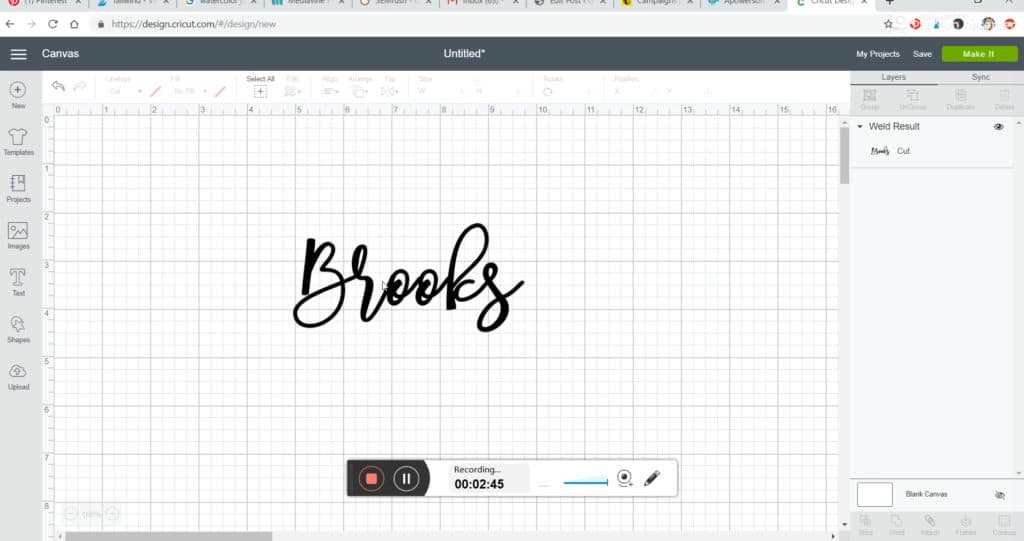
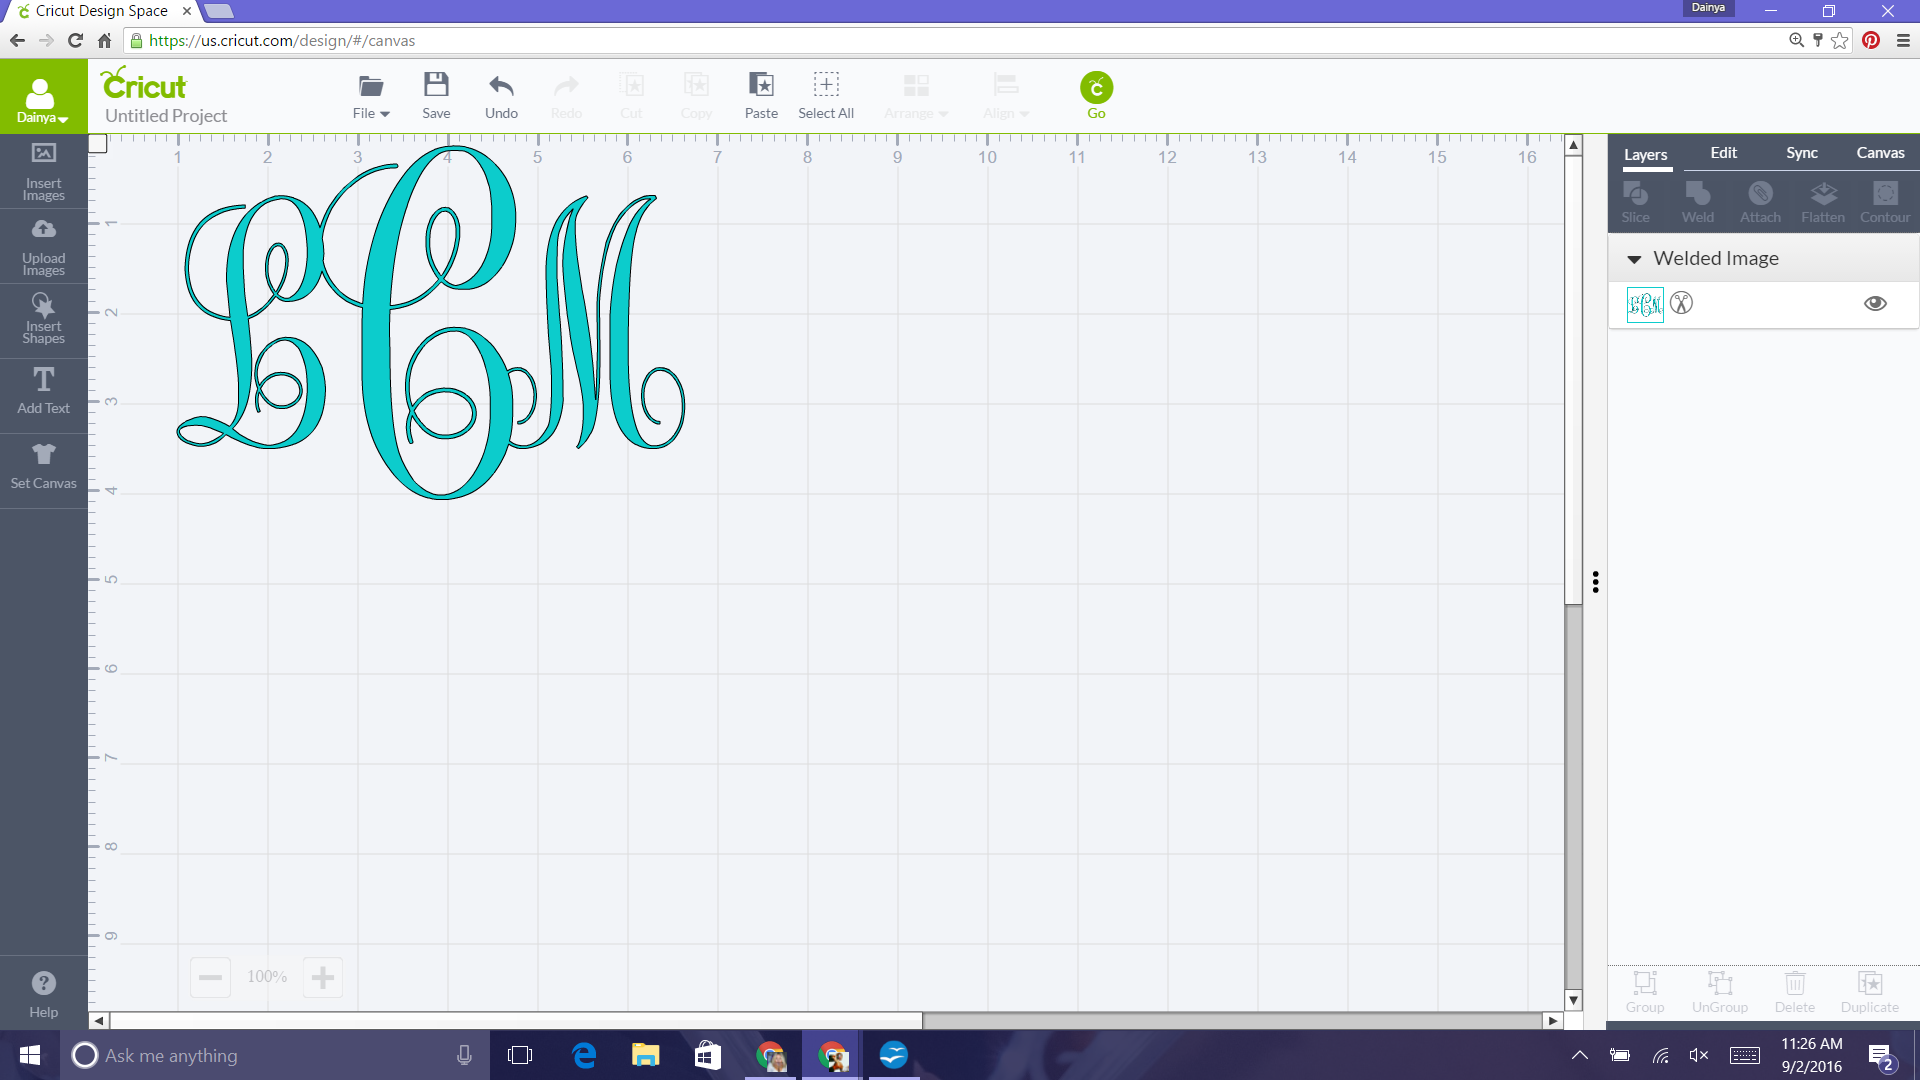
Once you get it right you will have a perfectly connected/welded name as such.
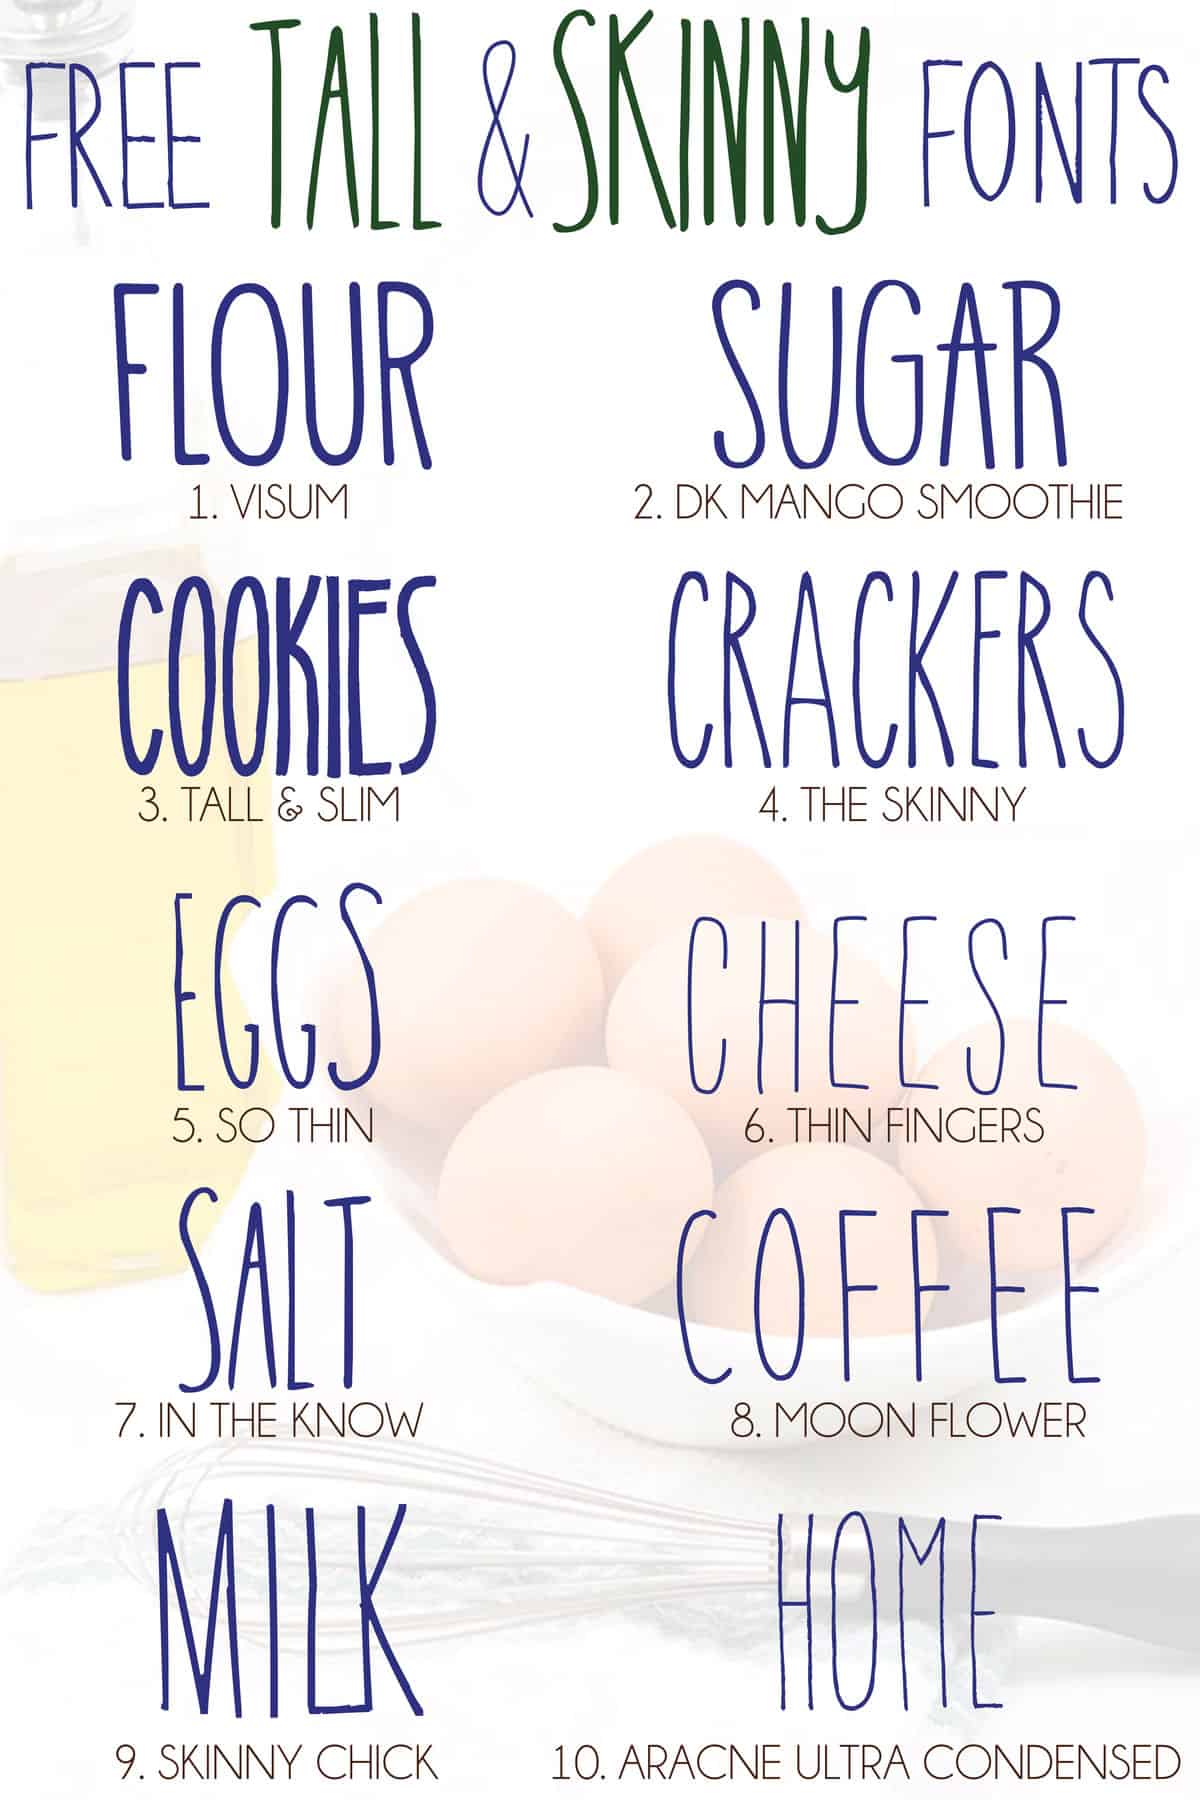
Now make a new text box and find a font you want for the “THE” I picked a straight skinny font for this named Neoteric that I downloaded from dafont.com.
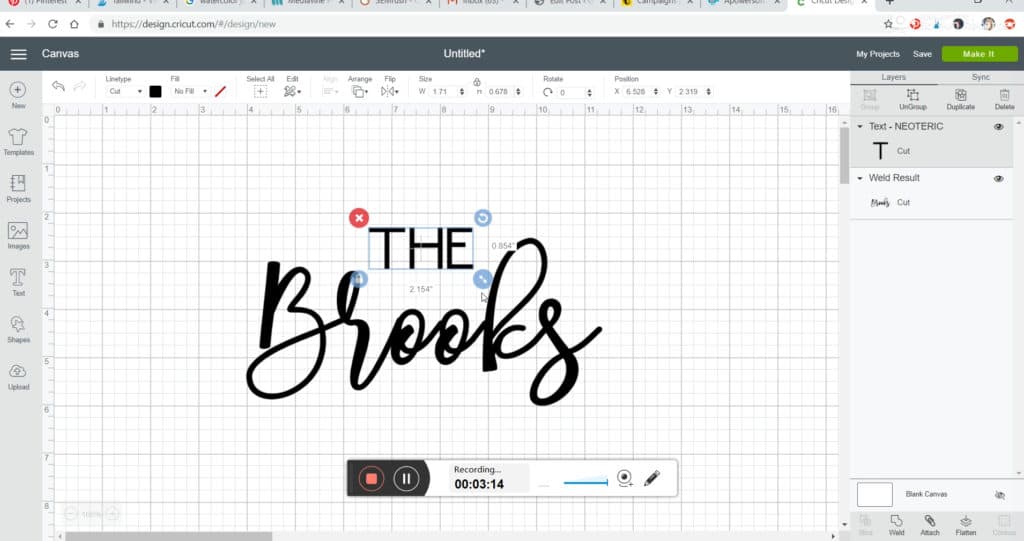
Now size the “THE” how you want it. I wanted mine to fit in between and above the r and the k in the name Brooks. So this will be different for everyone just depending on the name you are doing.
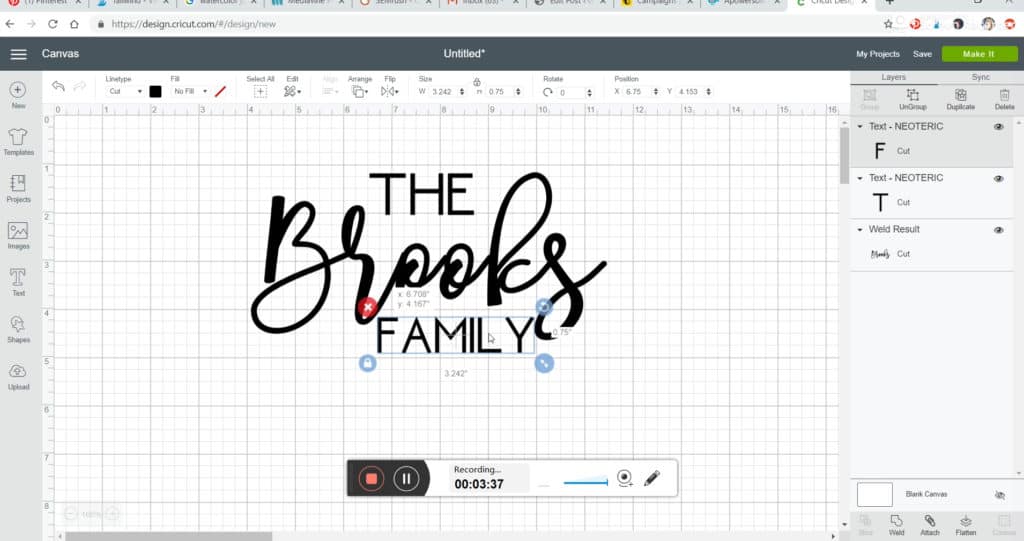
Now create another text box with the word “FAMILY” and size it to the size you want. If you want it the exact same size as the “THE” then just duplicate the “THE” and then go and change the letters to spell out family with the duplicate.
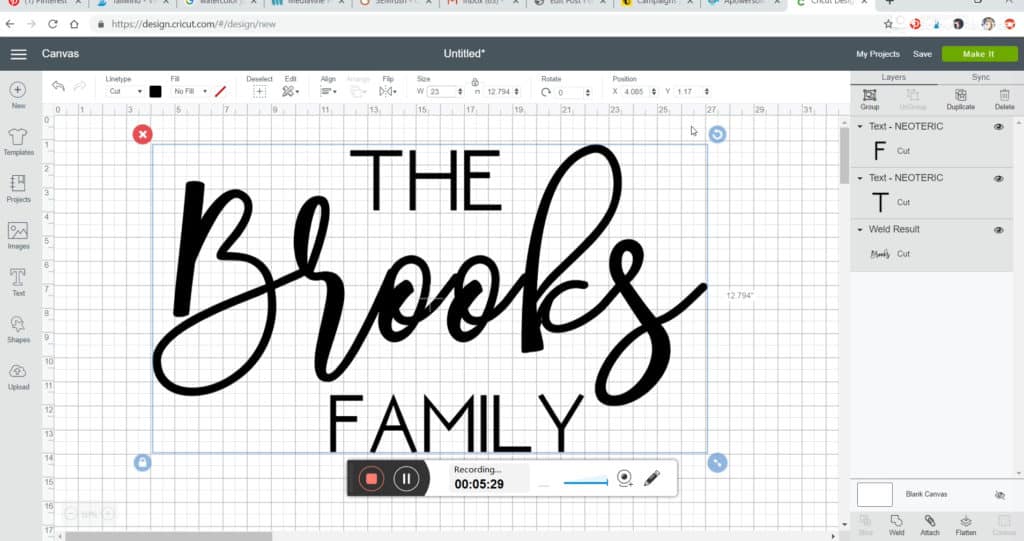
Now go to select all and then go to the bottom right hand side and select attach. Then just resize this to the size you want. My mat is 18×30 so I did mine for almost the mat would allow me which a 12×24 mat will let you do around 11.5x 23.5.
Now just put vinyl on your 12×24 mat and cut the image. Then weed out the letters part.
Making the Doormat

Start with the vinyl stencil you made with your Cricut
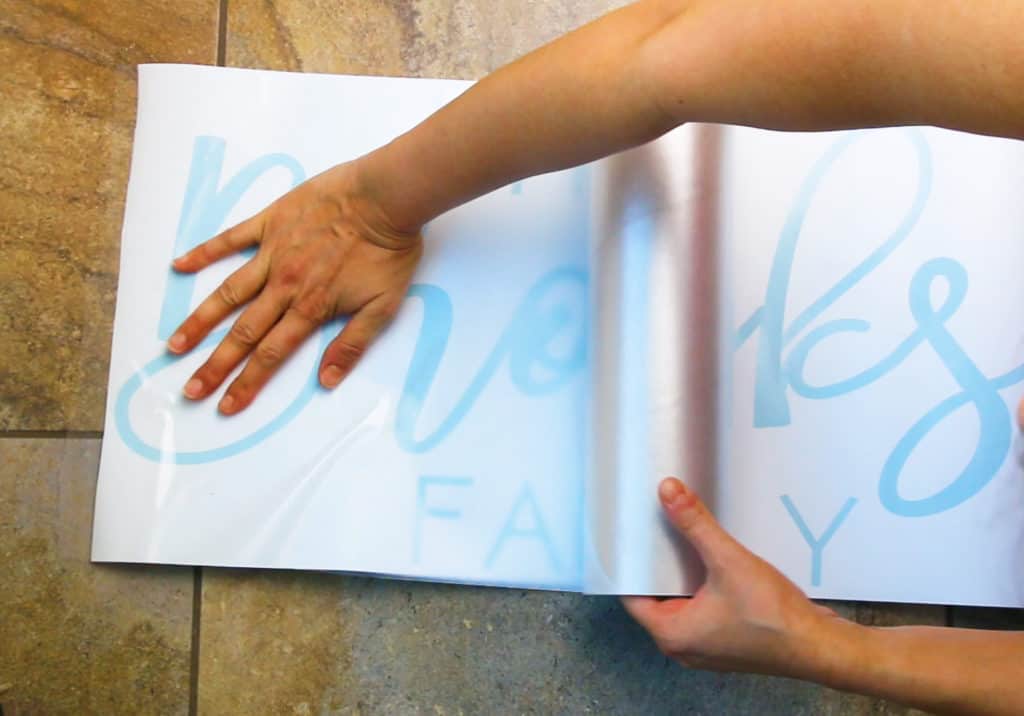
Take your transfer paper and roll it over your whole stencil. I suggest not using the Cricut brand for this one because its too sticky. The less sticky the better for this project.
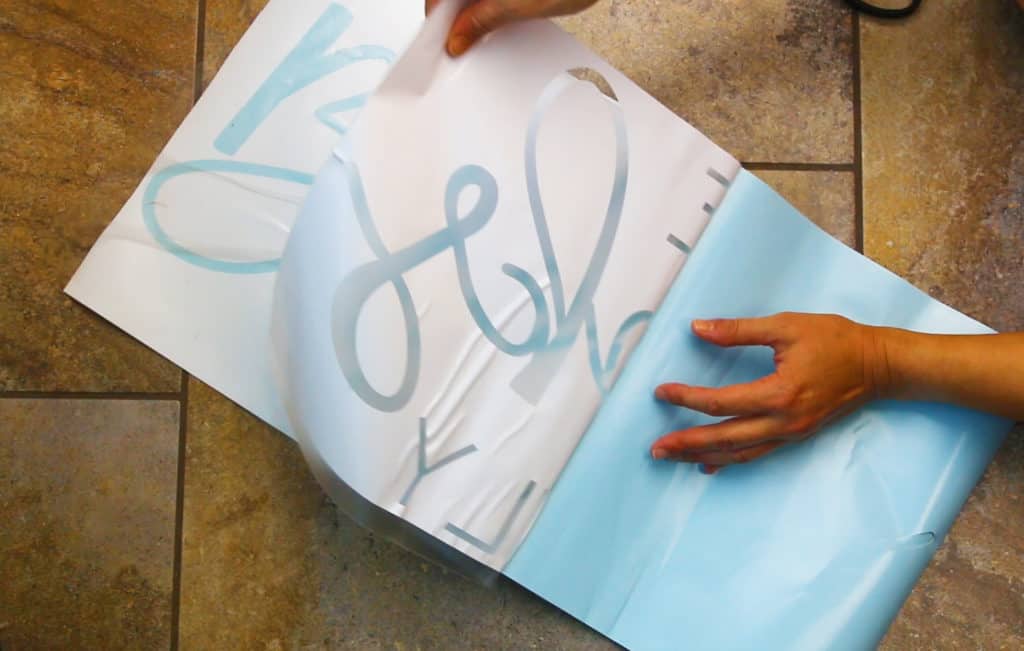
Rub down the transfer paper good and then start to peel off the backing of the vinyl.

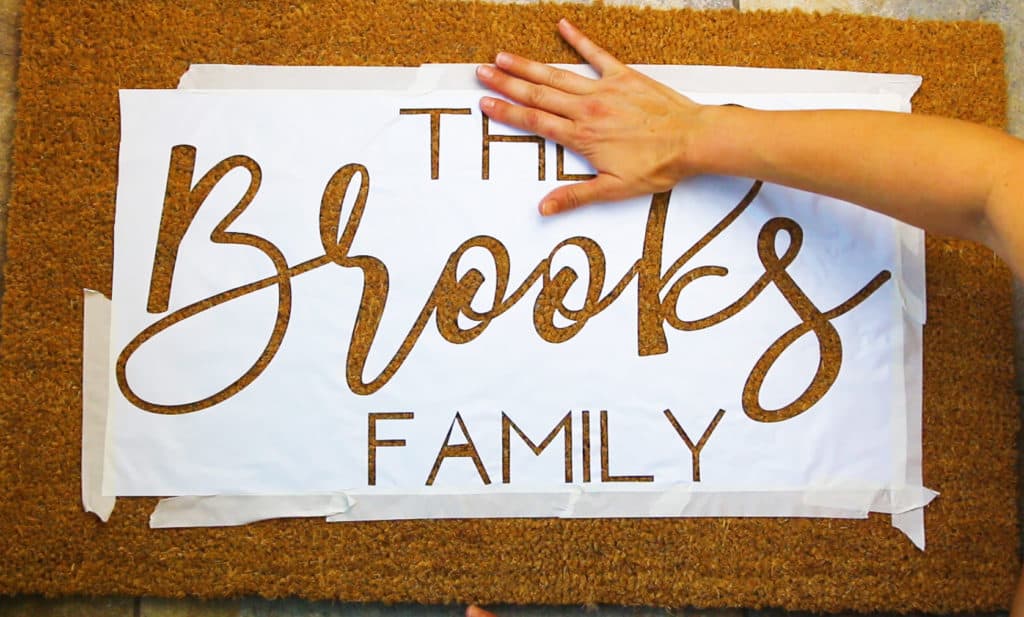
Center your stencil on your doormat and press down firmly.

Start to tape off the edges of the stencil with masking tape. If you can, tape down as much as you can. My transfer paper didn’t go on straight so I had to tape down the areas the contact paper didn’t overlap the stencil.
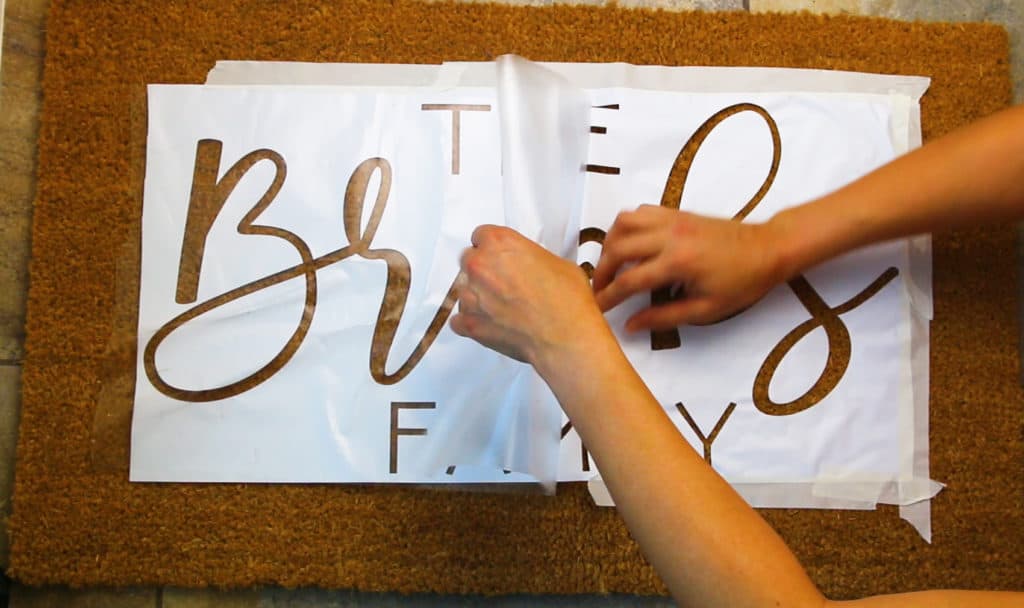
Start to pull off the transfer paper from the stencil. You will notice the stencil doesn’t really stick that much to the doormat. So it’s not that you are doing anything wrong, it just doesn’t stick well. So this part requires a lot of patience.
This is why I said you don’t really want super sticky contact paper because you want the stencil to come off the transfer paper as easy as possible since it’s really not sticking to the mat that easily.
I continued to tape down the edges of the stencil with masking tape as I continued to peel off the transfer paper.
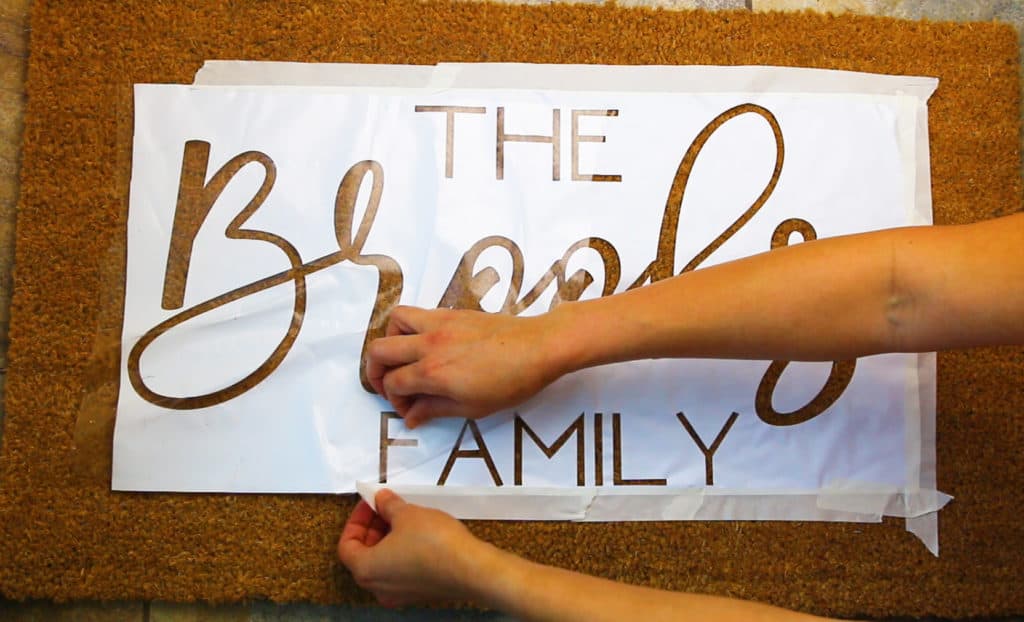
After getting all the transfer paper off make sure your stencil is on straight and all the insides of the letters are in the right spot.
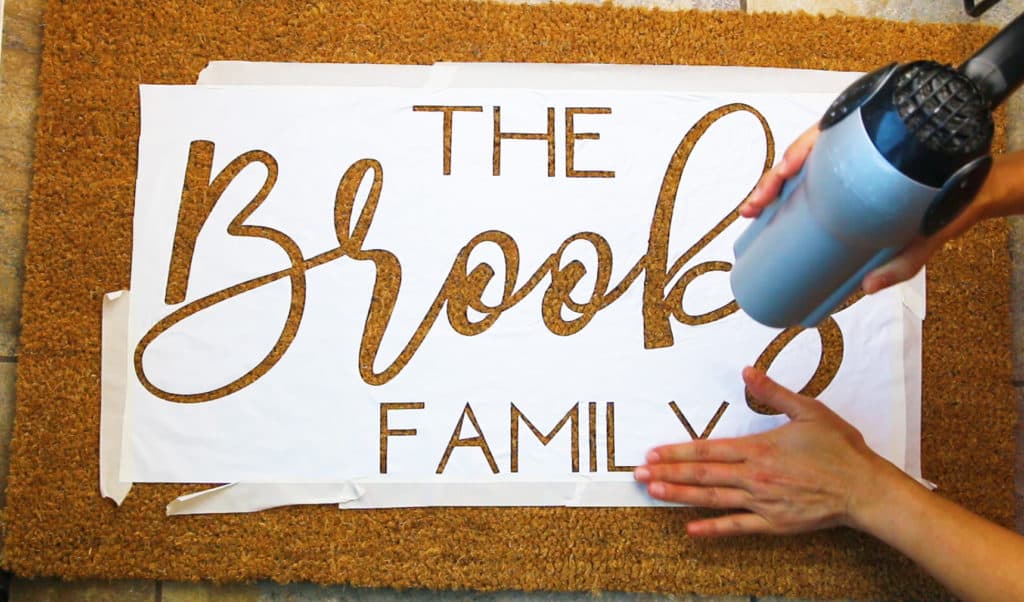
I’ve learned a trick when it comes to materials that don’t want vinyl to stick to them well is getting out your hair dryer and heating up the vinyl and press down. The heat really makes the vinyl stick to your material.
Just don’t get one area too hot. You just want to warm it up enough to make it stick to the doormat.
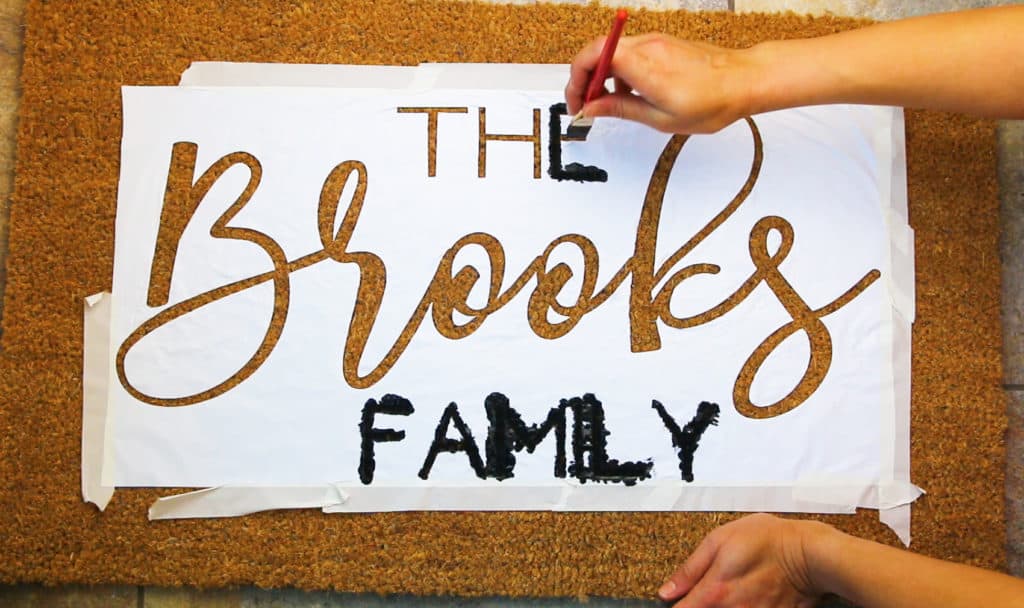
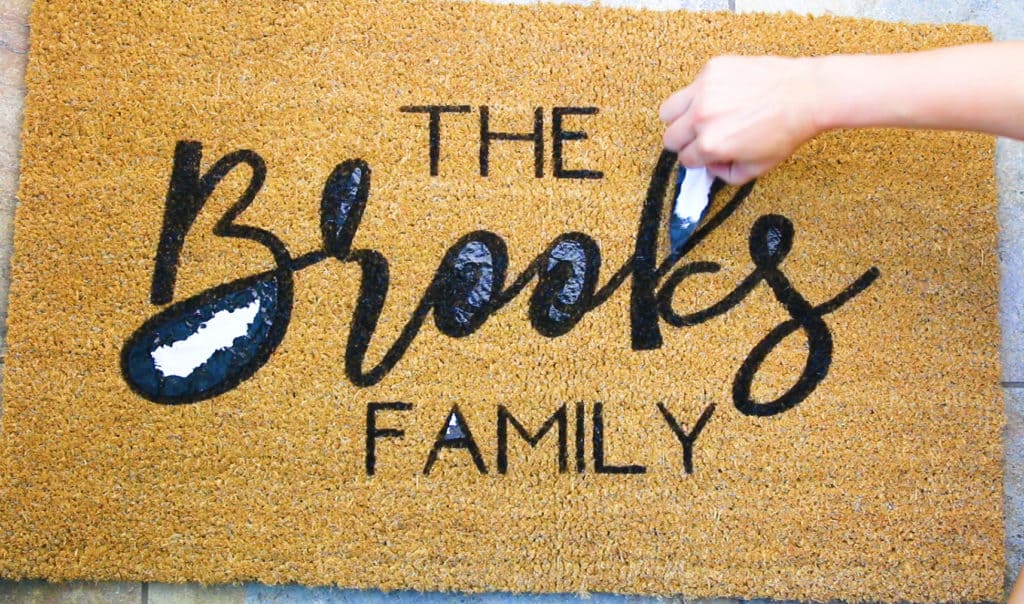
Take your outdoor acrylic paint and a paint brush and start dabbing on your paint. No brushing the paint on, but an up and down dabbing motion over all the letters.
At the end be sure to go back and make sure you got a nice thick coat on where it is all black and no signs of the brownish mat color.
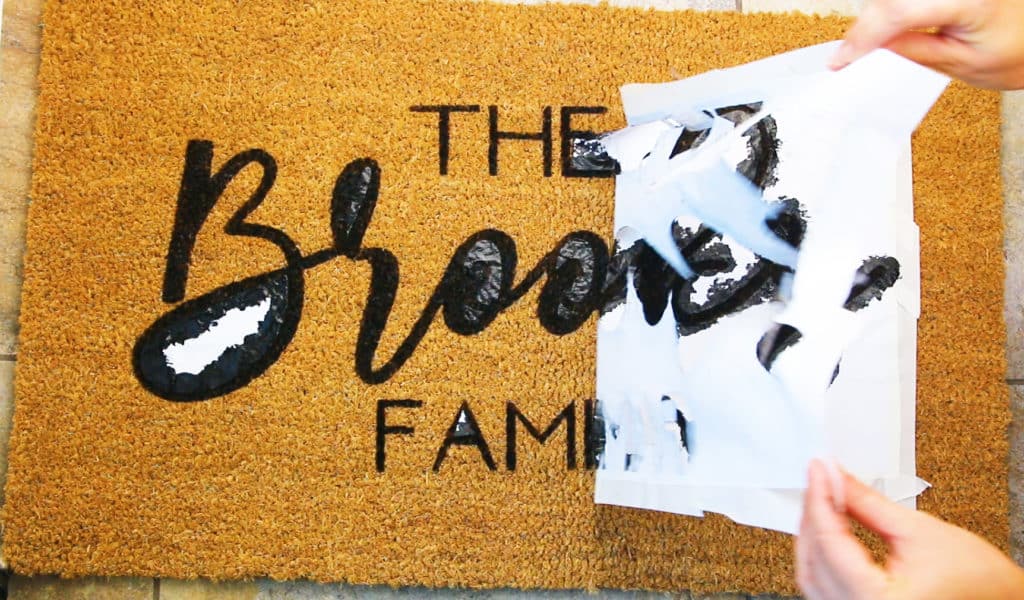
No need to let it dry, just pull off the stencil in one motion. You don’t have to worry about any bleeding doing a doormat.
You can use your weeding tool or just your finger nails to remove and extra pieces of vinyl that are left on the mat.
I sat mine out on the backyard porch to dry in direct sun for the rest of the day. I do suggest letting it completely dry 24-48 hours before putting it on your porch to be walked on.

Tips and Tricks
- Use transfer paper that isn’t as sticky as the Cricut brand. I use another brand I listed above in supplies that isn’t that sticky. I’ve also heard contact paper from Dollar Tree works great too.
- Make sure to use outdoor acrylic paint. It withstands a lot better than regular acrylic paint.
- Don’t skip the hair dryer step. This will make your stencil actually stick to the doormat rather than not using it.
- Be sure and to dab your paint up and down when applying
- Let your mat completely dry before using. 24-48 hours should be plenty of time.
Want more Cricut crafts to make?
Freezer Paper Baby Blanket
Etched Slate Cheeseboard
Block Circle Monogramming with Cricut
Or check out all my Crafts and Cricut posts
Did you make this doormat? Did you make this recipe? Then tag your picture on Instagram with#glitterandgraze

This is great! Can’t wait to try it out. Love the fonts you chose!
Just a little something that might help- there is a button that will separate the letters from one text box into their own boxes for you. It says “advanced”.
Thanks, again- great, very detailed tutorial!
you can also click “ungroup” and it will separate all the letters into their own text boxes!
Thanks
You didn’t use any kind of sealer on it after painting?
Nope. Its held up great too. But be sure and use the outdoor acrylic paint.
I don’t have any stencil vinyl. Do you think its necessary or could I use regular vinyl in the same way?
Yes regular vinyl is what I used
What type of outdoor rugs work best for this?
Are you meaning what brand? I got this one from home depot but I just did 11 from ikea for Christmas gifts
transfer paper ruined my project. could not get it off without ruining the stencil. Vinyl did not stick to the mat at all.
Never said it was easy. It takes patience but once you get the jist of it it’s easy to do. I just did 15 for christmas gifts
How does the doormat handle rain?
I love this project<3
Mine doesn’t get direct rain but gets overflow rain and it’s still doing good
What size is this mat please?
TRAMPA Door mat, natural, 2 ‘ 0 “x2 ‘ 11 ”
$9.99
From Ikea
I know this post is a year old, but I wanted to comment that it was an amazing tutorial! I used Oracal 631, and press and seal for the transfer paper. The blow dryer blew the small pieces, so I used an iron on the lowest setting with a pressing cloth and it worked like a charm. Thank you!!
Glad you figured out a way to make it work
What kind of Vinyl did you use? Permanent or Non?
Oracal 651
Any tips on fixing a smudge on one?
If it’s a letter could you make the letter bigger? Kind of free handing it to cover up the smudge