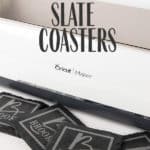
Cricut Personalized Slate Coasters
These personalized slate coasters are the perfect house warming or wedding gift you can make in no time with your Cricut.

I’m all about the personalized gifts. What used to be something you would have to pay a pretty penny to get, you can now do it all on your own for so much cheaper.
If you have never used Armour Etch Cream then you’ve been missing out. This stuff permanently etches glass items. But did you know this stuff etches slate also? I found this out years ago and have been busy ever since.
What can I do with these Cricut Personalized Slate Coasters?
- Wedding gift
- House warming gift
- Christmas gift
- Engagement gift
- Or just make them for yourself

Supplies Needed:
- Cricut Machine– Any Cricut machine will do for this project
- Slate Coasters– I found this 8 pack of slate coasters on Amazon. I only made 4 and will save the other 4 for another project
- Armour Etch Cream– You can pick this up at the craft store or get this 10 oz bottle of Armour Etch Cream from Amazon and you’ll be set for awhile. I etch often and have had the same bottle for years
- Adhesive Vinyl– Any will do. I buy this 30 ft roll of permanent vinyl that I keep on hand for any of my stenciling projects
- Transfer Tape– Any brand will do. I personally use this Frisco Craft 50 ft transfer tape. This roll lasts me about 3 years
- Disposable Gloves– I prefer to use gloves when working with etching cream. It’s a strong chemical so don’t like to have direct contact with it
- Blow Dryer– this will help really stick the vinyl to the coaster so there are no pockets for the etching cream to seep through
- Weeding Tool– because you have to weed the vinyl and I always use the opposite end to apply the etching cream

Making Your Stencil
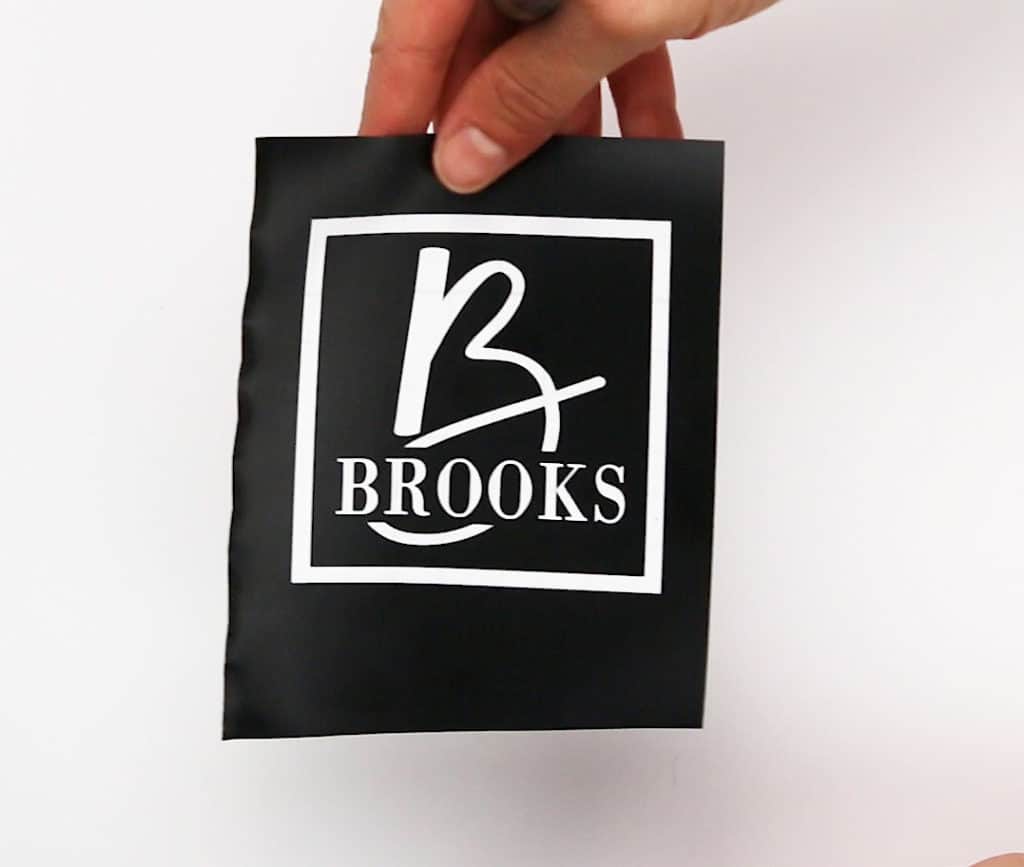
You want to design whatever you are wanting to go on your coasters. I did a simple last name with an almost knockout through a big B. Then just a simple square border outline.
Be sure and measure your coasters and make your image size is the right size. When it’s time to cut the vinyl space out each image to give each one some space around it so you will have extra vinyl to protect the outside area of the coaster that you do not want etched.
The video above goes through the steps I did in Cricut design space to make the image I wanted to make on the coaster.

Prepping the Vinyl
Start by taking one of your stencil cut outs and start wedding the areas that you want to be etched
After weeding it all it should look something like this. Be sure and don’t weed the areas that you won’t want etched like the inside of the O’s or any of the letters. And keep the border around the square.
Cut out a piece of transfer tape and lay it over your weeded vinyl
I use this rubber glue roller to roll over my transfer tape and vinyl to really get it attached. Using just your fingers works too.
Start to peel back the transfer tape making sure all the pieces are coming off with the transfer tape
After you have removed the vinyl from the backing of the vinyl all the pieces should be in there place
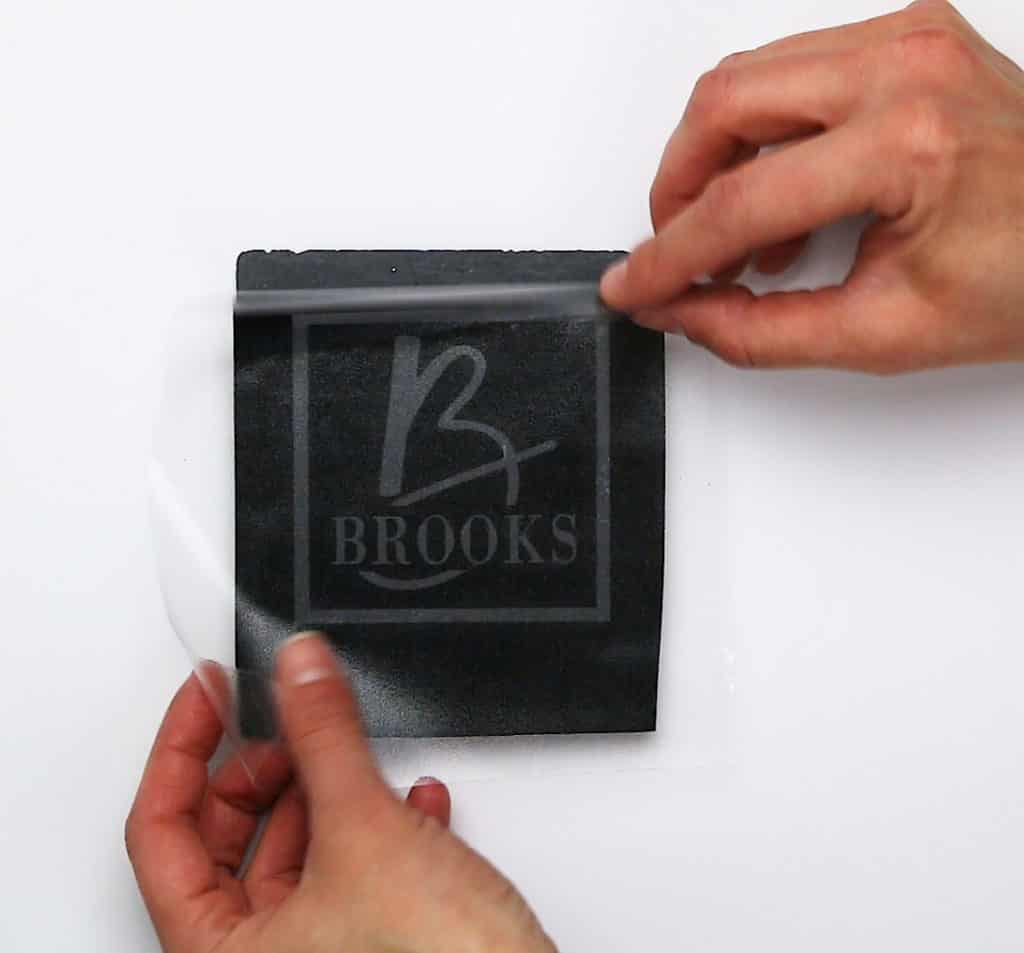
Take a coaster and line up your vinyl where you want it on the coaster
Be sure and rub down the vinyl and transfer tape really well to the coaster
And start to peel the transfer tape away from the vinyl. Do this in a slower motion to make sure the vinyl is sticking to the coaster and is not coming off with the transfer tape
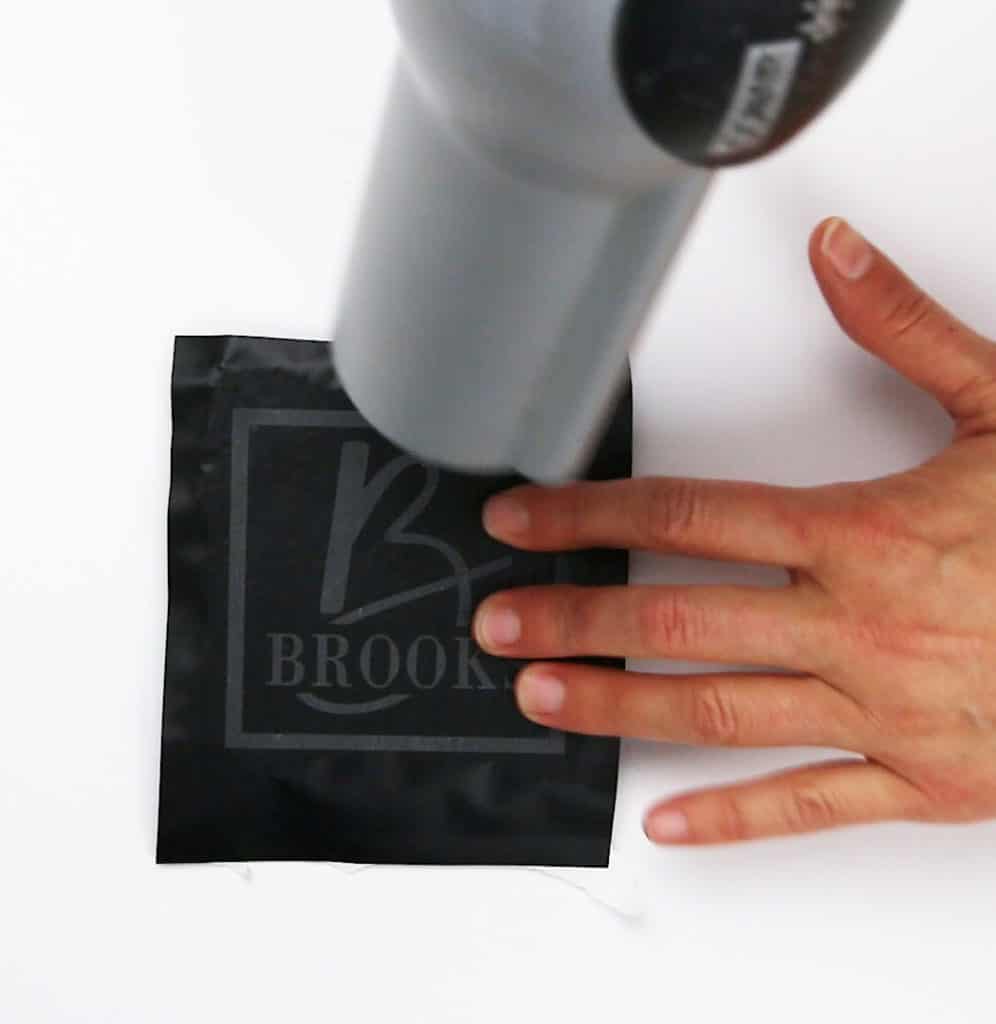
I like to take a blow dryer with the heat on and really get the vinyl to stick to the coaster by rubbing it down with my hand as the blow dryer is going
Time to Etch
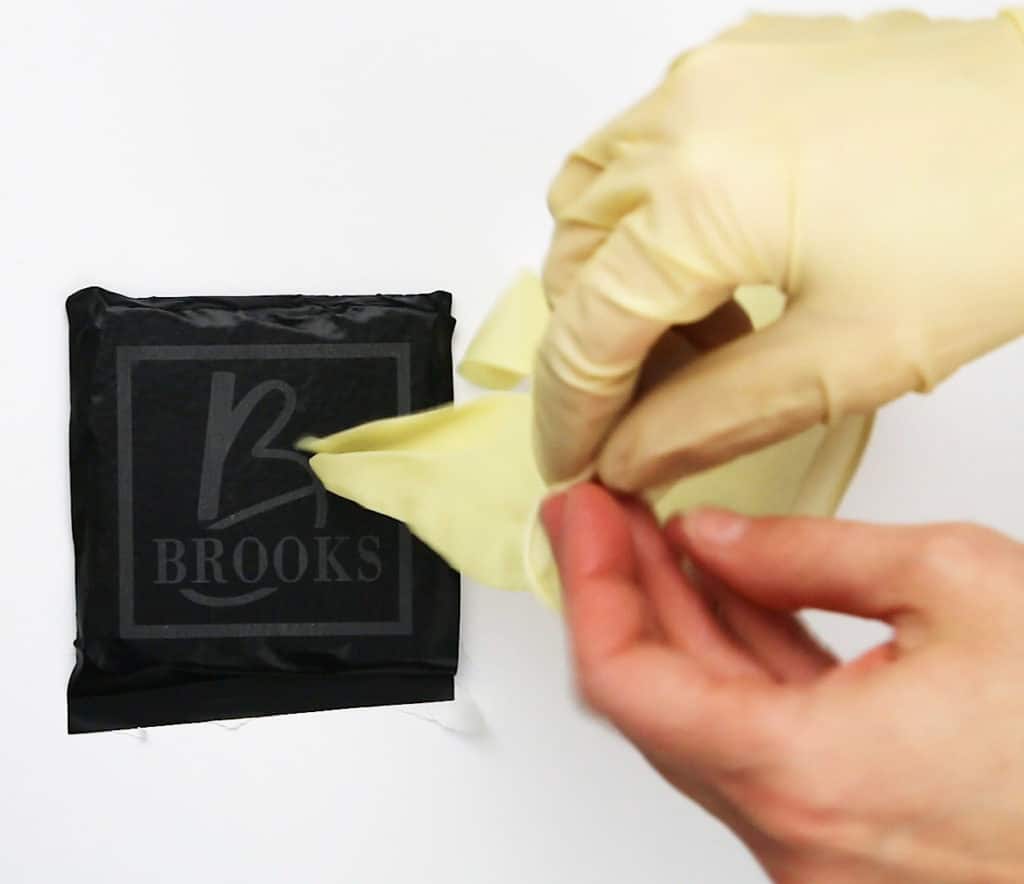
If you are using gloves this is the time to put them on
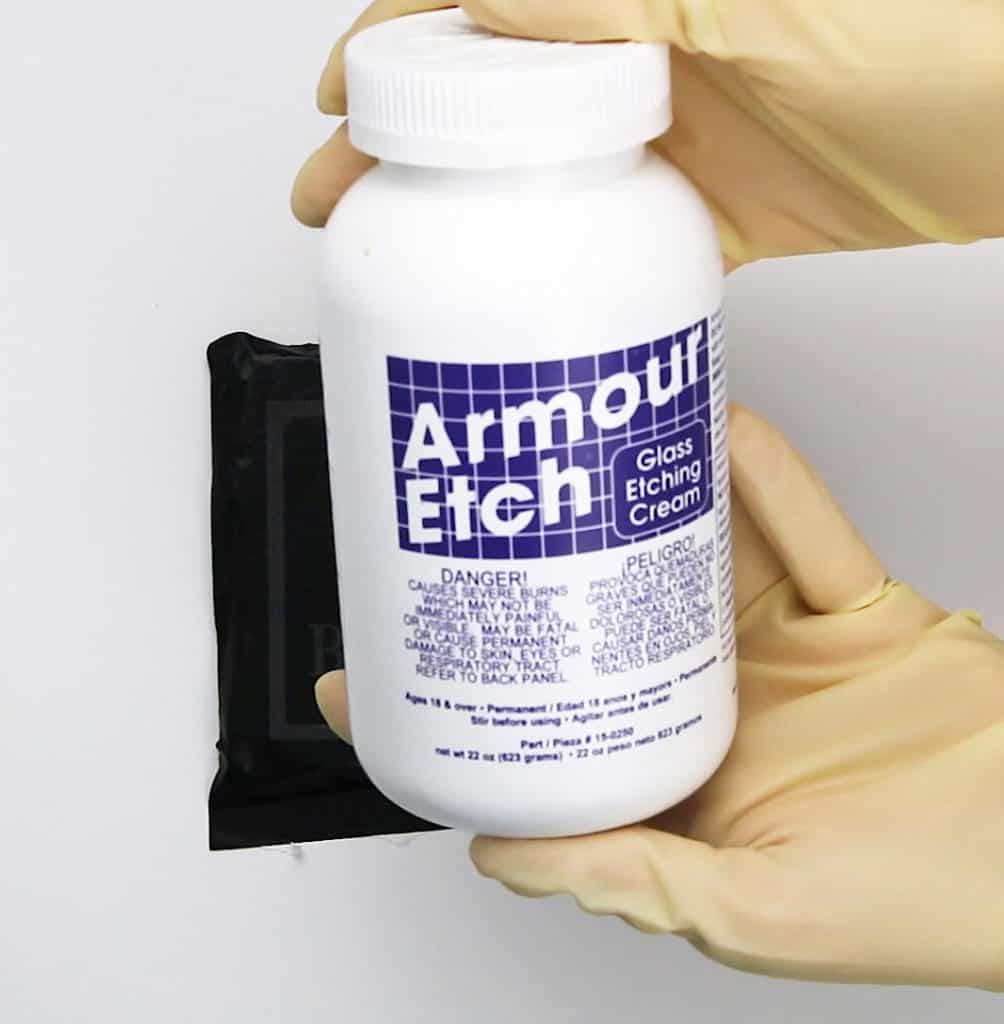
Take your Armour Etch Cream and open it up
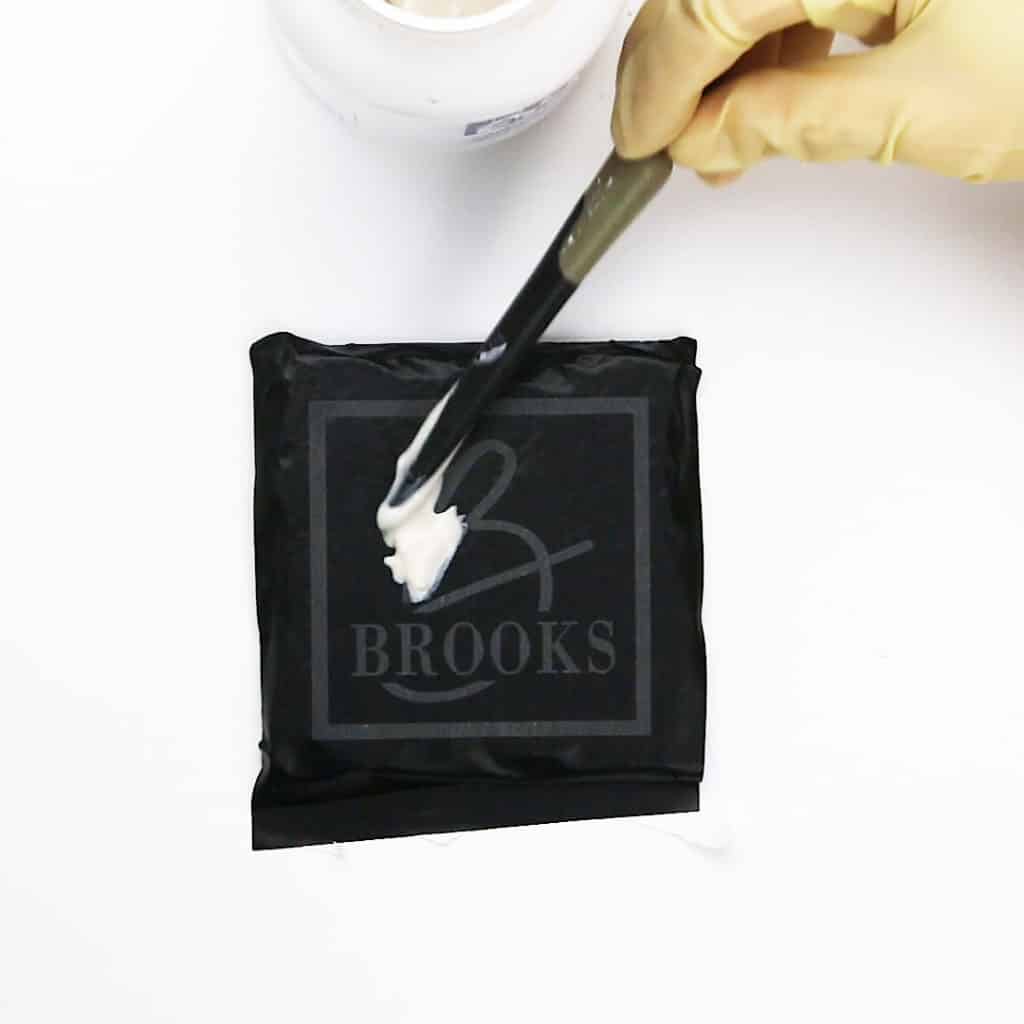
Take whatever tool you are using to apply the etching cream ( I used the back end of my wedding tool, but a popscile stick works great too) and start applying the etching cream to the areas that you want etched. Just a thin layer will do
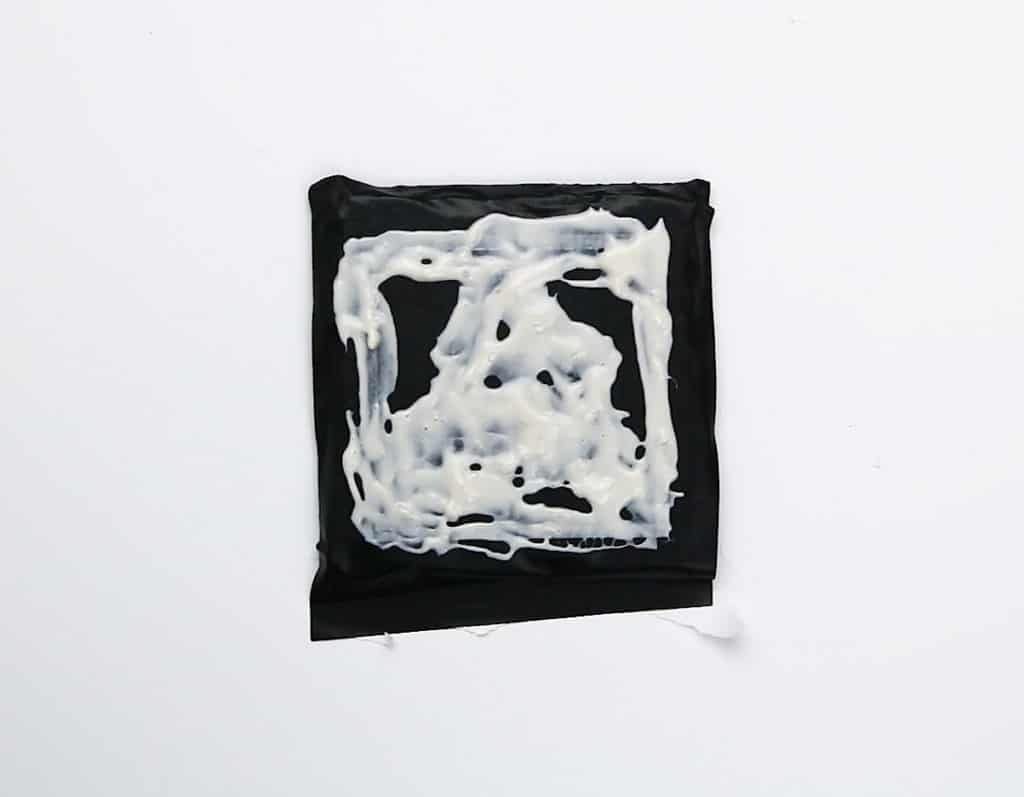
Be sure and not get any etching cream on an area you don’t want etched that isn’t covered with vinyl. Ex: like the edges of the coasters where maybe there wasn’t enough vinyl to cover the whole coaster. Let this sit about 20 minutes.
Removing the etching cream
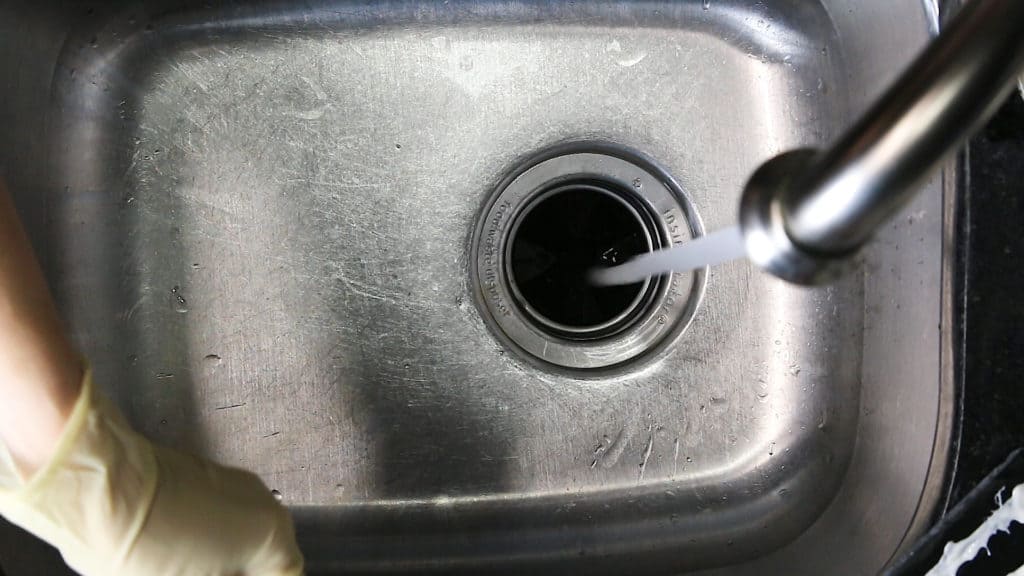
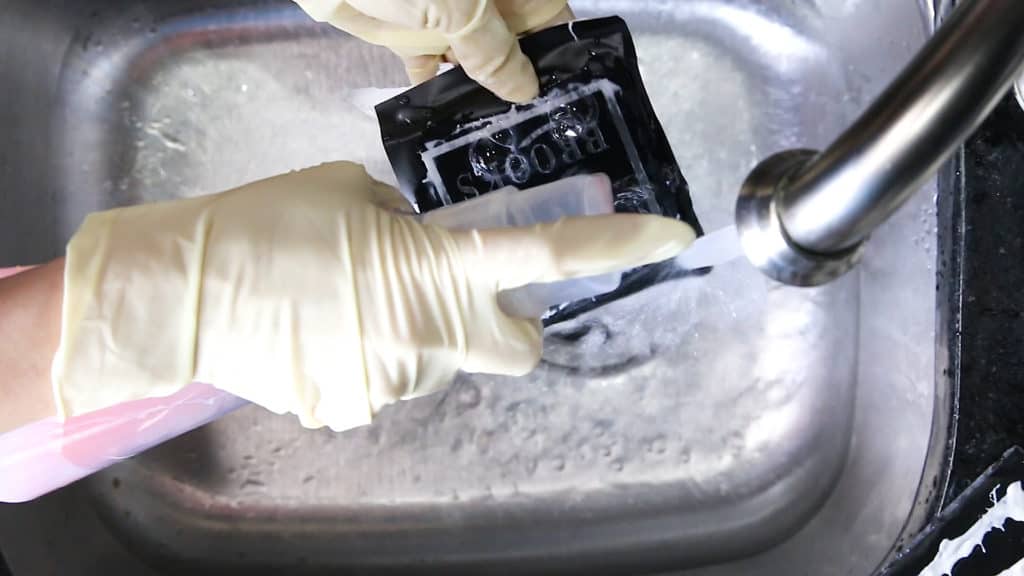
Go to the sink and turn the water on warm/hot

Doing this as quickly as you can start rubbing the etching cream off your coaster. There’s not a wrong or right way just do it quick because if that cream starts to set on an area you don’t want etch, it can start etching it fast.
Grab some dish soap and apply to the coaster to make sure you’re getting all the etching cream off.
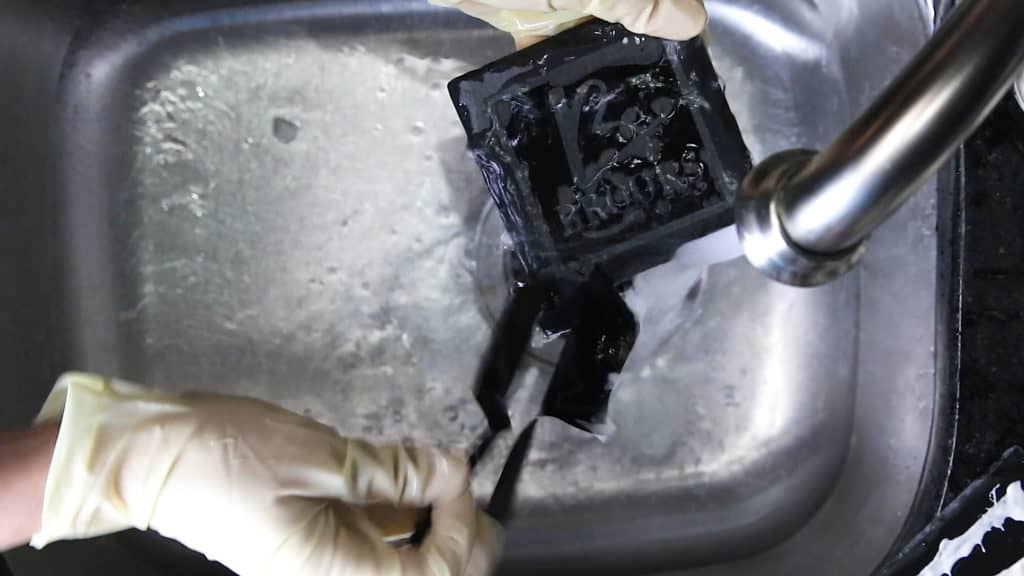
After you know the etching cream is off start pulling off the vinyl
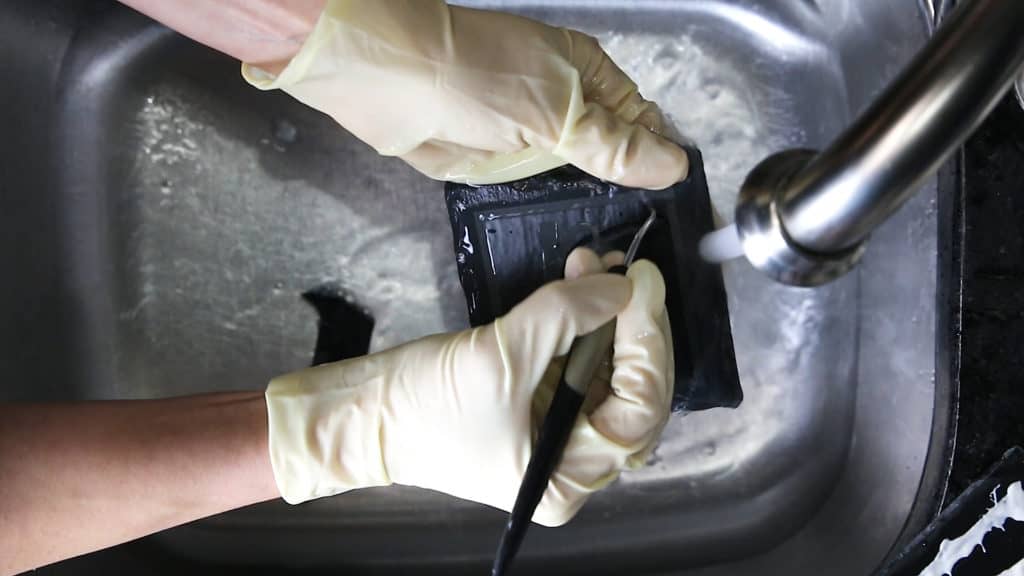
I have my weeding tool handy because those small pieces of vinyl are hard to get off especially with gloves on. After the vinyl is off I wash it one more time with soap

And then you have your finished project. Repeat the steps above with all the coasters. Apply the vinyl to the coasters and etching cream first. Let them all set for 20 minutes and start washing them off one by one.
It doesn’t matter if the etching cream stays on longer 20 minutes while you are washing off the etching cream from another coaster. The etch will not be more defined than another. After about 20 minutes your etch is not going to get any stronger than it’s going to get.

Tips and Tricks for these Cricut Personalized Slate Coasters
- Slate is kind of a flaky material. Especially after it was shipped from who knows where. I like to dust off any flakes off the coasters or even give them a nice wash before starting my project. Just make sure they dry completely before starting the project.
- I personally like using permanent adhesive vinyl for this compared to stencil vinyl only because it sticks way better. When etching you want to make sure you don’t etch an extra area and if there is one little leak in your vinyl the cream will get in there and mess up the project.
- I highly suggest using the hair dryer to really get the vinyl to stick to the coaster. These slate coasters are an uneven surface so when you heat up that vinyl it gets in every little nook and cranny of that coaster. You don’t have to heat it for long either. Maybe about a minute.
- When washing off the etching cream go as fast as you can. No time to be cautious with this. You don’t want your etching cream to get on any other part of the coaster you don’t want etched. It starts etching fast. So if you get the cream completely off fast no need to worry about it getting on somewhere you don’t want it.
Want more Cricut Crafts?
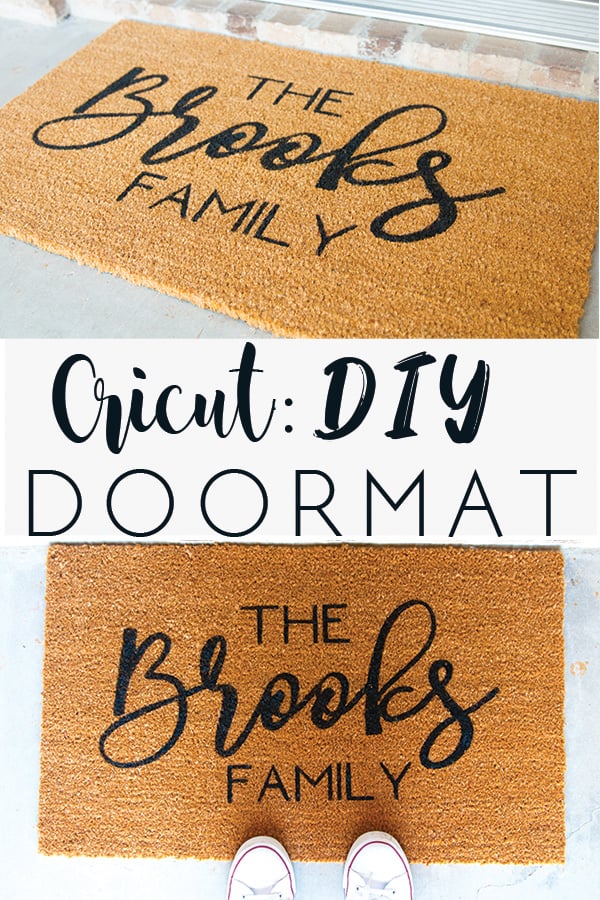
Cricut DIY Doormat
Etched Slate Cheeseboard
Monogramming with Cricut
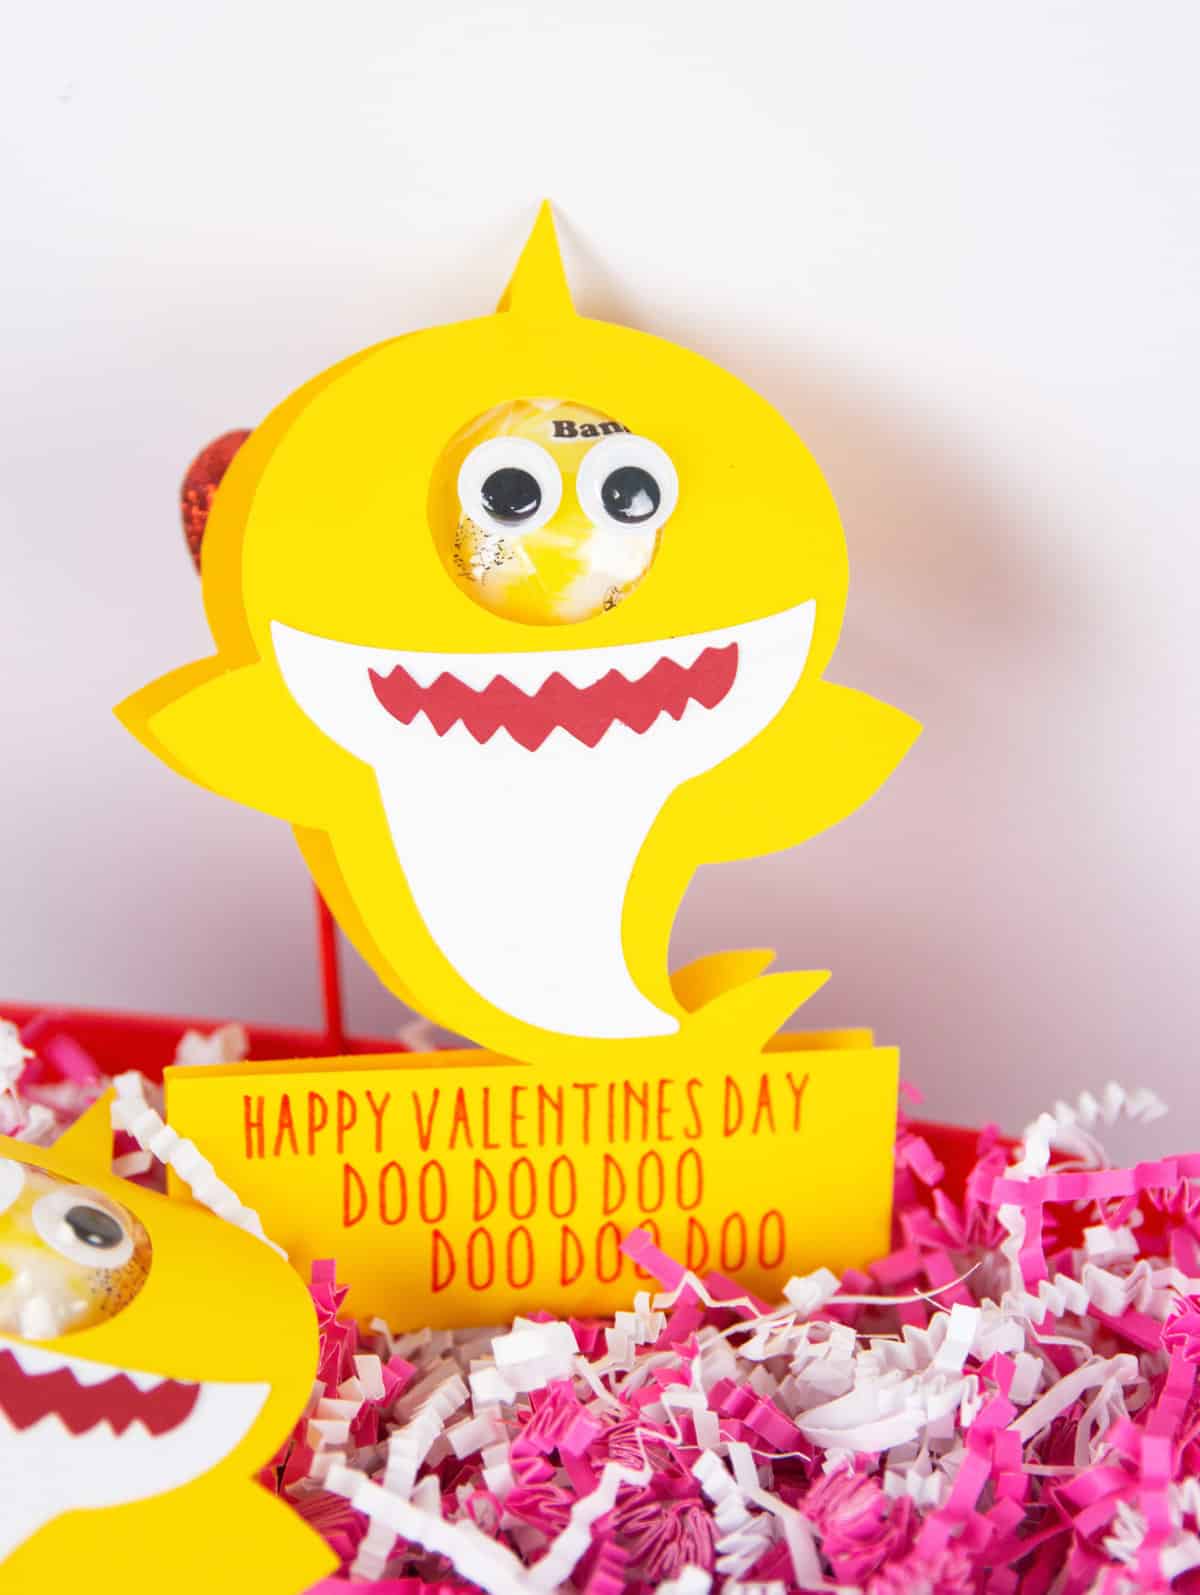
Baby Shark Valentines
Or check out all my Crafts and get busy creating something beautiful


Do you have a step by step tutorial on how you did the knockout image? The video went to fast, it was hard to follow along.
Well this one isn’t considered a knockout. I don’t have a tutorial for this. All you do is make an empty square. If you can’t find one make one square and then put another inside it and highlight both squares and slice them. Then deleted all but the outline square. Then you just find a font you like for the uppercase last name initial and then a font for the name and put both inside the box and weld them all together. I hope that helps
Hi! I am wanting to make these for some family members. Would you please share the fonts you used for the monogram initial and the last name? These are awesome!
Thanks!
Hafizan script for the inital and bodoniXt for the name
I tried to etch my slate coasters this exact way and the Armour Etch didn’t do a thing. I even tried 2 different bottles? Have you ever had that happen?
hmm… thats never happened to me. I wonder if what you purchased wasn’t true slate
Thanks for the tutorial! Is it necessary or beneficial to seal the coasters after etching? If so, what sealer should be used?