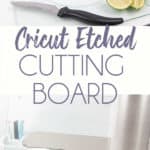
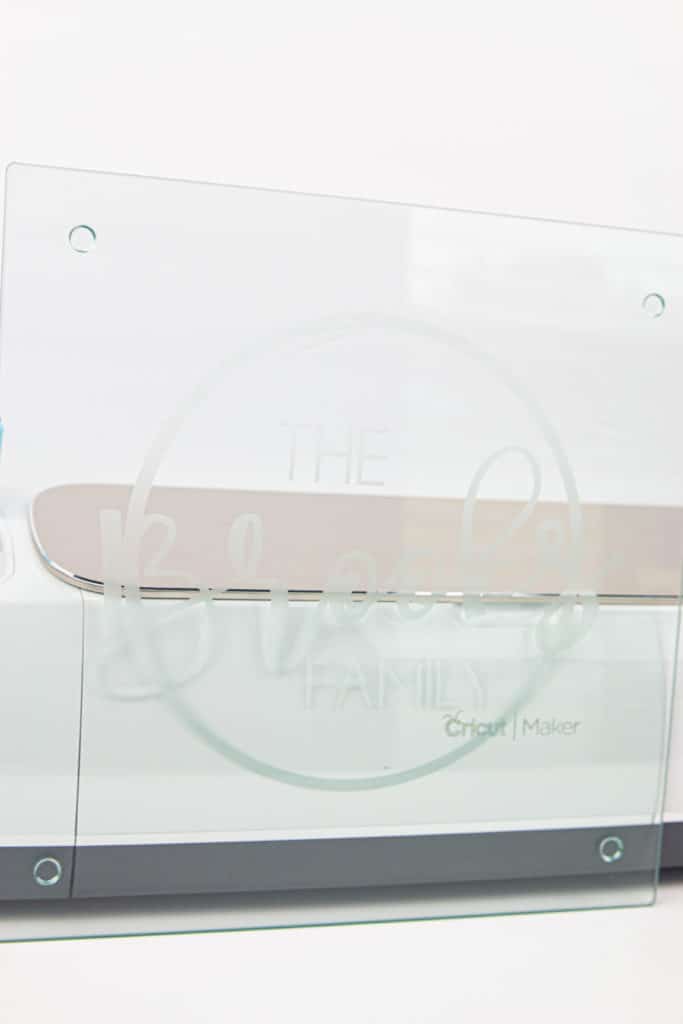
Cricut Etched Cutting Board
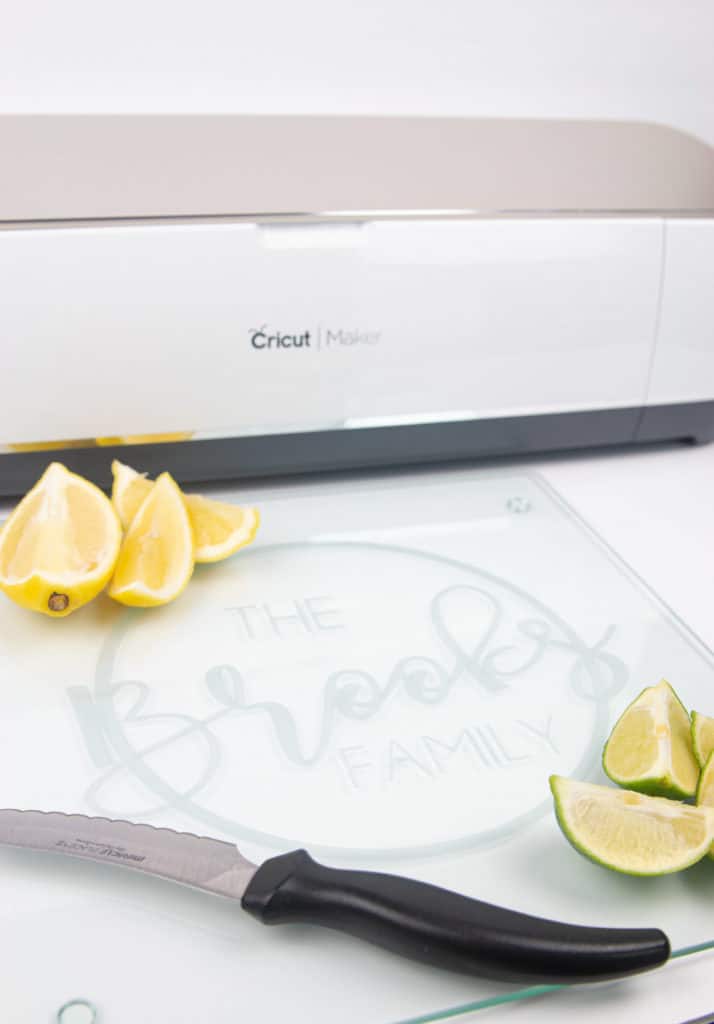
With this Cricut Etched Cutting Board you can easily make a personalized gift that anyone receiving it will love.
Time for another DIY gift project. Can you tell I love using my Cricut to make etched gifts? I think etching is just so classy and being able to do it without some special tool (besides a Cricut) I just love.
What Kind of Occasion Would I give this Cricut Etched Cutting Board for?
There are plenty occasions this would make for a good gift. To name a few:
- Wedding gift
- Housewarming gift
- Anniversary gift
- Bridal Shower gift
- Birthday gift for that wine lover
- Christmas
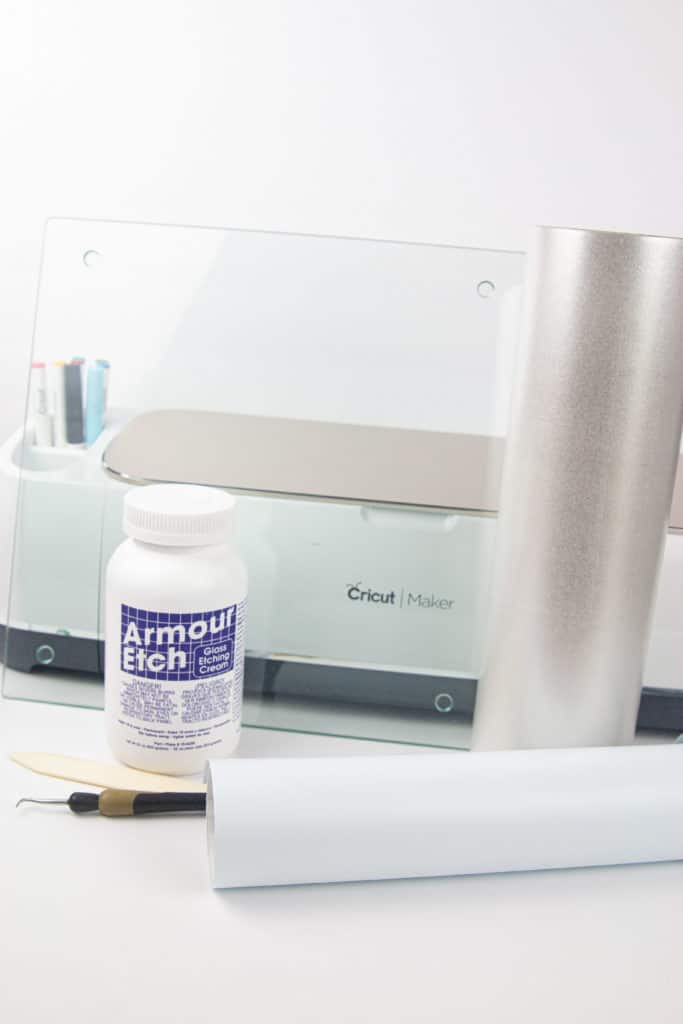
Supplies for Cricut Etched Cutting Board:
- Glass Cutting Board– This 4 pack of glass cutting board is a good deal considering you’re only paying around $8.50 a board and these are a nice size
- Amour Etch– I’ve had the same bottle of this stuff since I started using it years ago. Since you don’t have to use much a lot goes a long way
- Adhesive Vinyl– No need to buy stencil vinyl this stuff works great and can be used on other projects as well
- Transfer Vinyl– I have been using this brand for years. It works great for transfer tape and you get a lot more for cheaper compared to Cricut brand
- Weeding Tool– If you don’t already have one
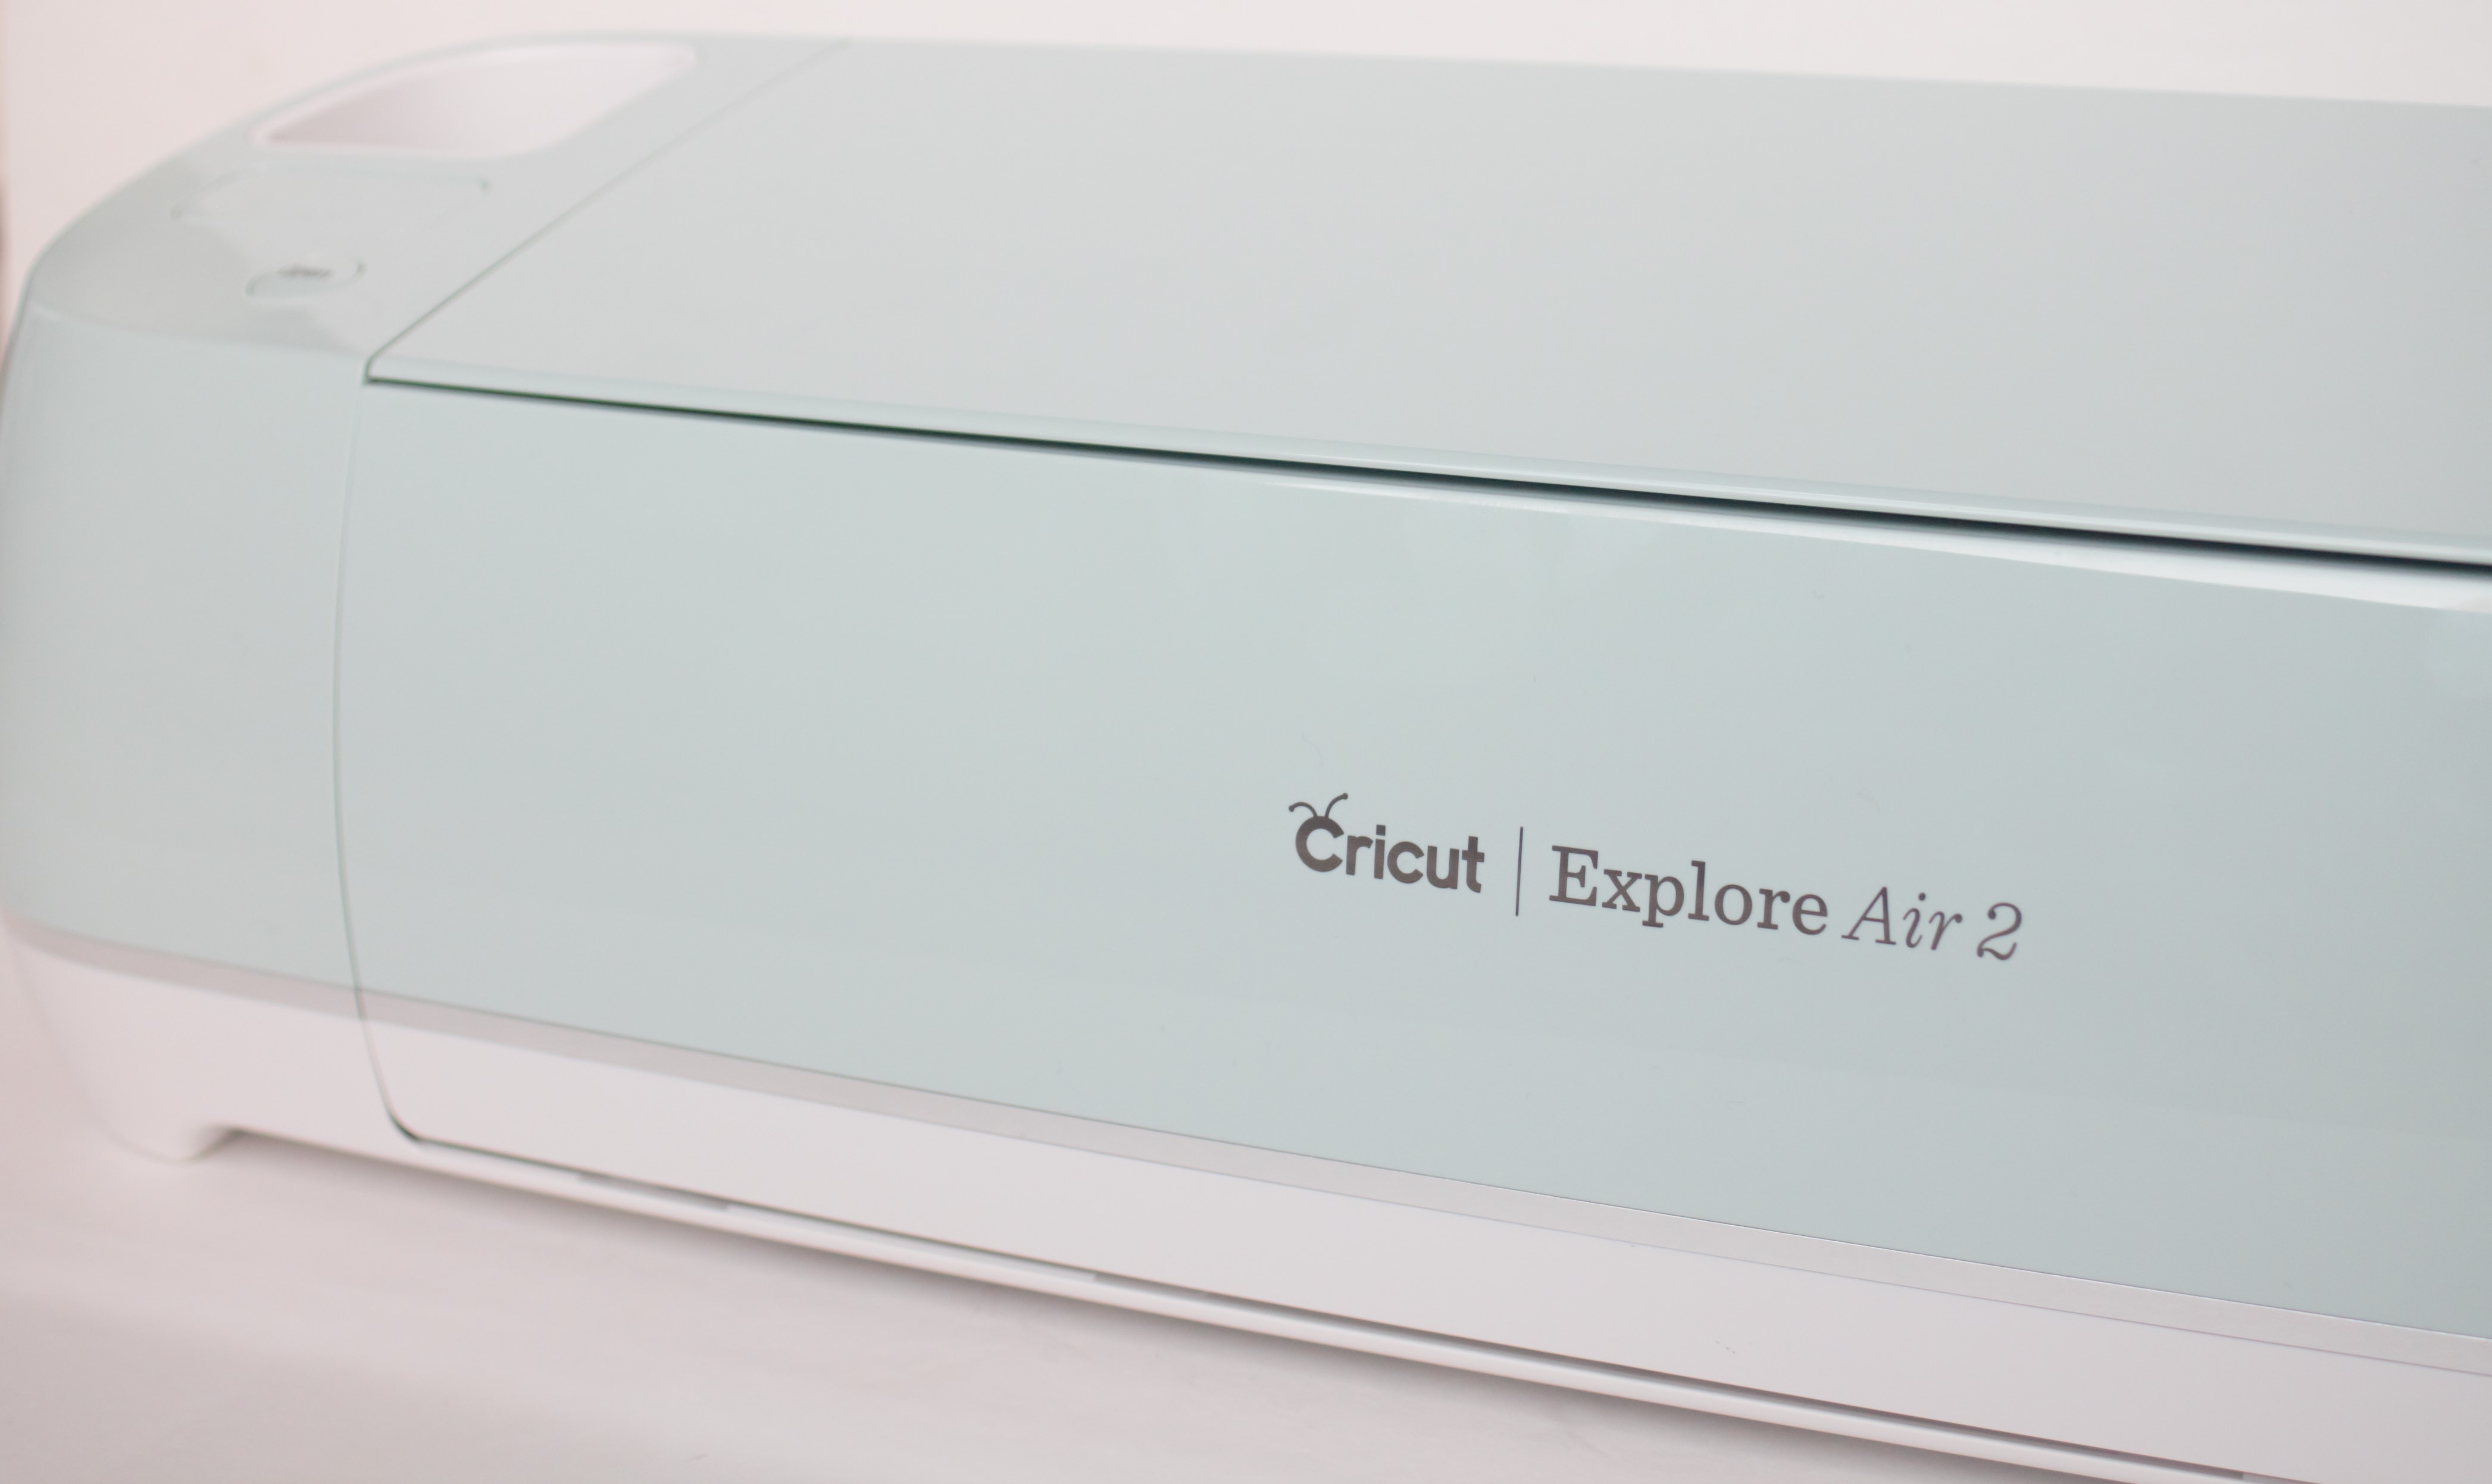
- Cricut– of course you need the machine to cut out your image
- Optional:
- Hair Dryer– this helps secure the vinyl down on the glass more
- Something to press down on your vinyl and to apply your etch cream. But your finger works just as well
- Gloves– I like to use gloves when handling the etching cream
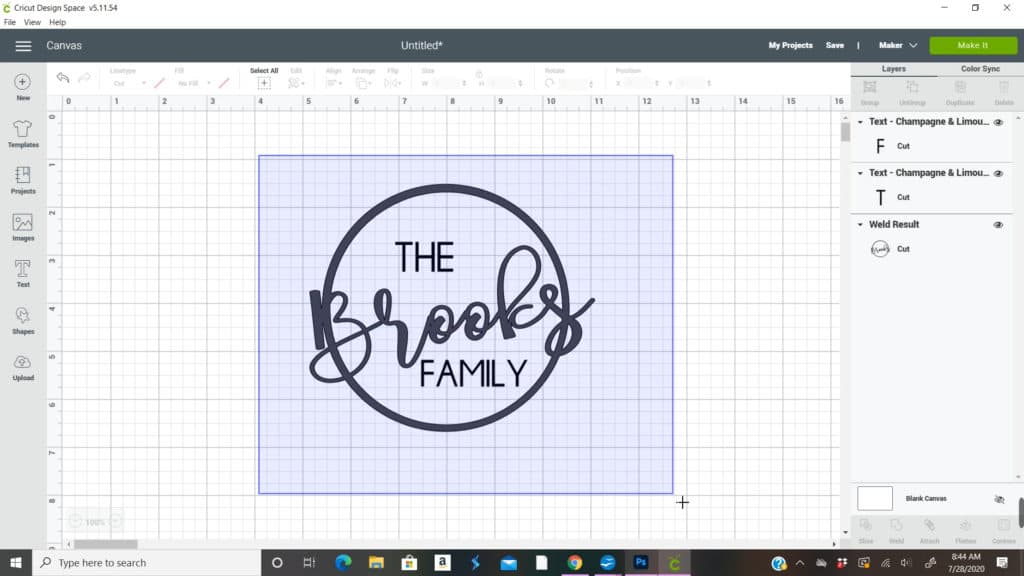
Designing in Cricut Design Space
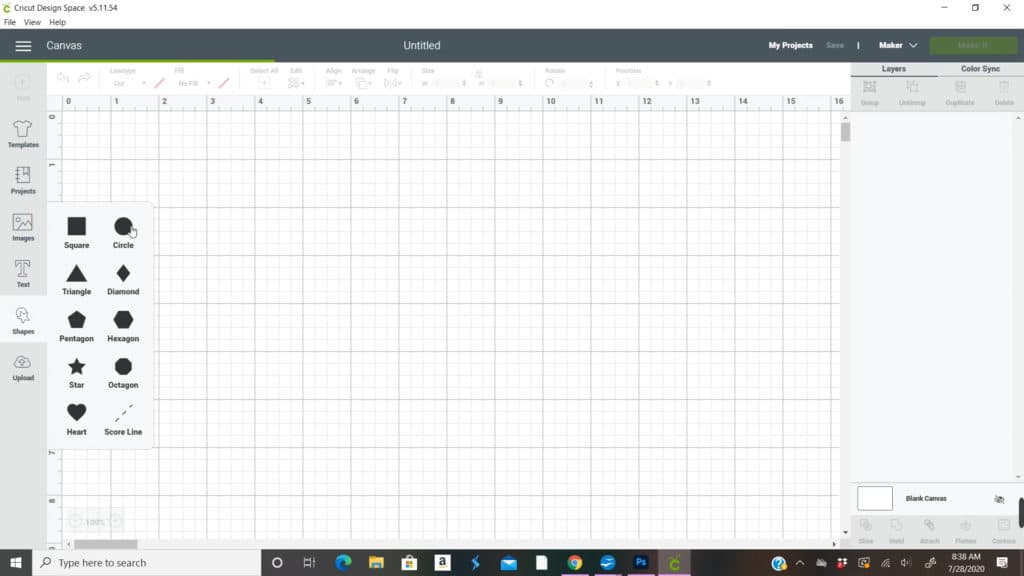
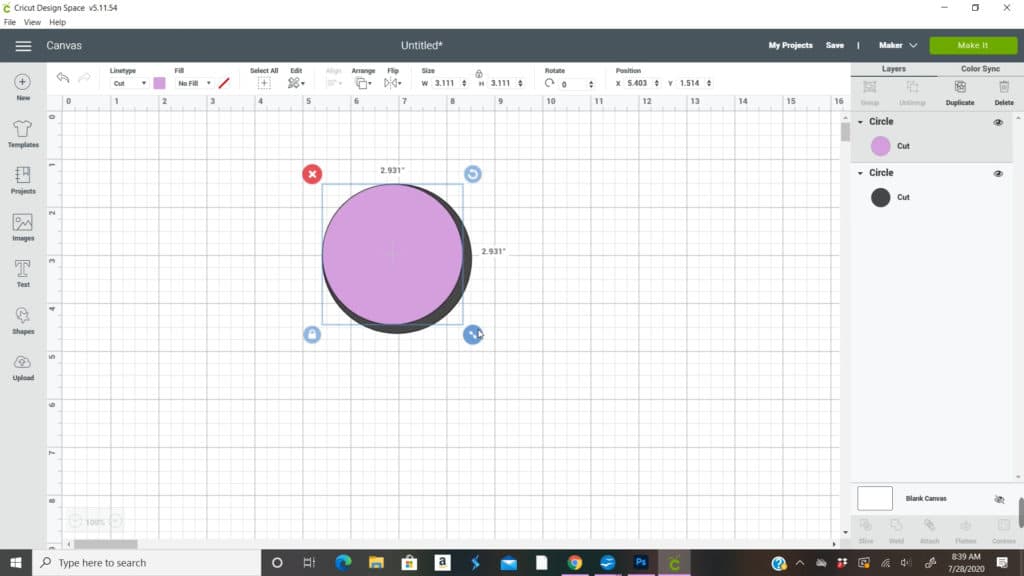
Open a new project in design space and click on the circle shape

Just leave the circle as is
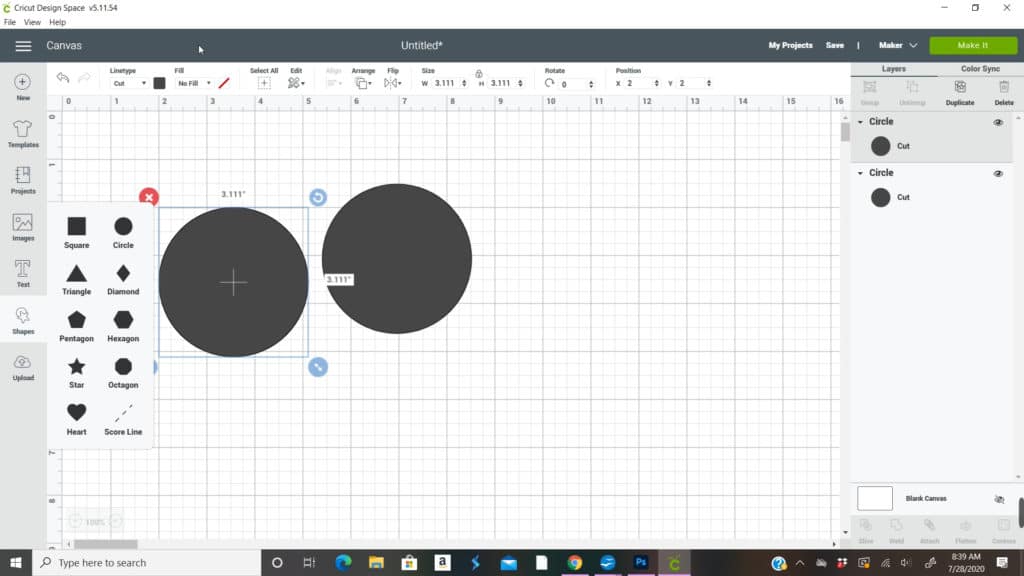
Make another circle
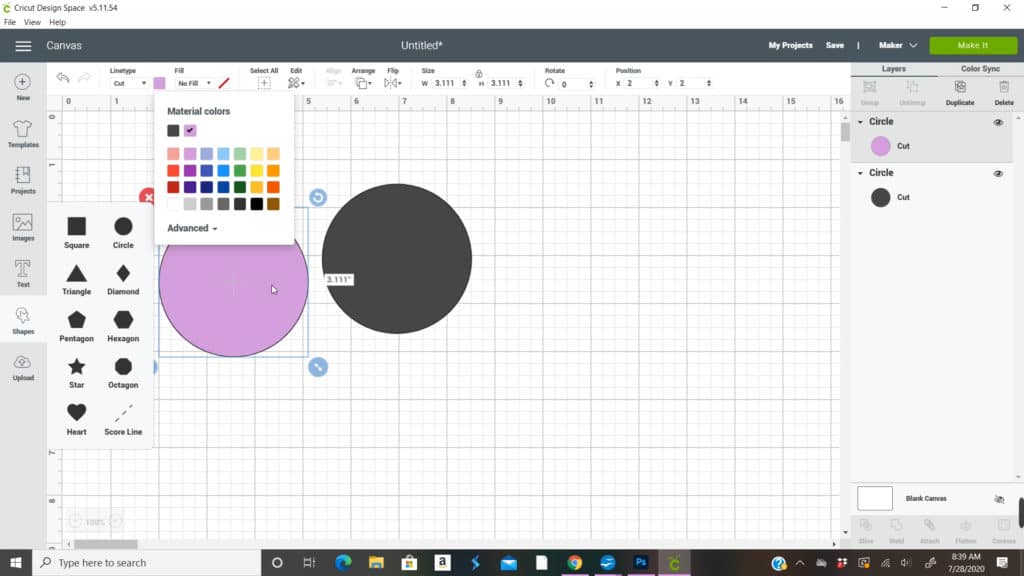
And go to the top and change the color of that circle to any color
And place that circle over the original one
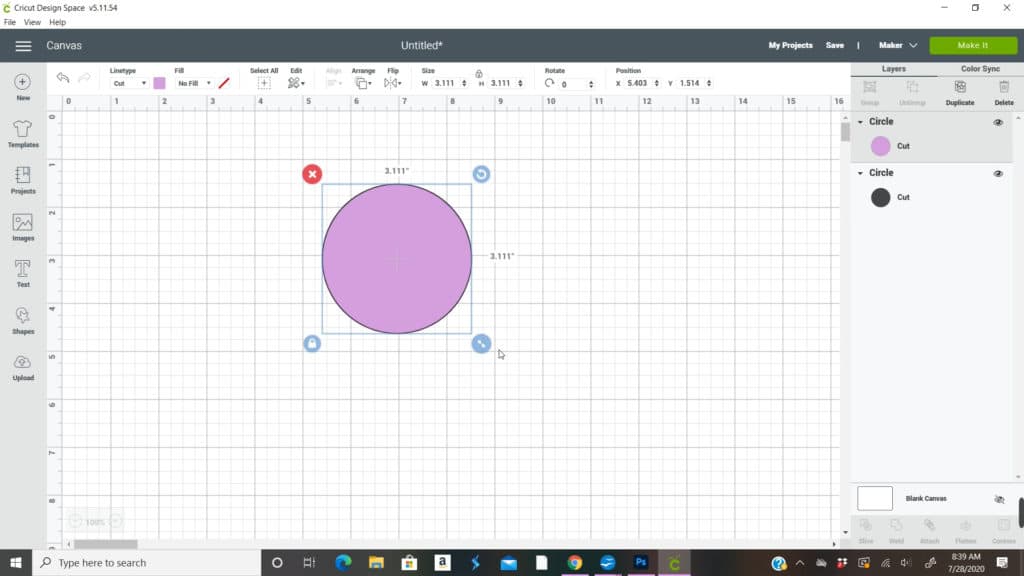
Start using the sizing button and decrease the size of the 2nd circle

You want to have a nice outline of the circle
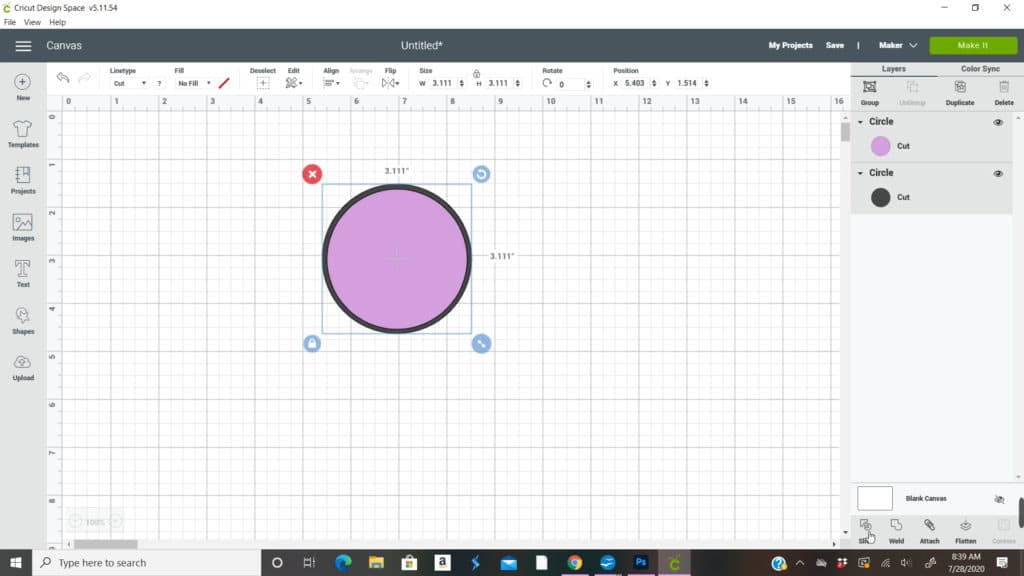
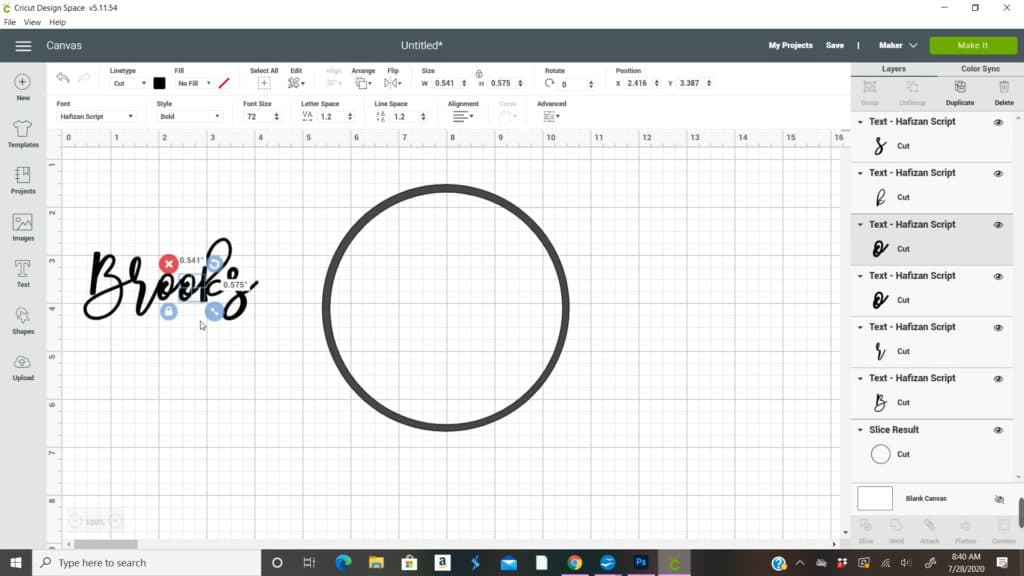
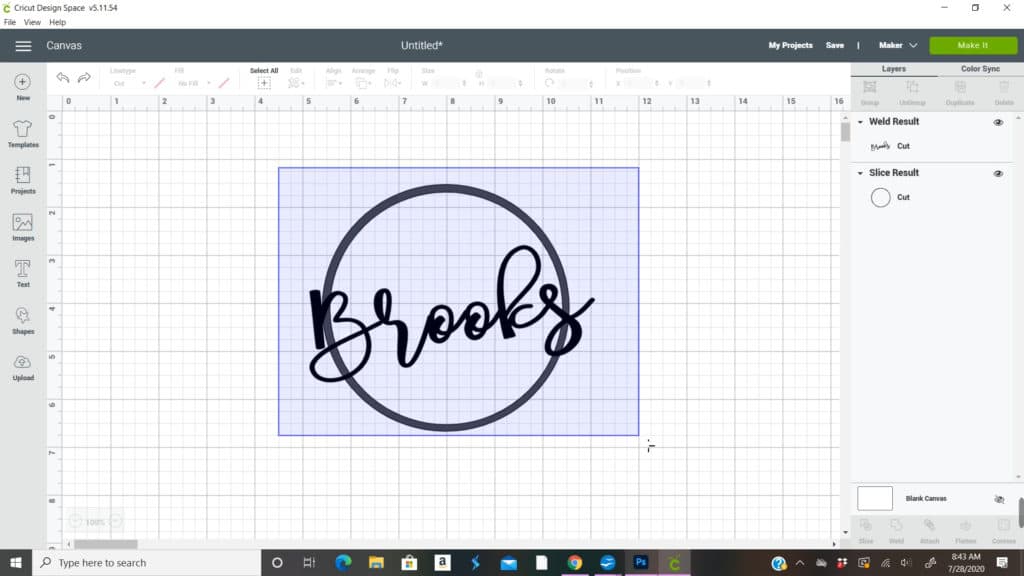
Highlight both circles and click on the slice button at the bottom right hand side
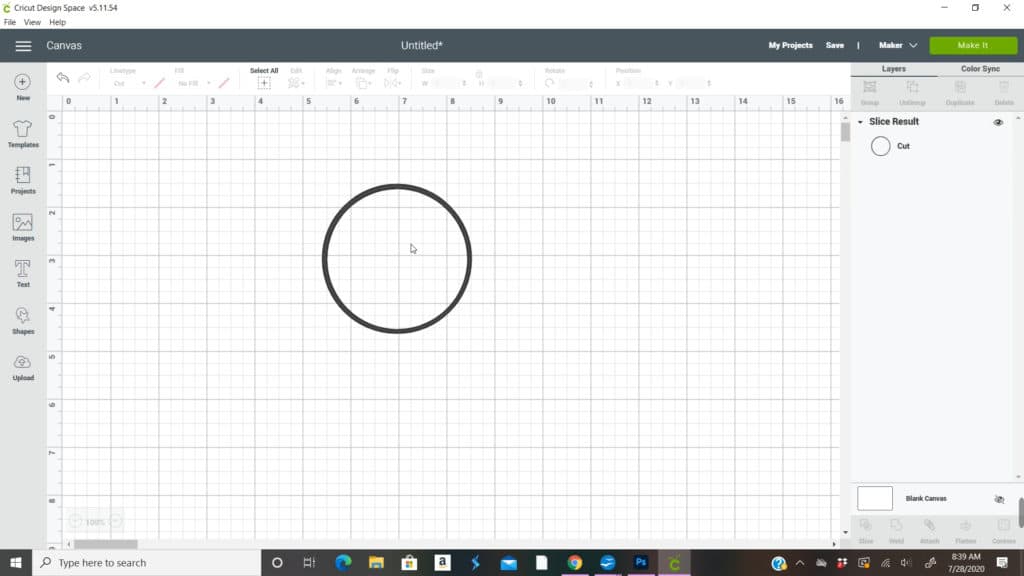
Start deleting the layer until you just have the outline circle layer
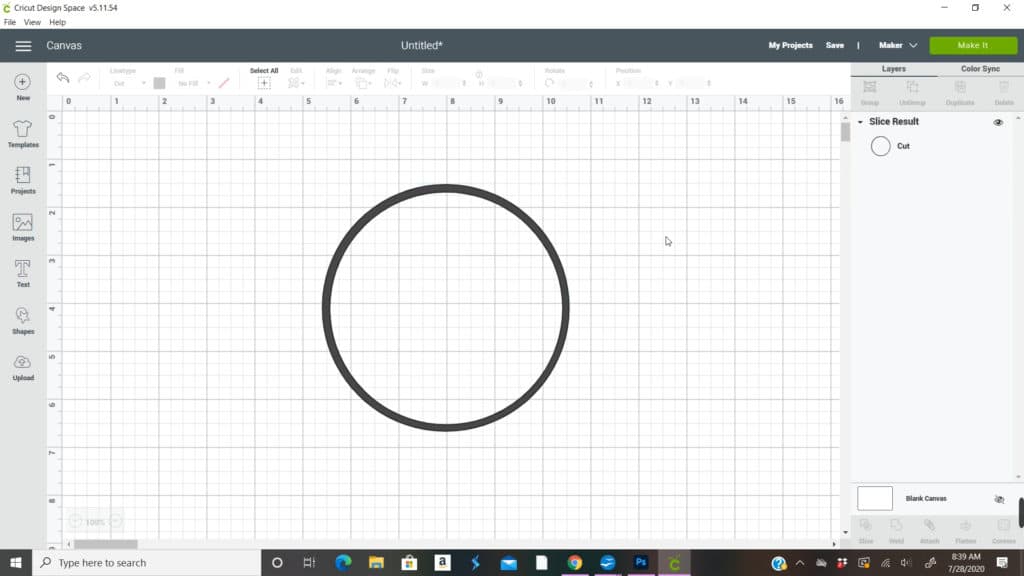
Increase the size of the outlined circle so it’s easier to edit with
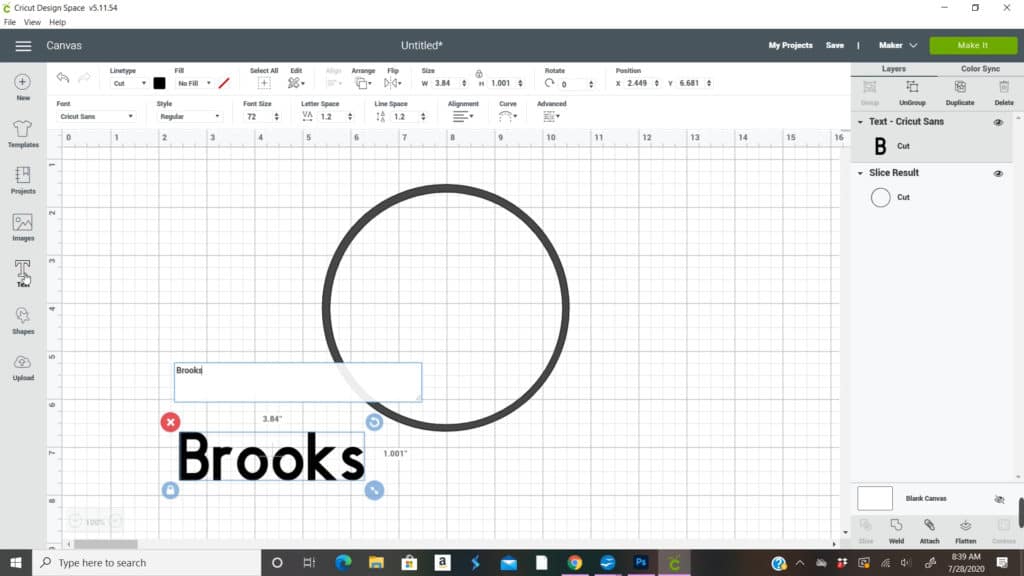
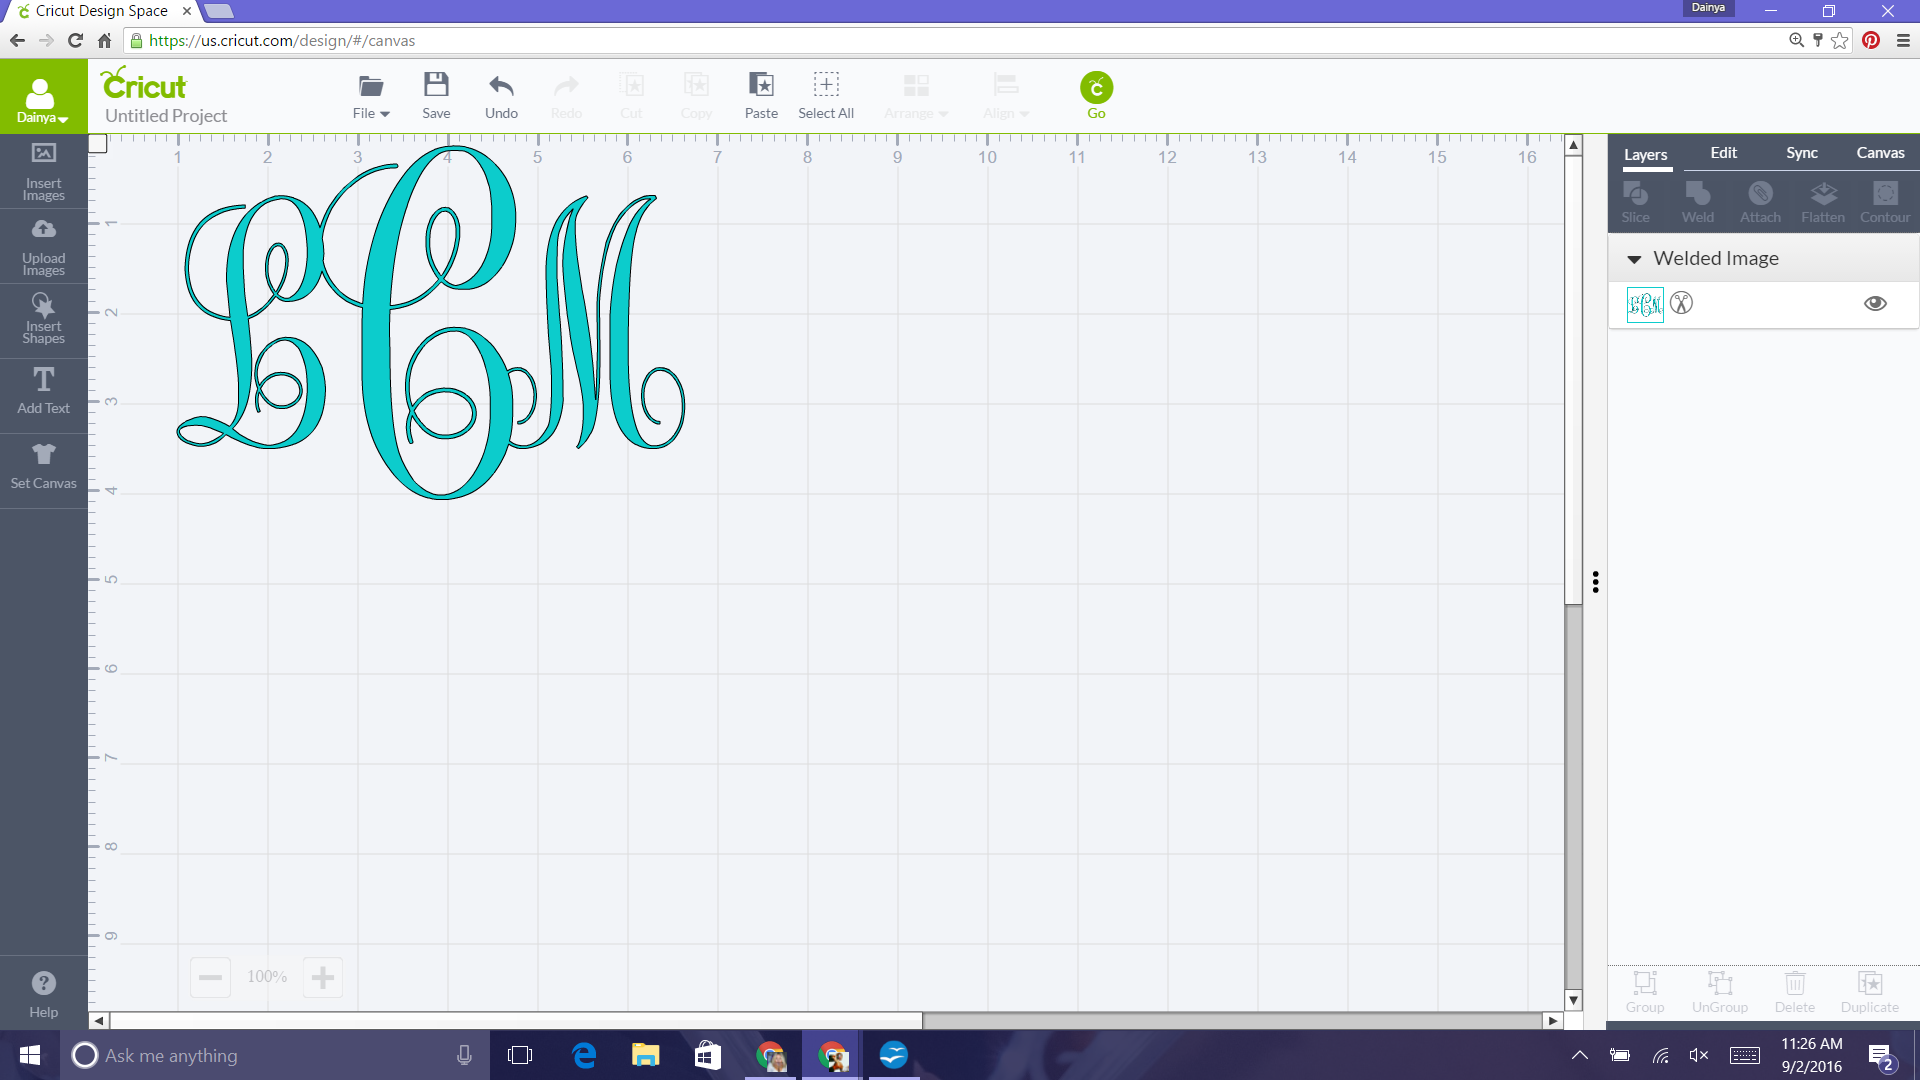
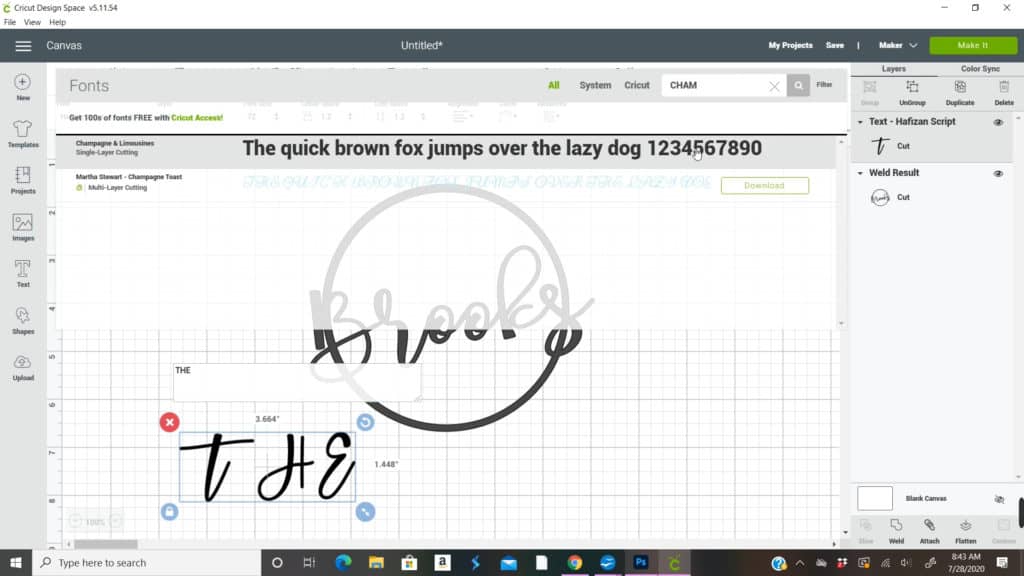
Open a text box and type the last name you are wanting to use

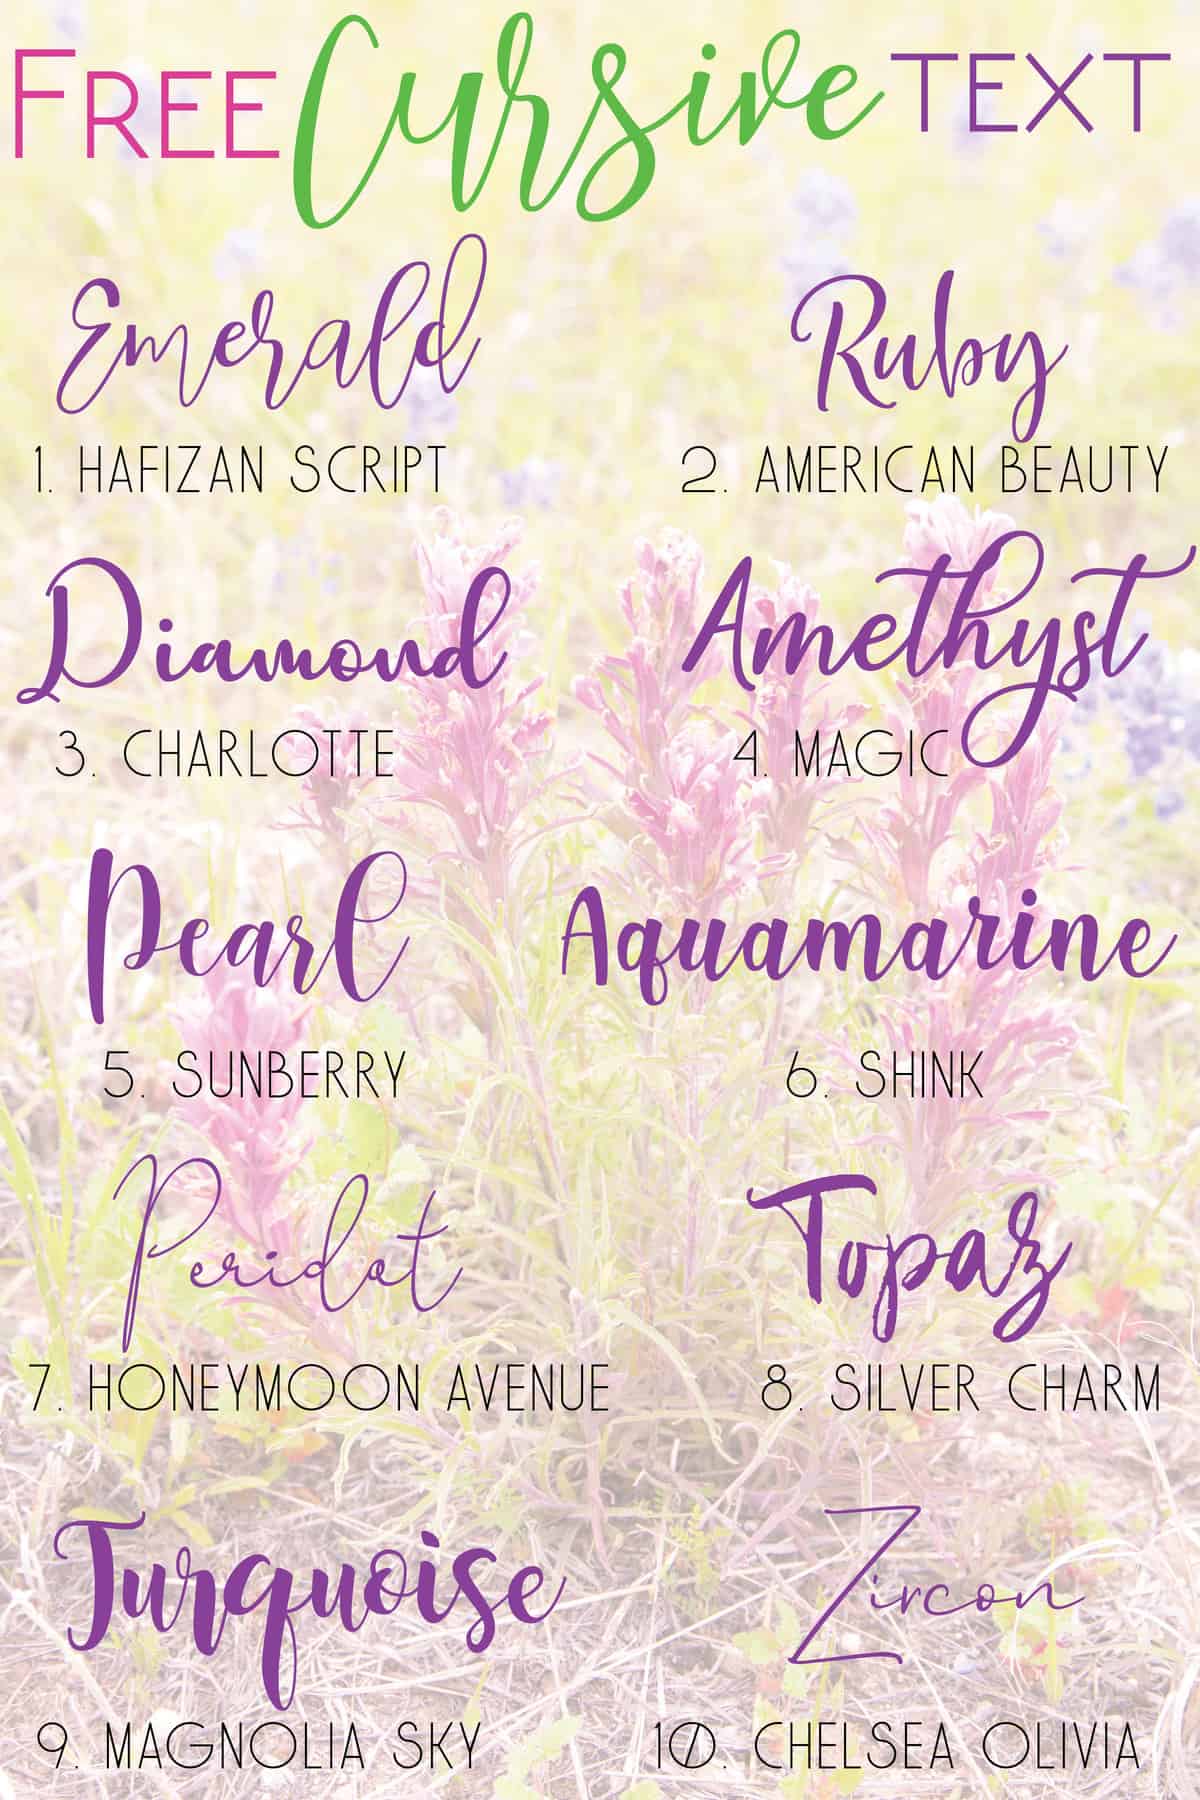
Go and choose the font you are wanting to use. One of my all time favorite fonts is Hafizan Script font from dafont.com. If you don’t know how to download fonts for design space check out this post or video below, Free Fonts with Cricut
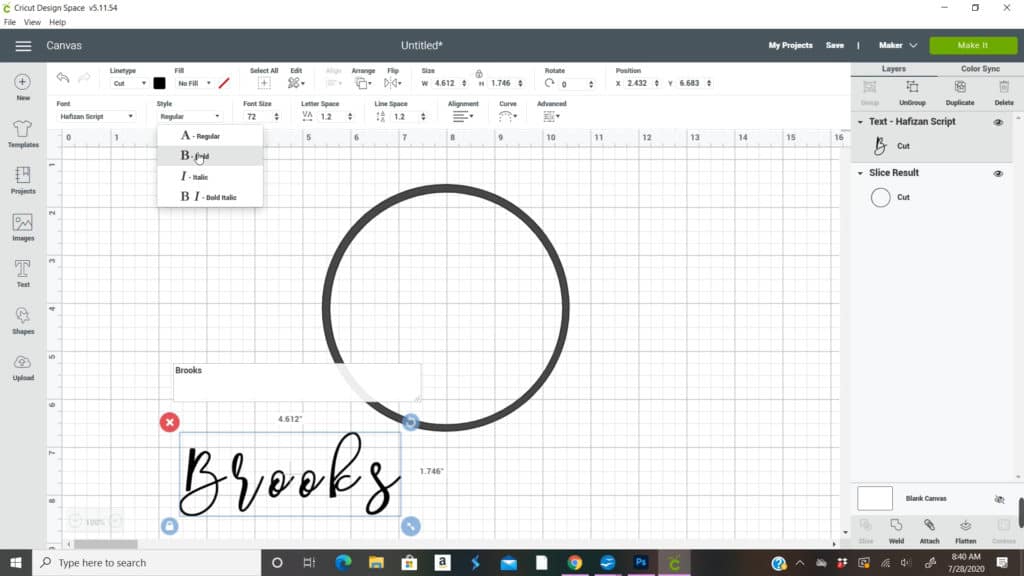
I like to make the font bold so it gives it more area to etch

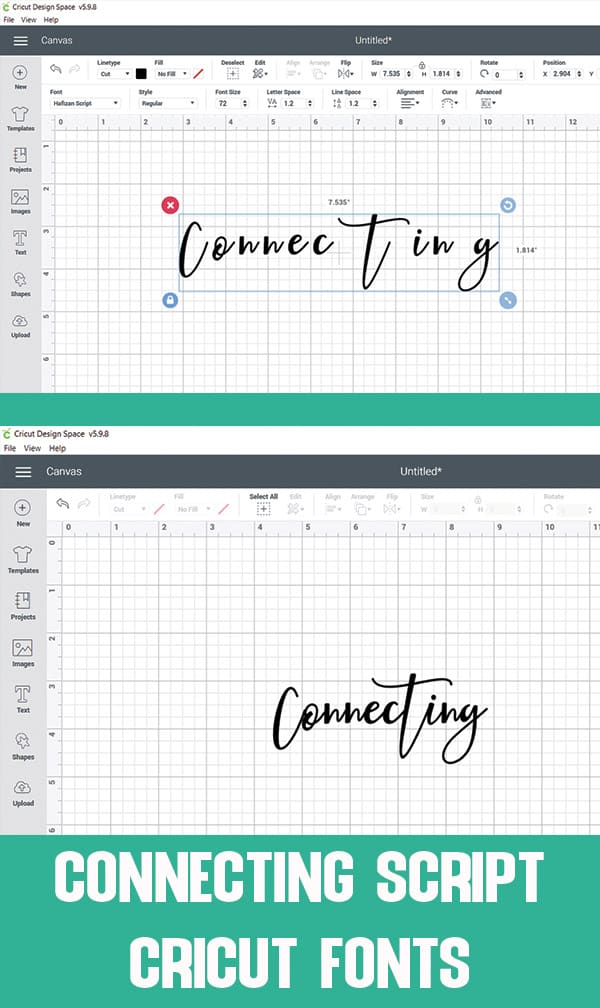
While to last name is highlighted go to the right side of the screen and click ungroup. This is the easiest way to connect the letters of a script style font.
If you want to learn more about connecting fonts check out my Connecting Script Cricut Fonts post or check out the video below
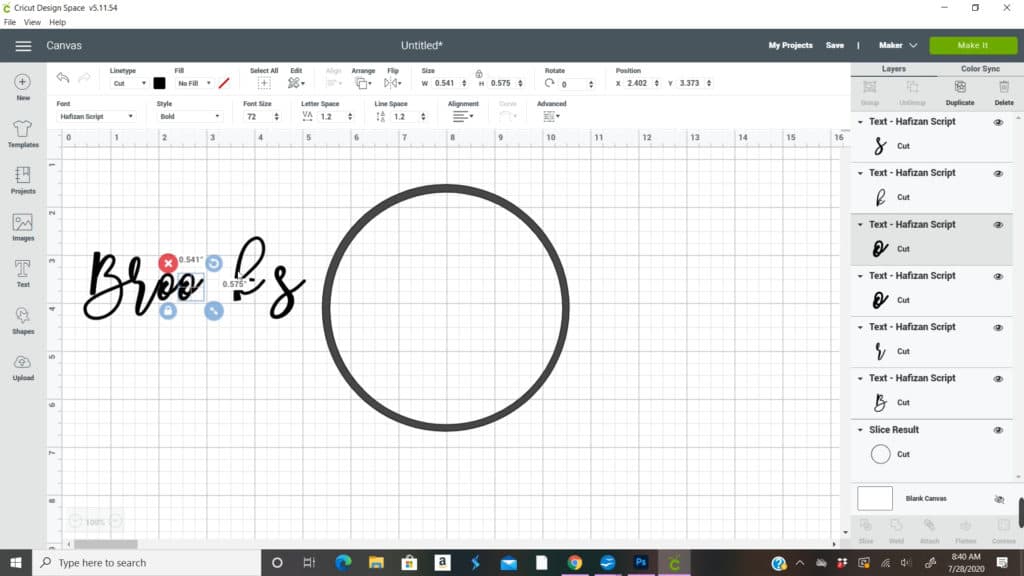
Start moving the letters to where they are touching

Highlight all the letters and weld them together
This is a problem I and so many other people run into. Do you see how the second “o” is filled in? This means the letters were touching too close together so it filled it in. Just go click the undo button at the top left side.
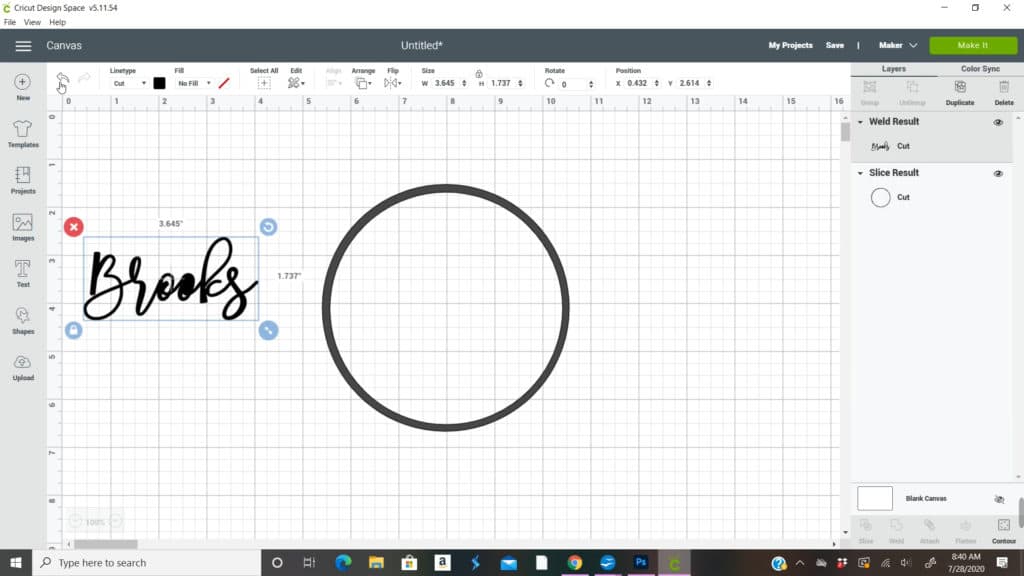
Start to space out the letters a little more next to the letter that filled in.
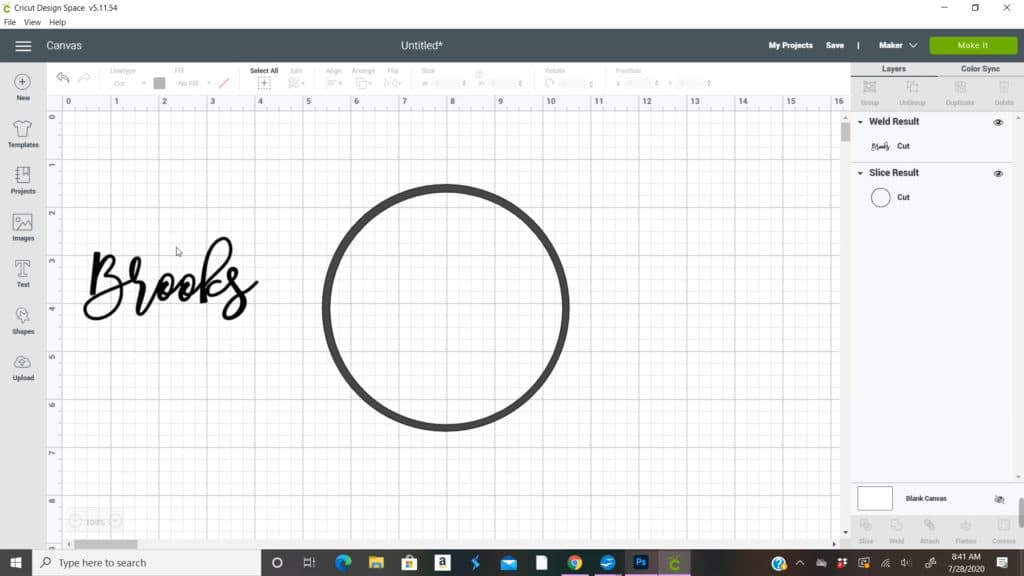
Then highlight all the letters again and weld and there you go no more filled in letters
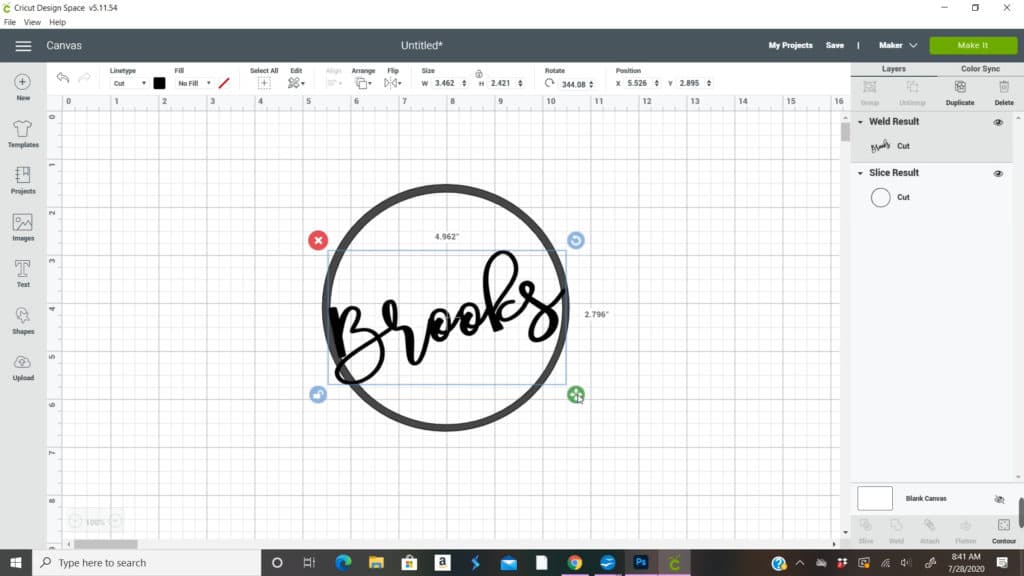
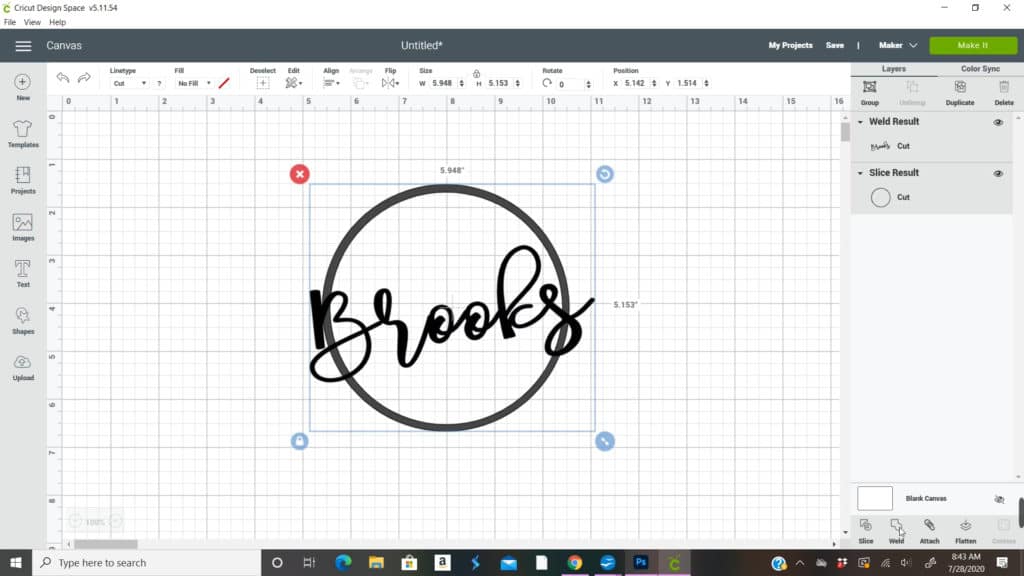
Now move the name inside the circle and give it a slight angle
Resize it to whatever size you would like. I like the first and last letter to come out of the circle some
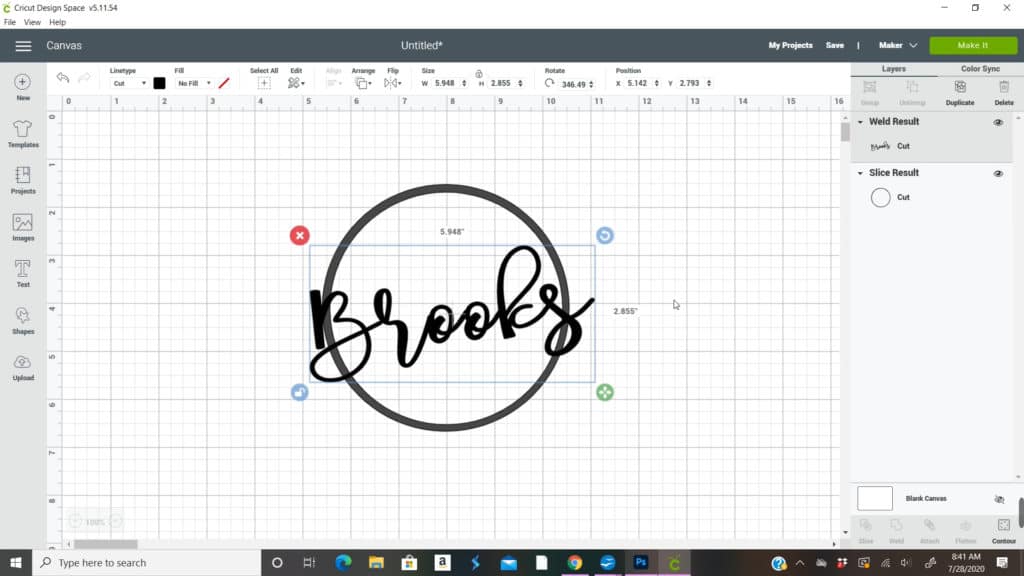
Highlight everything
And click on the weld button
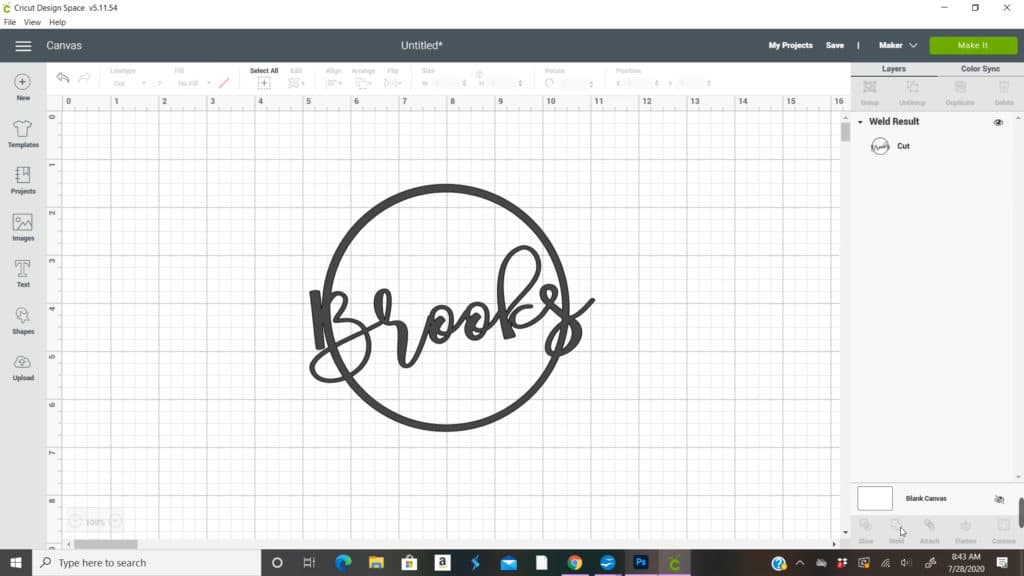
It should look like one continuous piece like this when over
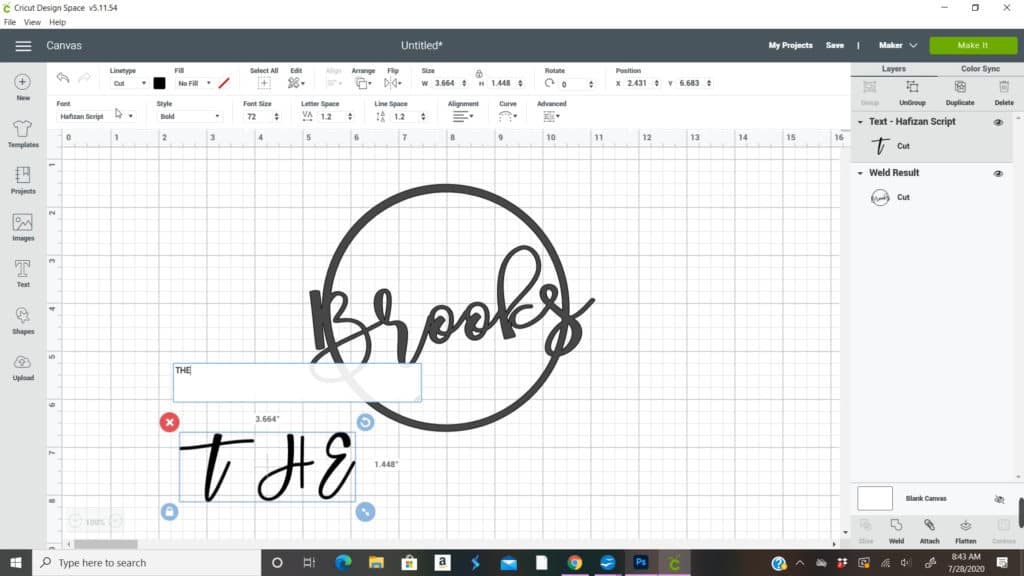
Open a new text box and type out the word “the” in all caps
Go and pick a font you want to use. I picked Champagne & Limousines
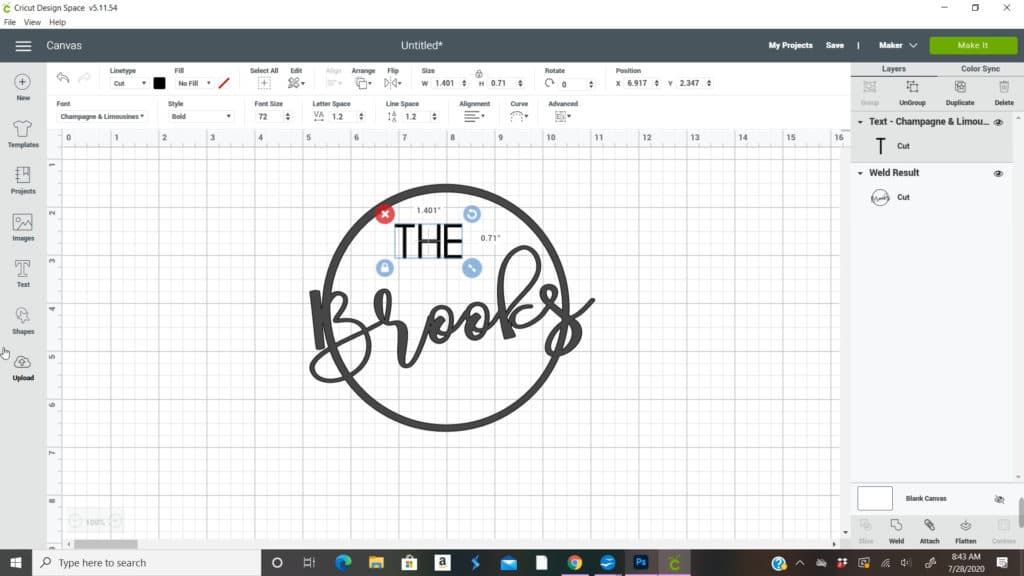
Now resize the “THE” and place it above the last name
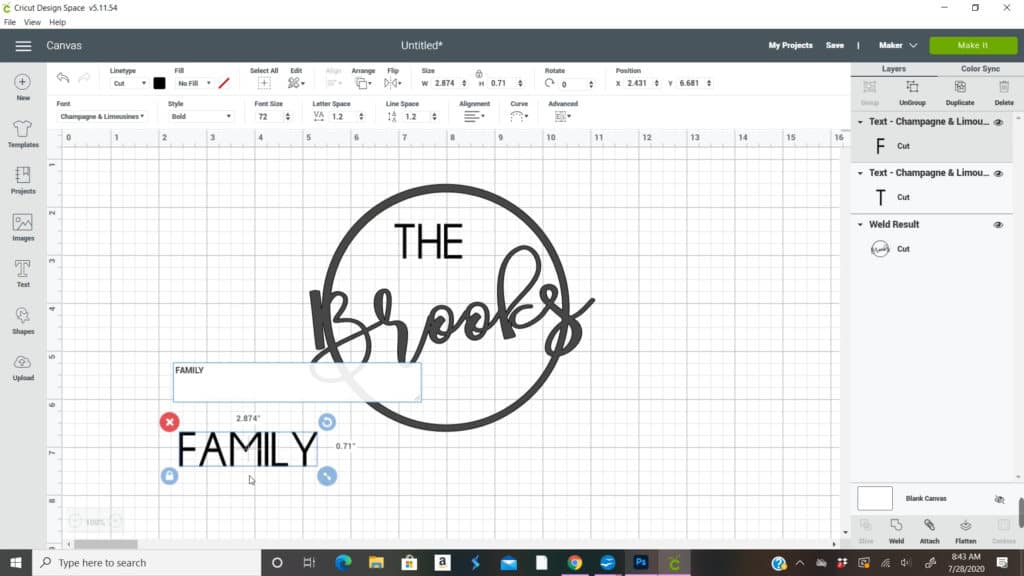
Next make another text box and type out the word “family” in all caps

Then move it and resize it to go under the last name
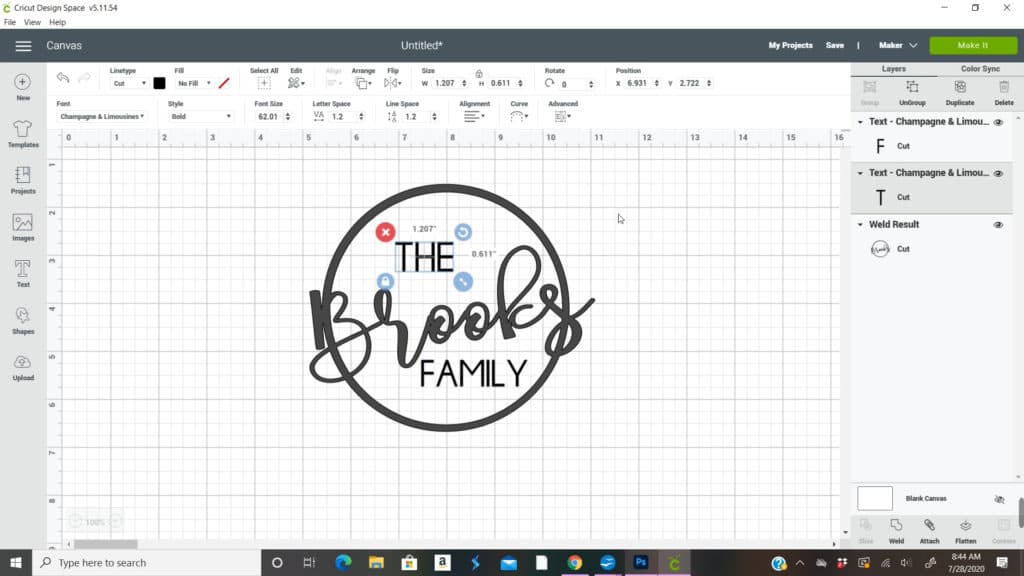
After resizing “family” I decided the “the” needed to be smaller to be a little more proportionate
Highlight everything
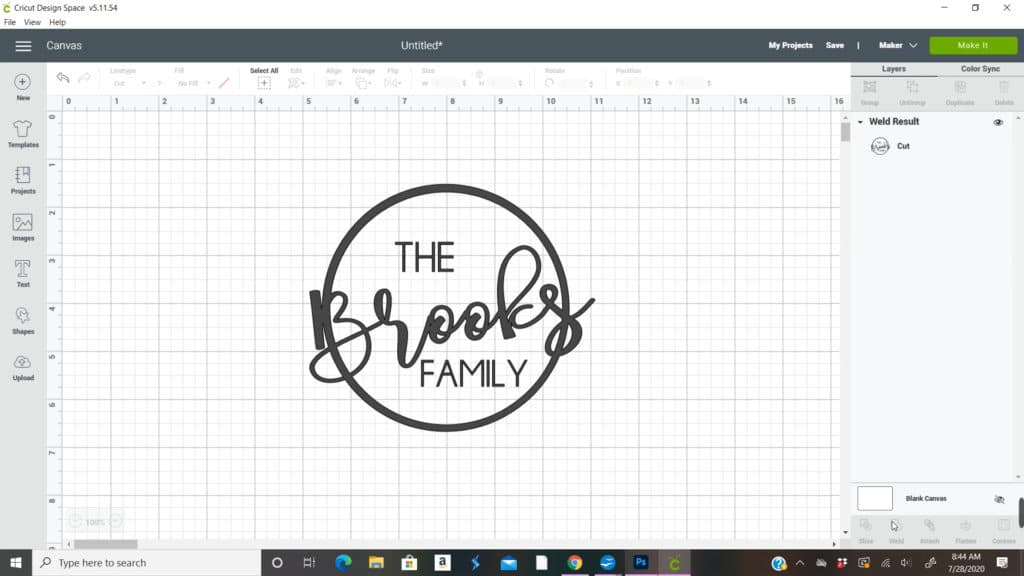
And weld everything together

Now go to the Make it button at the top right hand side and press it
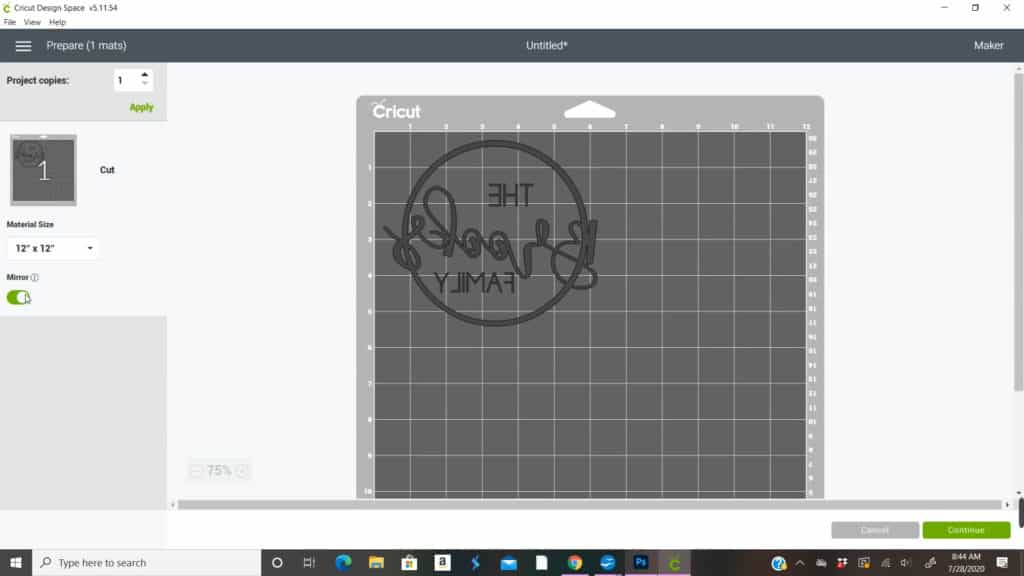
Be sure and mirror the image because we are going to do the etch on the back side of the cutting board to avoid any knife scratches
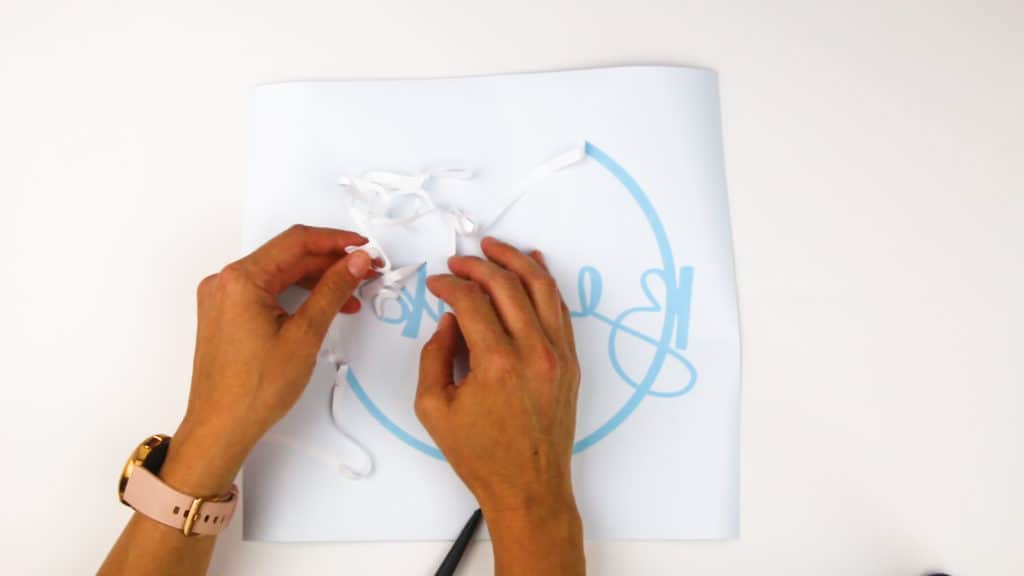
Take your piece vinyl that has been cut and weed all the letters and circles. Be sure and not pull up any parts that aren’t suppose to be removed. Like as in the inside of some letters
If you vinyl piece is rolling like mine did I taped down 2 of the corners
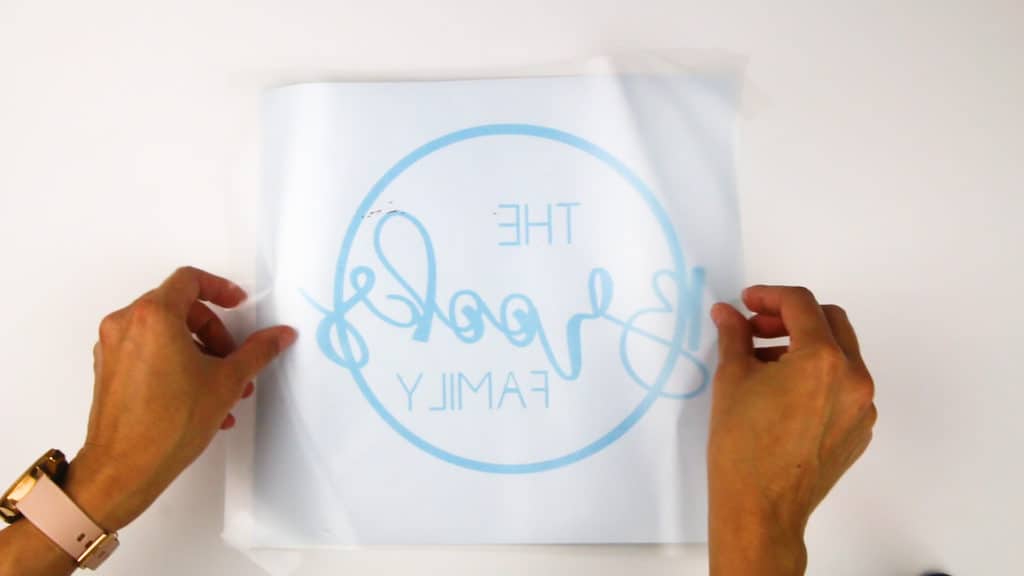
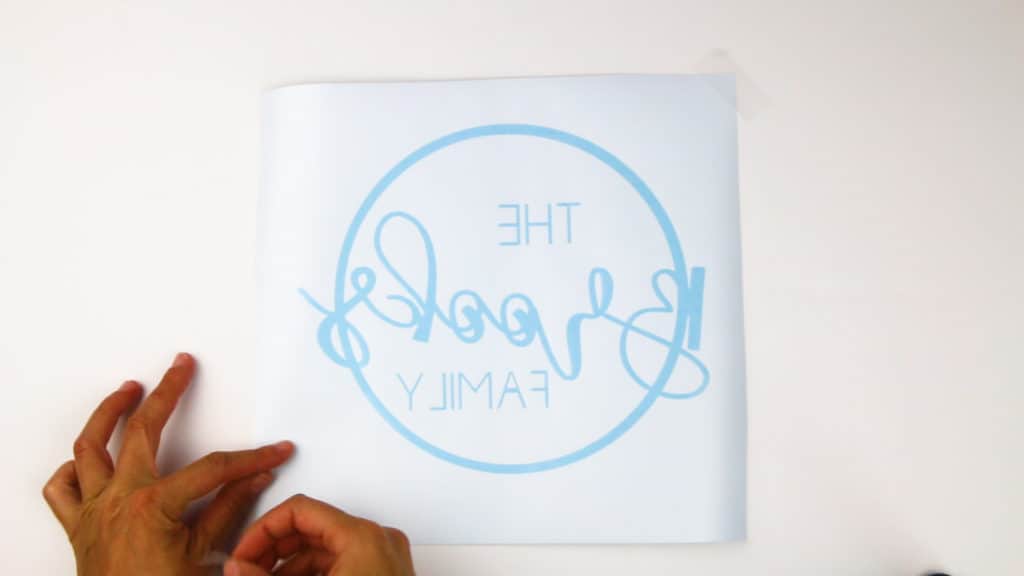
Add a piece of transfer tape to your vinyl
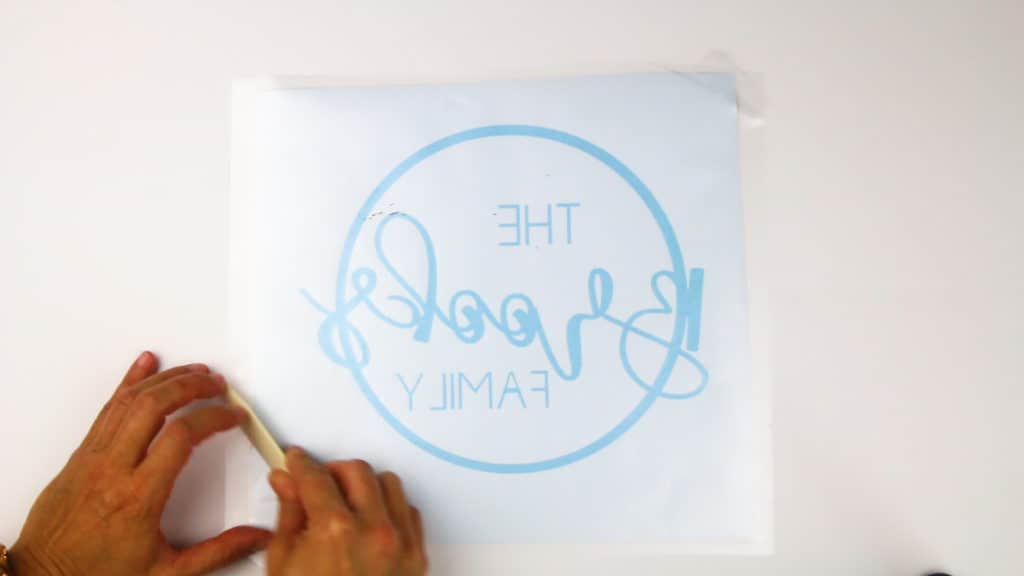
Use your hands or a tool to rub down the transfer tape to the vinyl
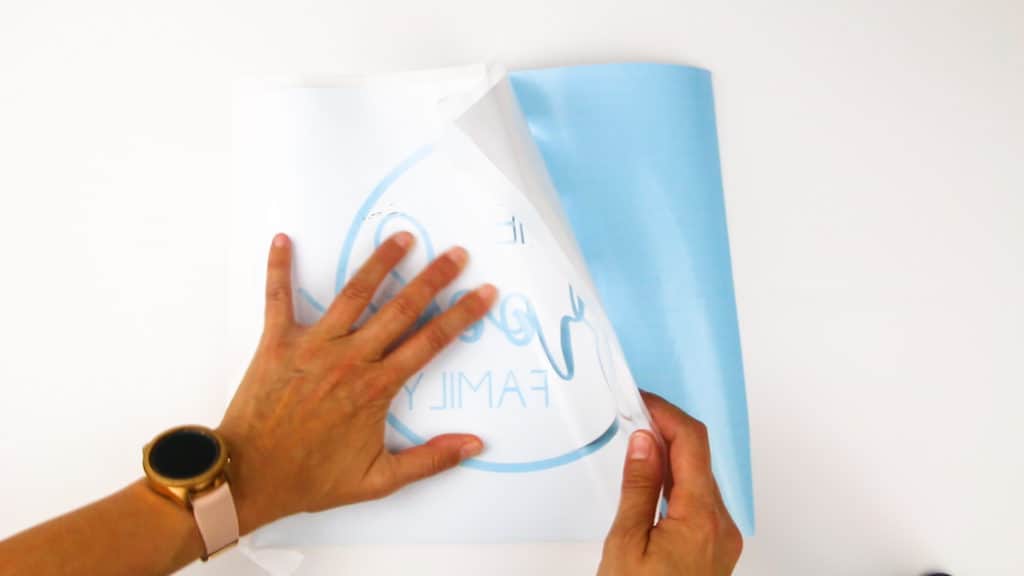
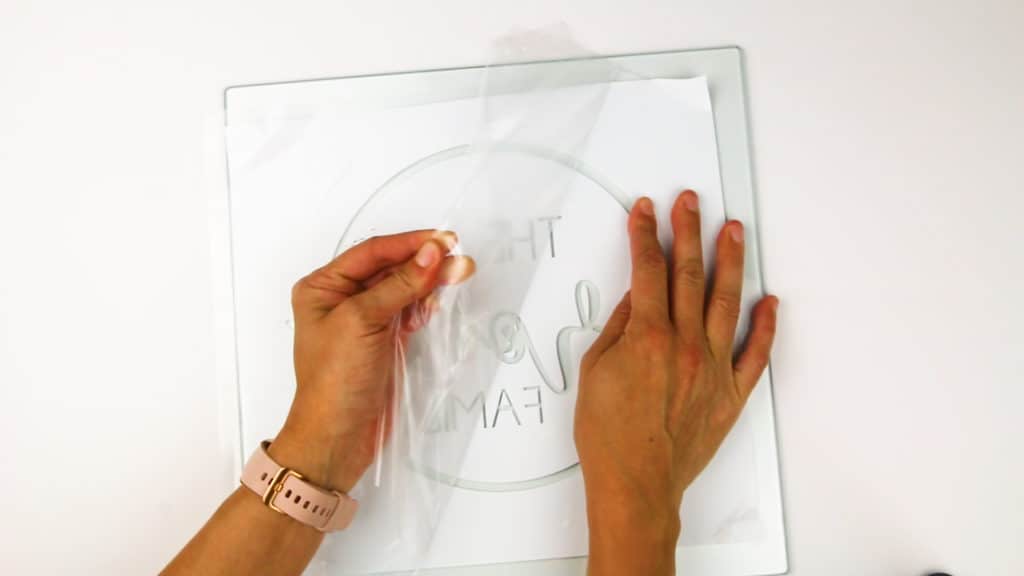
Start to peel back the transfer tape attached the the vinyl away form the paper the vinyl came on
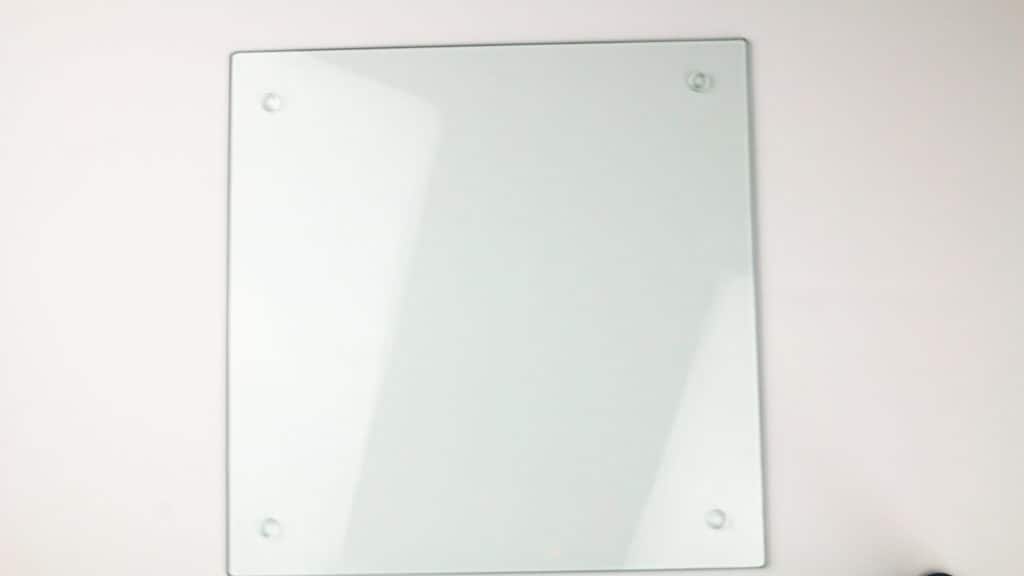
Get you glass cutting board and remember to flip it over because you’re going to be putting the vinyl on the back side of the cutting board
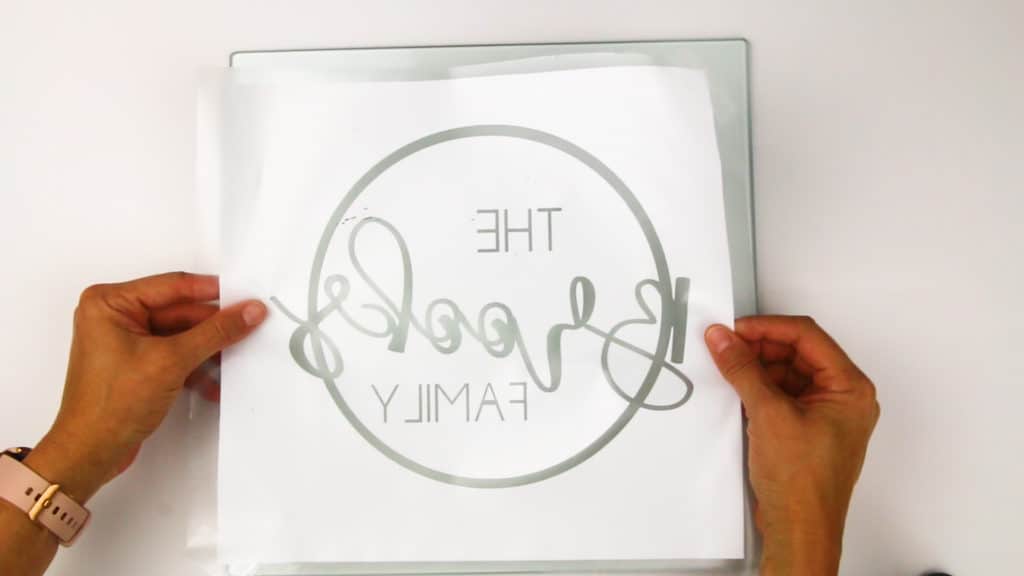
Line up your vinyl piece on the glass cutting board. It might take a couple time to get it straight, but mine came off easily to replace because i didn’t press down until it was where I wanted it.
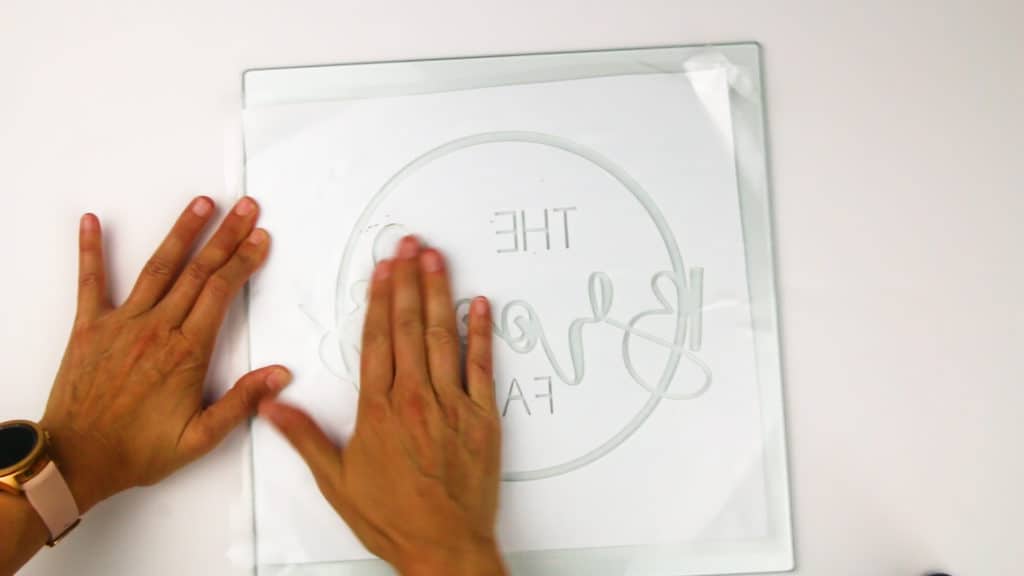
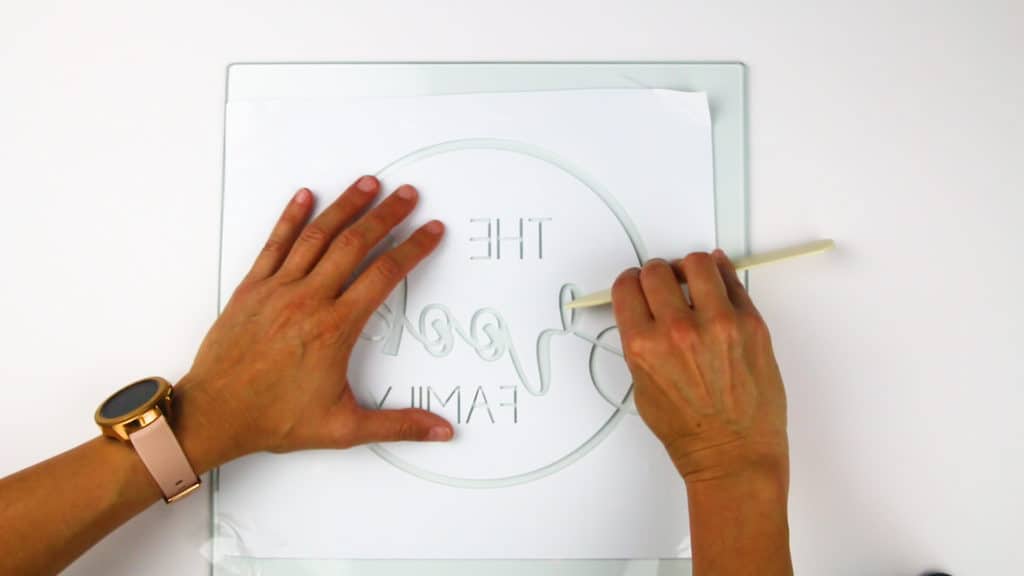
Start to press down on the vinyl to secure on the glass
I like to use a tool to really get the vinyl attached
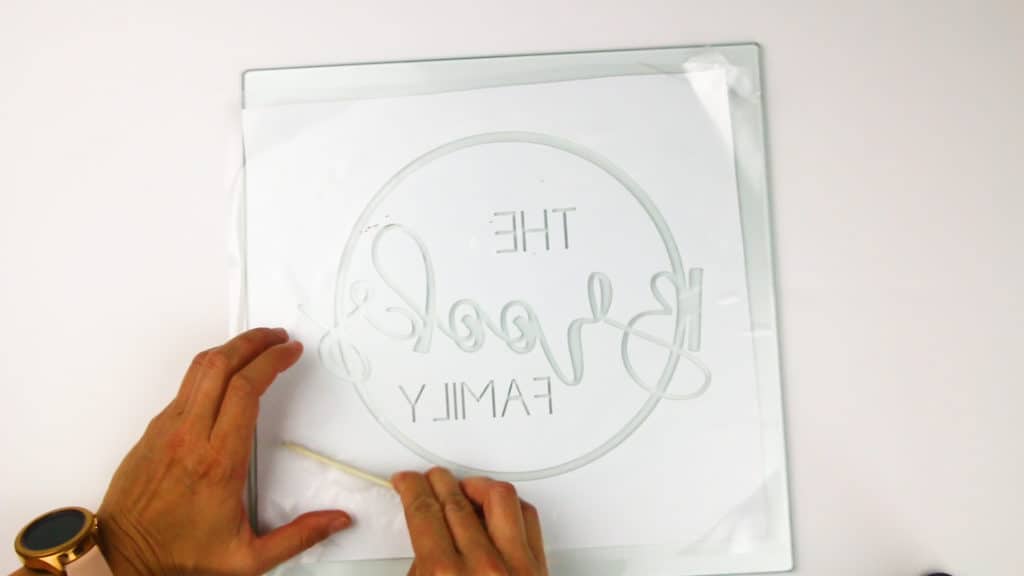
Start to peel off the transfer tape away form the vinyl. The vinyl should stick to the glass
You need to rub down the vinyl again to make sure there aren’t any bubbles near places where the etching cream is going to go
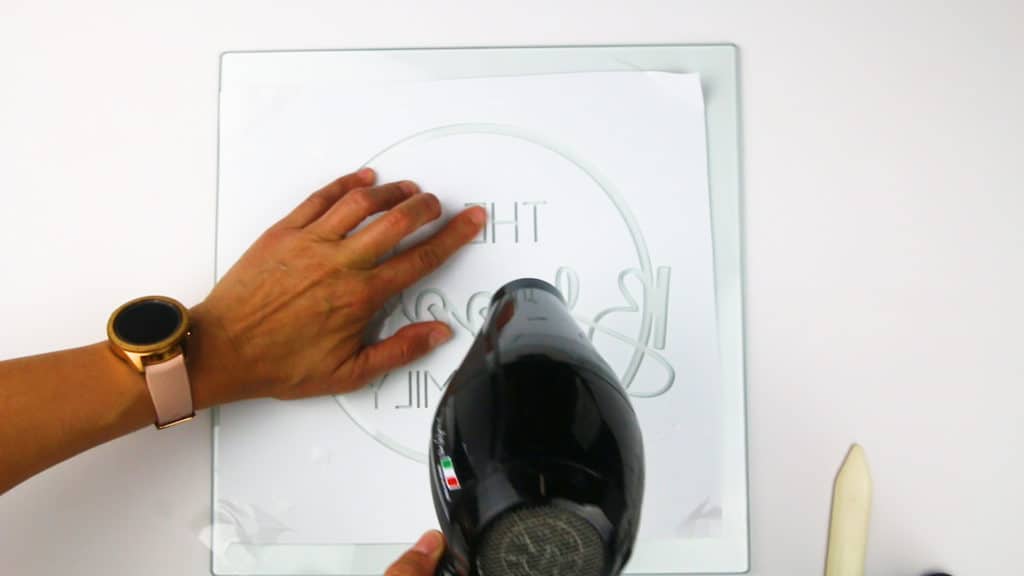
I like to use a hair dryer to really get the vinyl to stick to this glass. When I use the hair dryer I tend not to worry about any etching cream leaking where it’s not suppose to etch
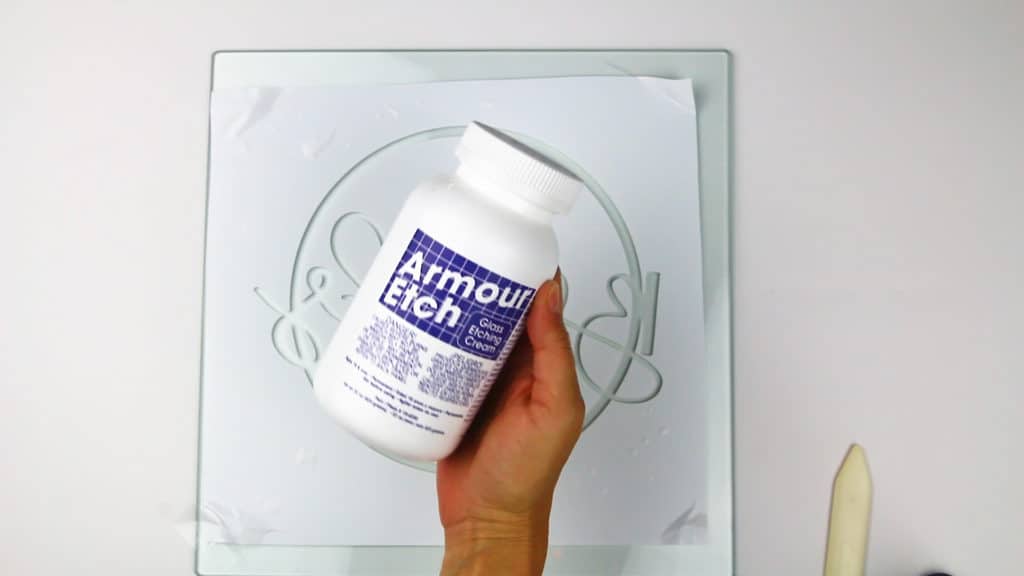
Now get your etching cream
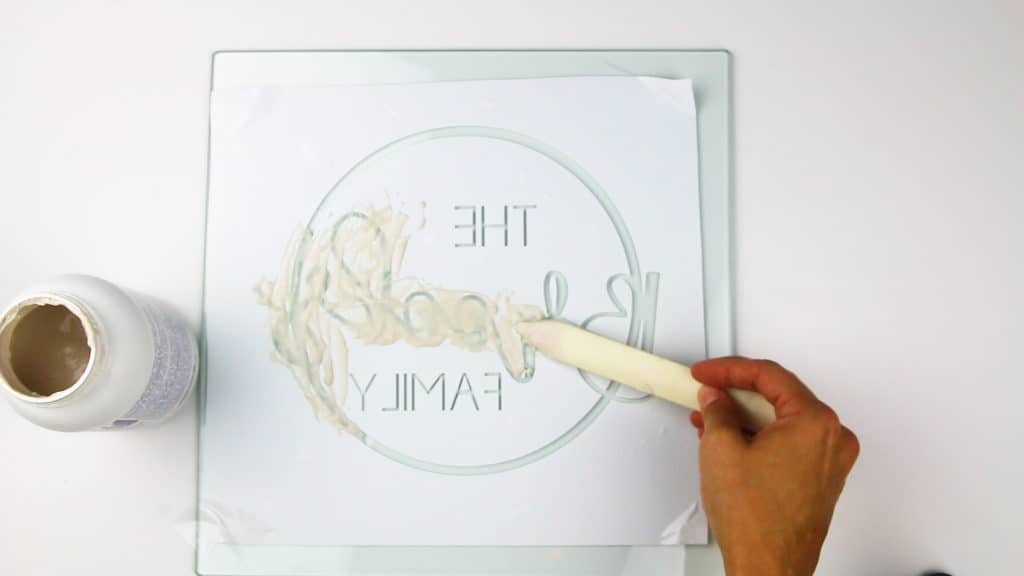
Start to apply it to the areas that need to be etched. You do not need a thick layer either. It won’t etch anymore because it has more cream
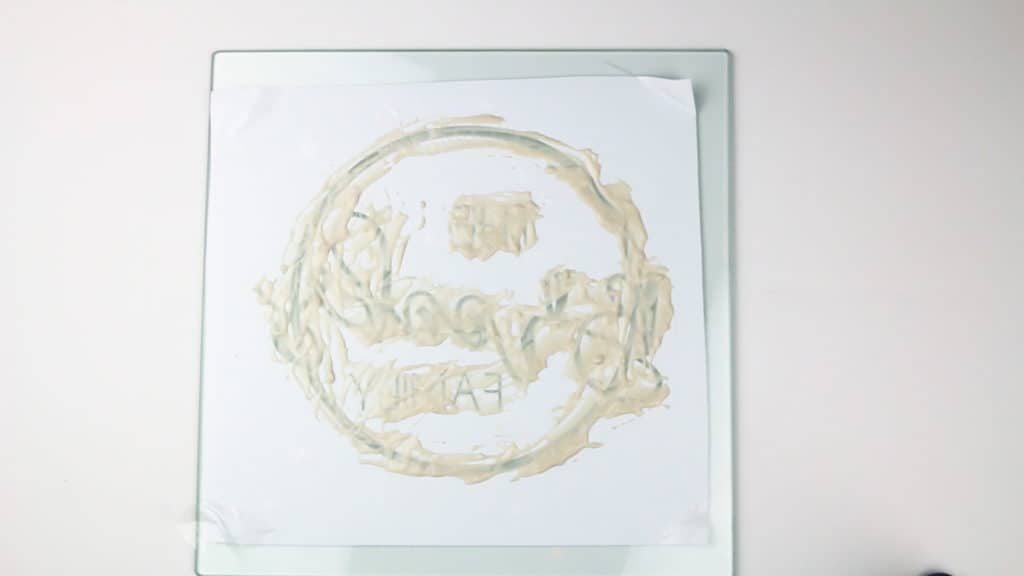
Once you have all the etching cream down let it set for about 20 minutes
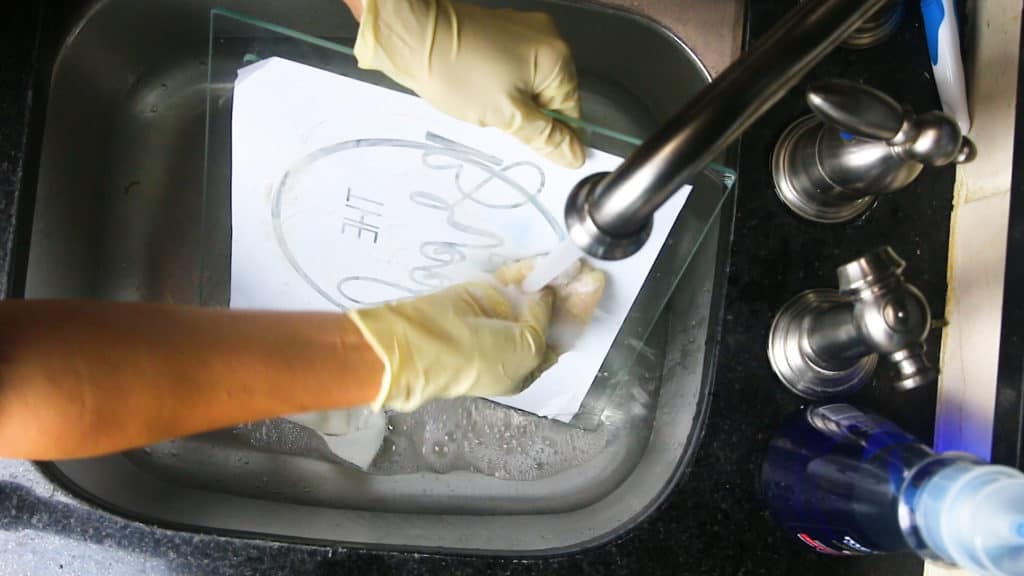
Take the cutting board to the sink and turn on warm water. You can take a paper towel and start to remove some of the cream or you can be brave and get some soap and just start scrubbing the cream.
You just need to make sure no cream gets on any area that you don’t want etched. This stuff starts working fast so you have to move fast.
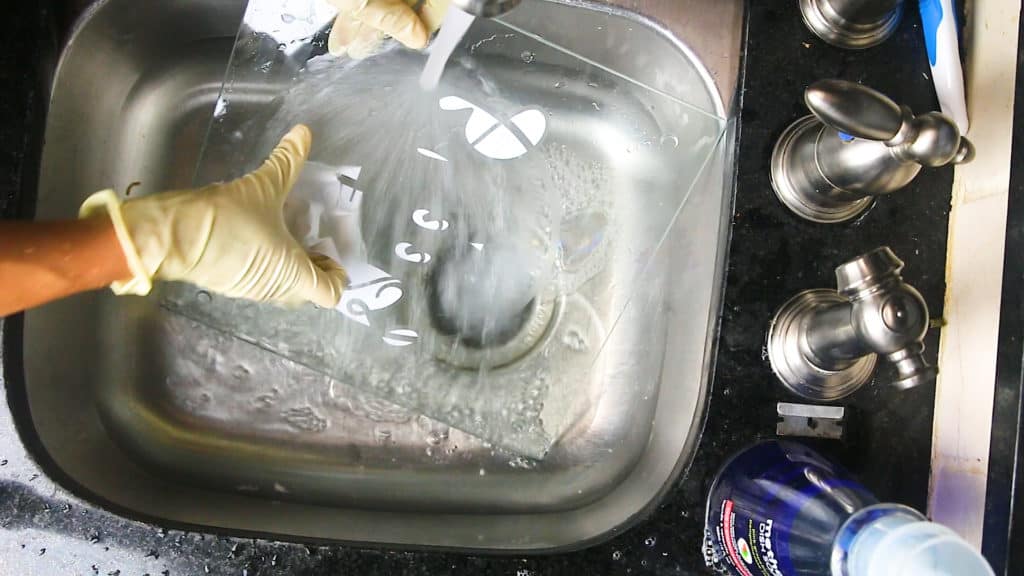
Then start removing all the vinyl from the glass
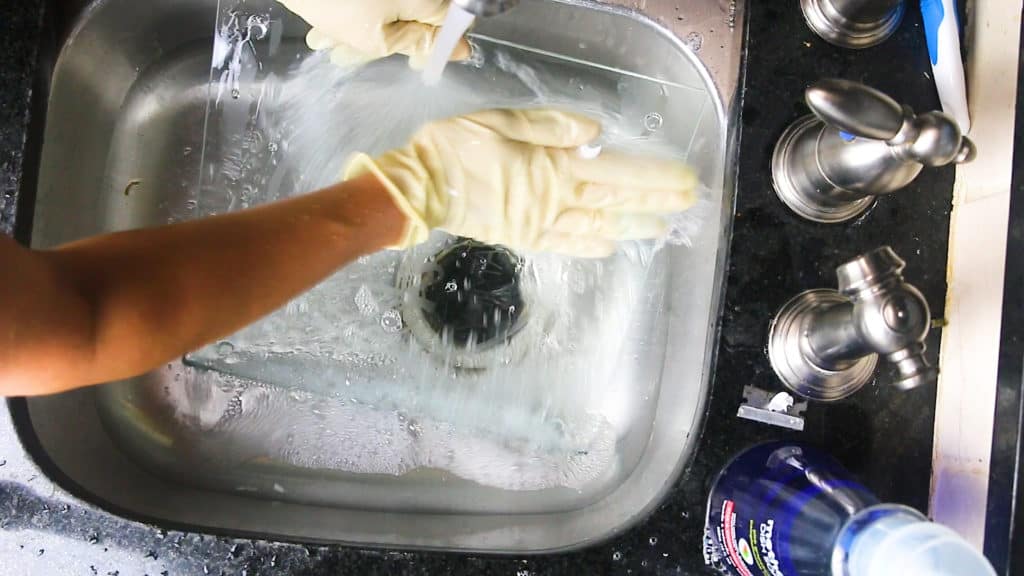
Then give it one more soap bath and you are finished
Tips and Tricks for Cricut Etched Cutting Board:
- Be sure and clean your cutting board first before applying vinyl. You can use soap and water or rubbing alcohol. Let completely dry before applying vinyl
- Make sure there are no bubbles in the vinyl near the parts you want etched so it doesn’t seep in
- You can use a hair dryer to really get the vinyl to stick to the glass and to get out any bubbles
- Do not get any etch cream where you don’t want etch or that is covered with vinyl. Accidents happen. I suggest having a wet paper towel handy and quickly remove etch cream if it gets on an area you don’t want etch
- I personally wear gloves when having to physically touch the etch cream. I see it as if it does this to glass in a matter of minutes I rather it not touch my skin
- You only need a thin layer of etching cream. Doesn’t matter if you put a thick layer it’s not going to etch it anymore as with a thin layer
- 20 minutes is just my go to amount of time to leave the cream. It actually etches it a lot faster, but at 20 minutes I know for sure it has etched all it’s going to etch
- If you like to save money you can scrap off the etch cream and put it back in the bottle and use it again
- When removing the etching cream vigorously wash it with soap and water removing the cream as fast as possible I have found is the quickest, easiest way to get the job done.
Want More Cricut Projects?
Cricut Etched Wine Decanter
Cricut Personalized Slate Coasters
Cricut DIY Doormat
Etched Slate Cheeseboard
Or CHECK OUT all my Cricut related posts to help design your next project