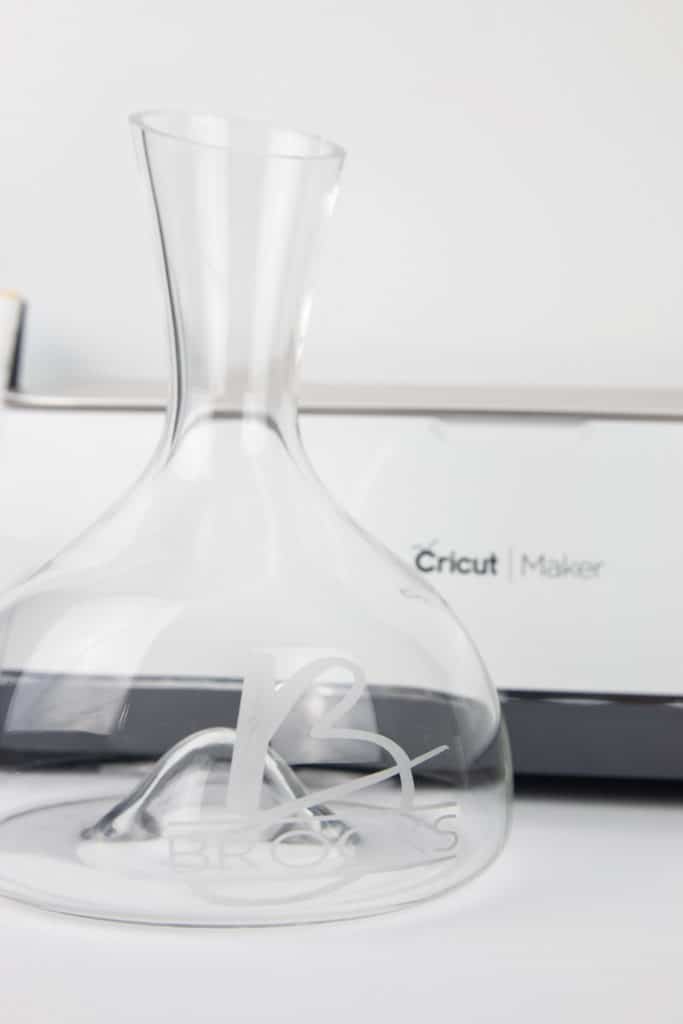
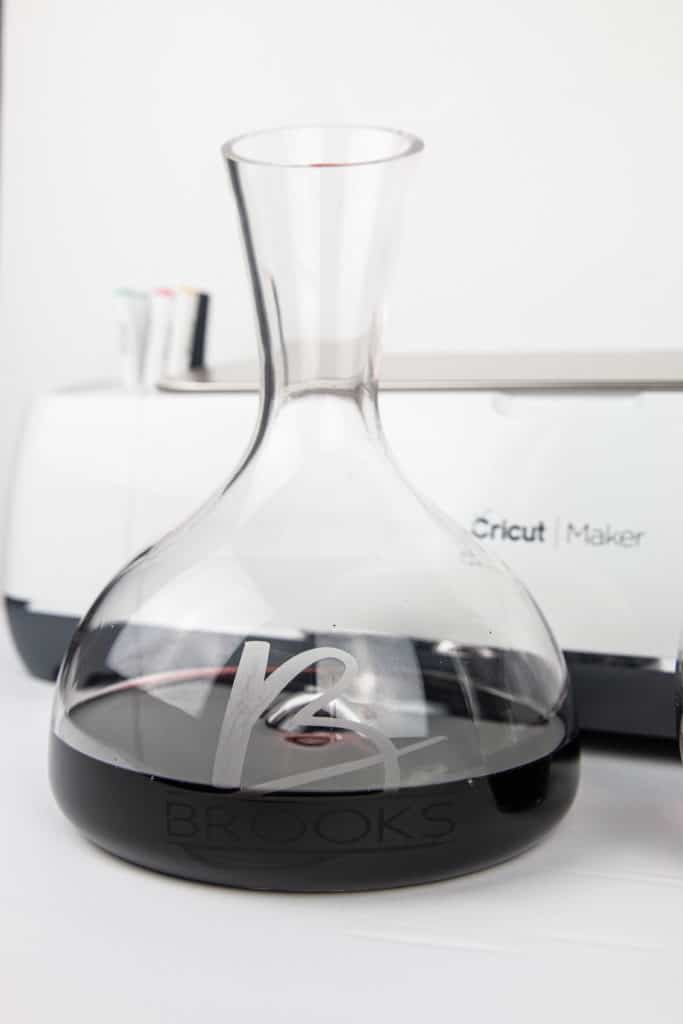
Cricut Etched Wine Decanter
Make this Cricut etched wine decanter and impress anyone with a personalized gift that can be used for all occasions that they will love.
Here it is the end of July and I’m already thinking about Christmas gifts. I like to get a head start on my Christmas list because I’m usually always making something personalized for my family and friends. And the gifts always go over so well.
Is this Etched Wine Decanter only good for Christmas Gift?
Of course not! There are so many different occasions this gift would be perfect. To name a few:
- Wedding gift
- Housewarming gift
- Anniversary gift
- Bridal Shower gift
- Birthday gift for that wine lover
- And of course Christmas
I believe when you have something personalized it really gives the gift receiver a little “eww ahh” moment. And then them finding out you made it yourself, it can’t get better than that.
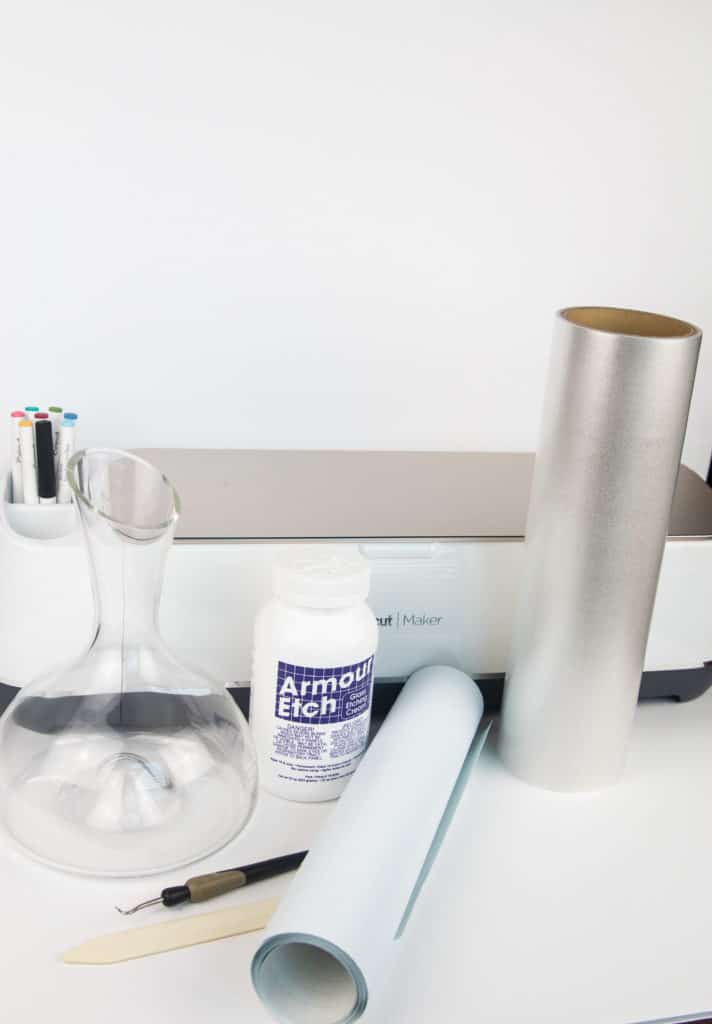
Supplies for Cricut Etched Wine Decanter:
- Glass Wine Decanter– I got this one on Amazon and now they are sold out. This decanter is very similar to the one I used
- Armour Etch– You can pick this stuff up at any craft store or go the easy way and order it off Amazon. I’ve had the same bottle for years
- Adhesive Vinyl– I buy this stuff in big rolls off Amazon
- Transfer Paper– I use this Frisco brand transfer paper because its cheaper and works just as good as the Cricut brand
- Weeding Tool– If you don’t already have one
- Cricut– of course you need the machine to cut out your image
- Optional:
- Hair Dryer– this helps secure the vinyl down on the glass more
- Something to press down on your vinyl and to apply your etch cream. But your finger works just as well
- Gloves– I like to use gloves when handling the etching cream
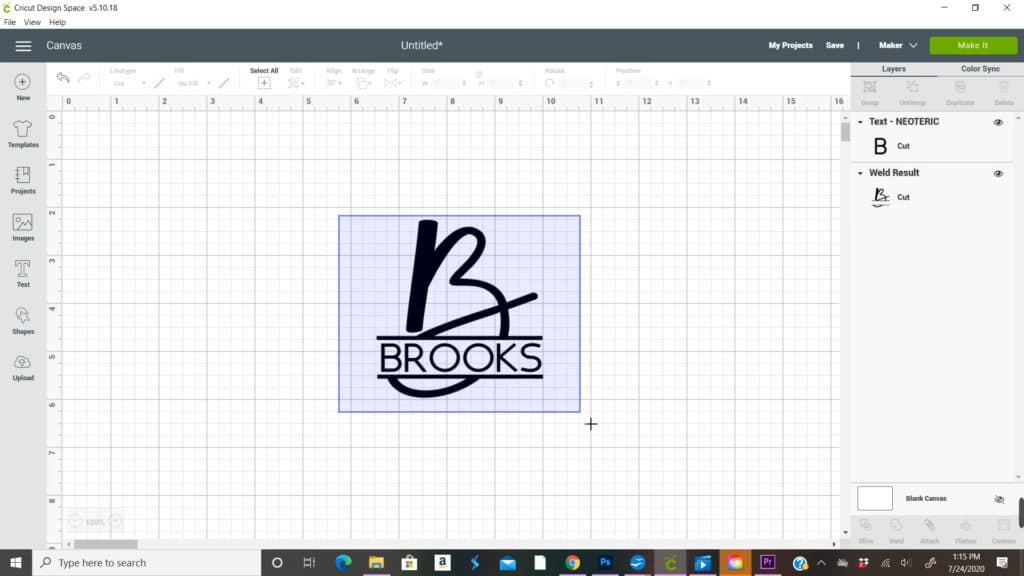
Making the Vinyl Design
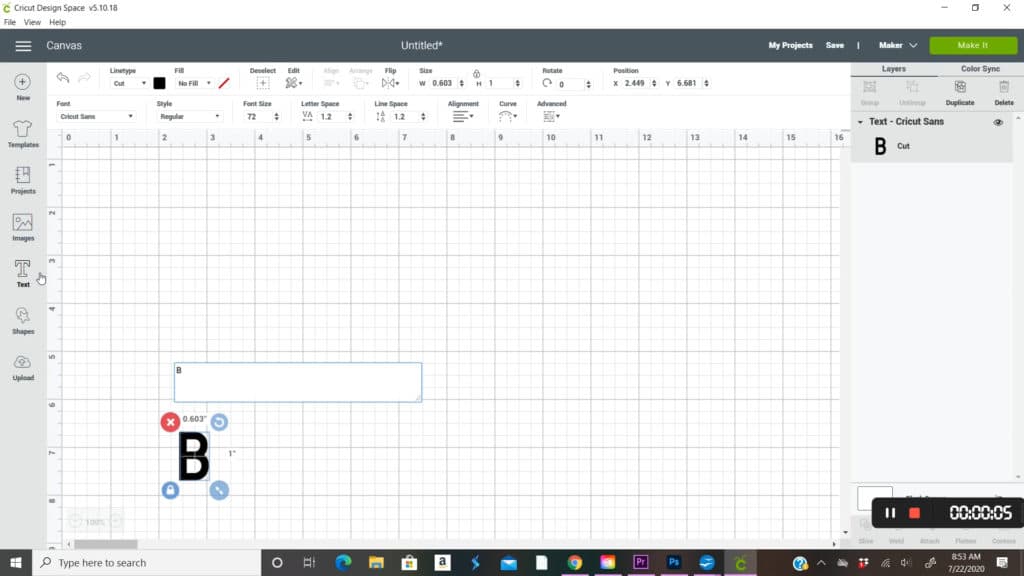
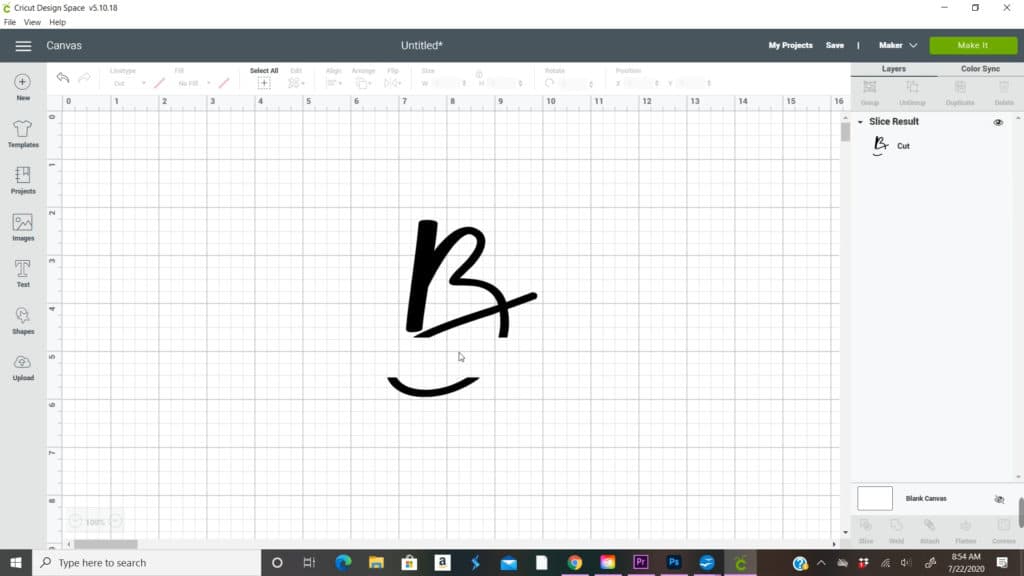
Start by opening a text box and typing the capable letter of the last name you are doing for this project.
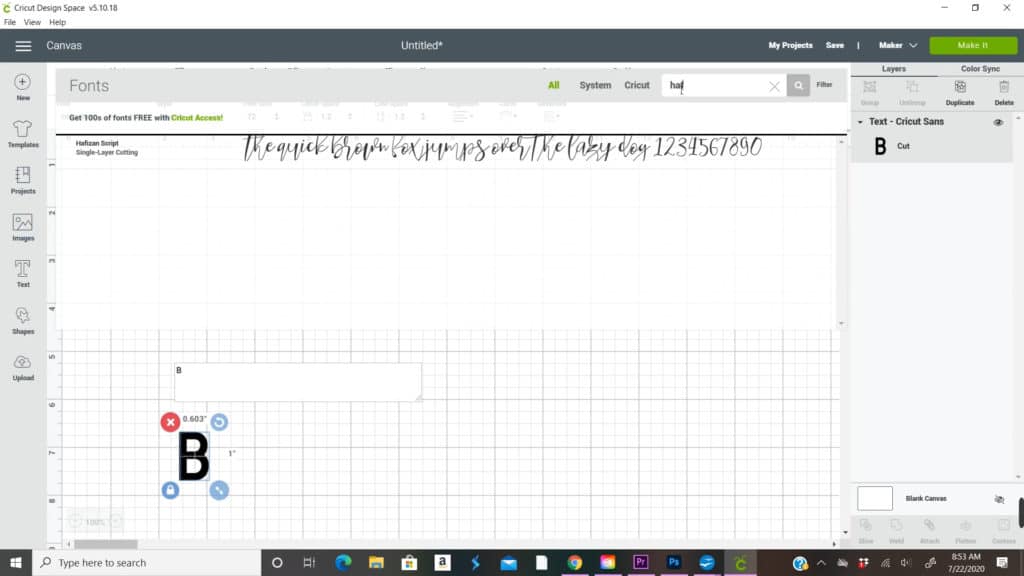
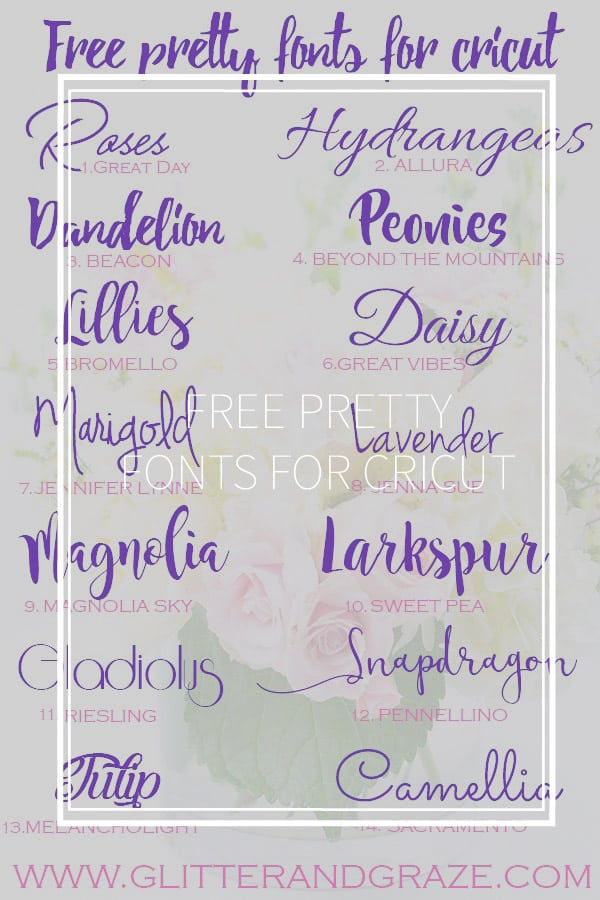
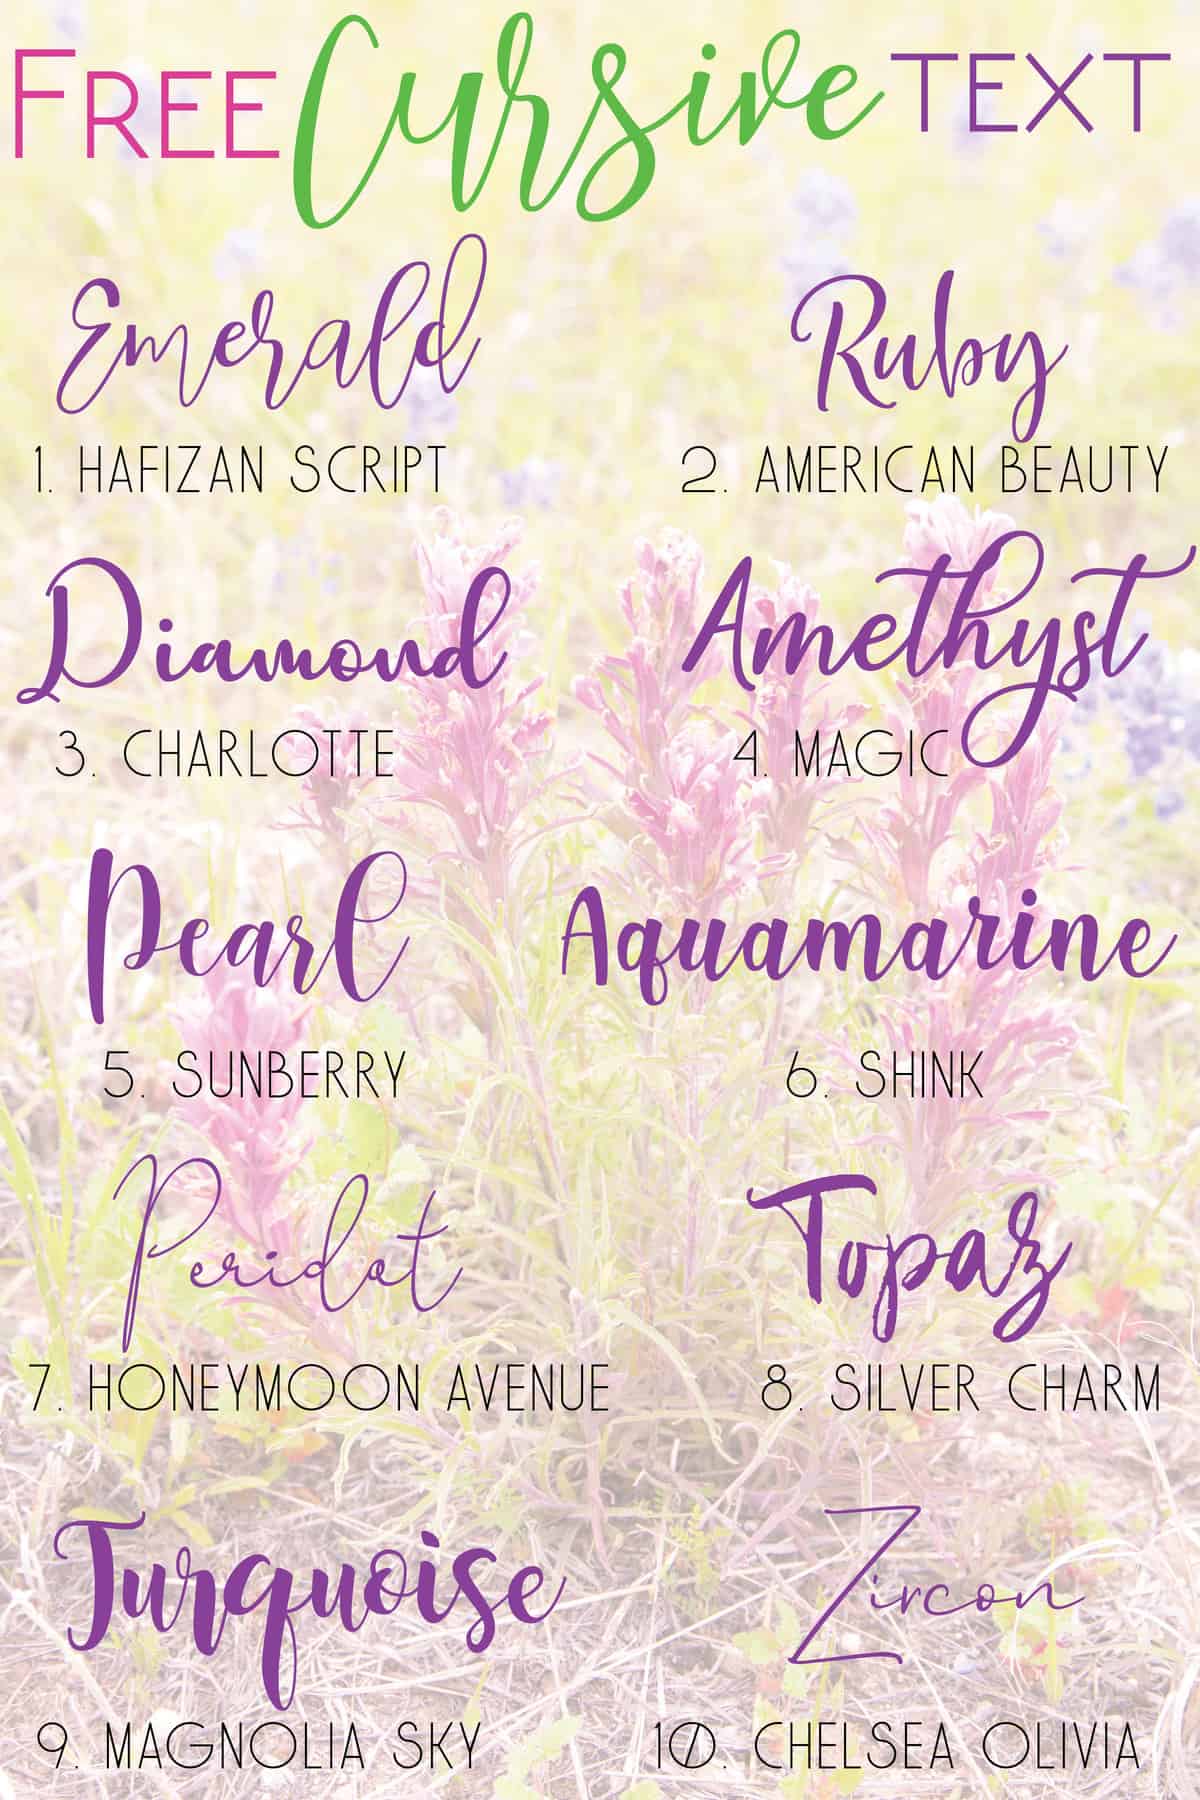
Choose the font you want to use for this letter. One of my all time favorite fonts is Hafizan Script font from dafont.com. If you don’t know how to download fonts for design space check out this post or video below, Free Fonts with Cricut
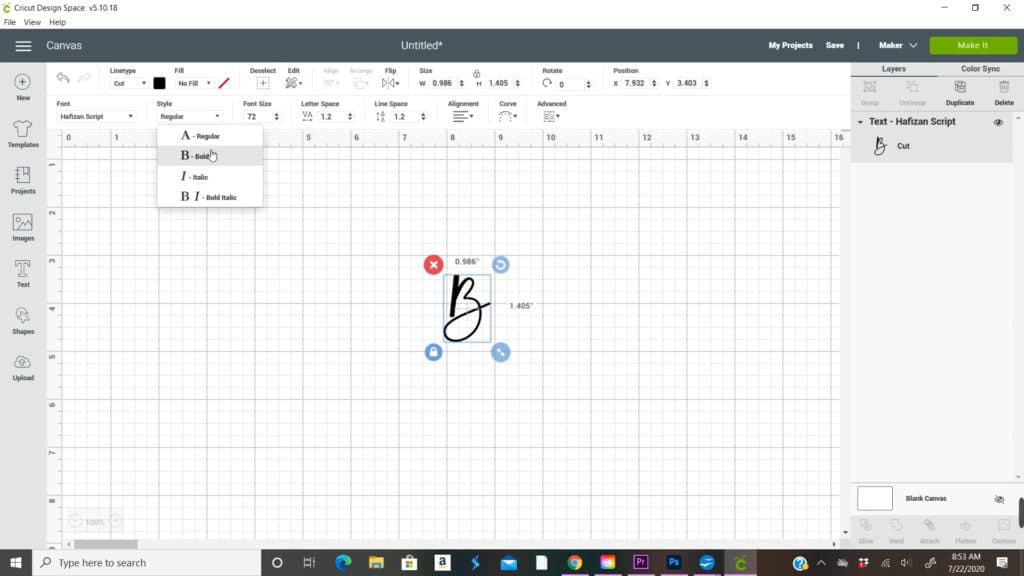
I like to make the letter bold so it gives you more area to etch
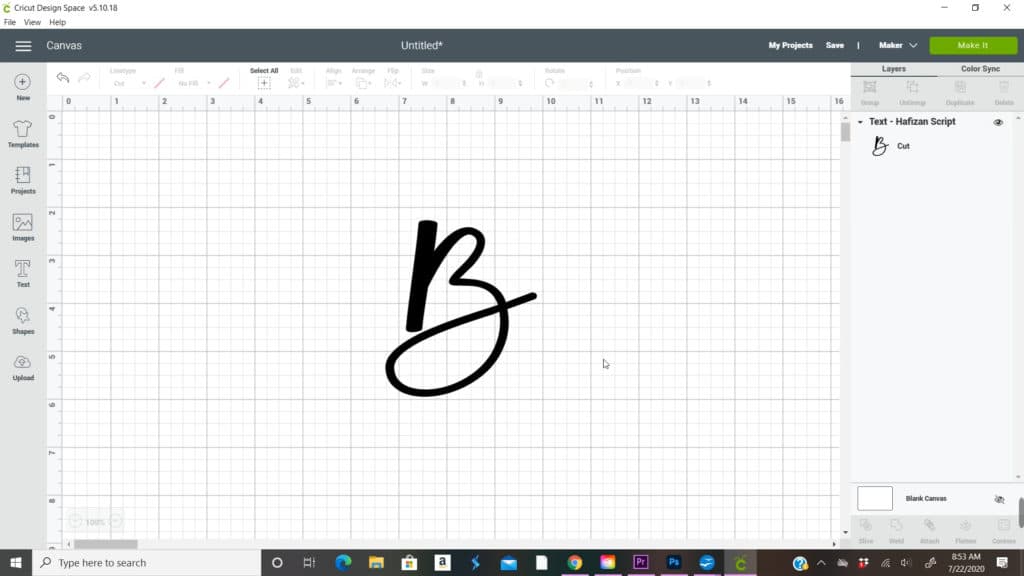
Next resize your letter to the size you need for your project or I size easier to edit with. You can always resize the final image at the end
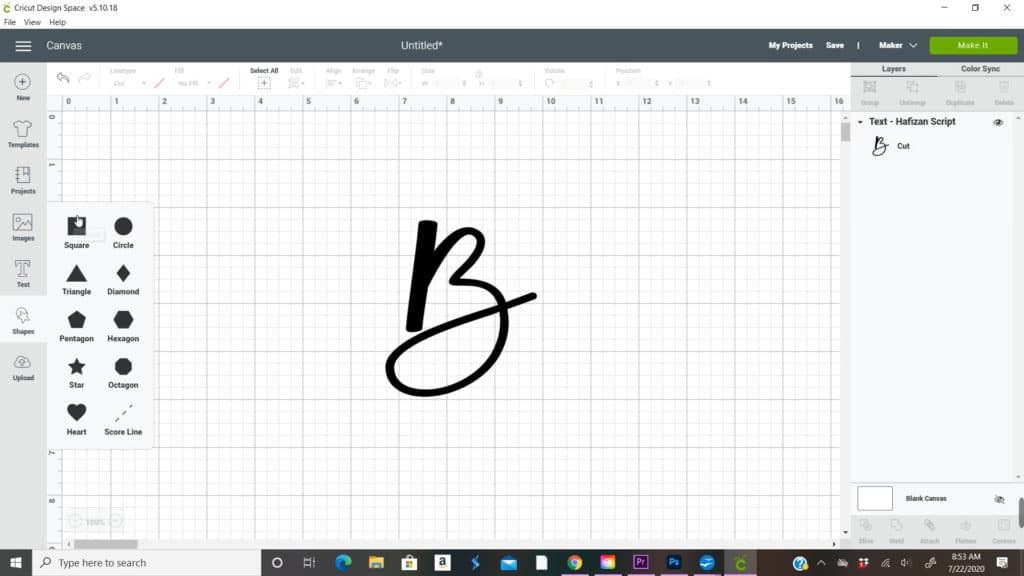
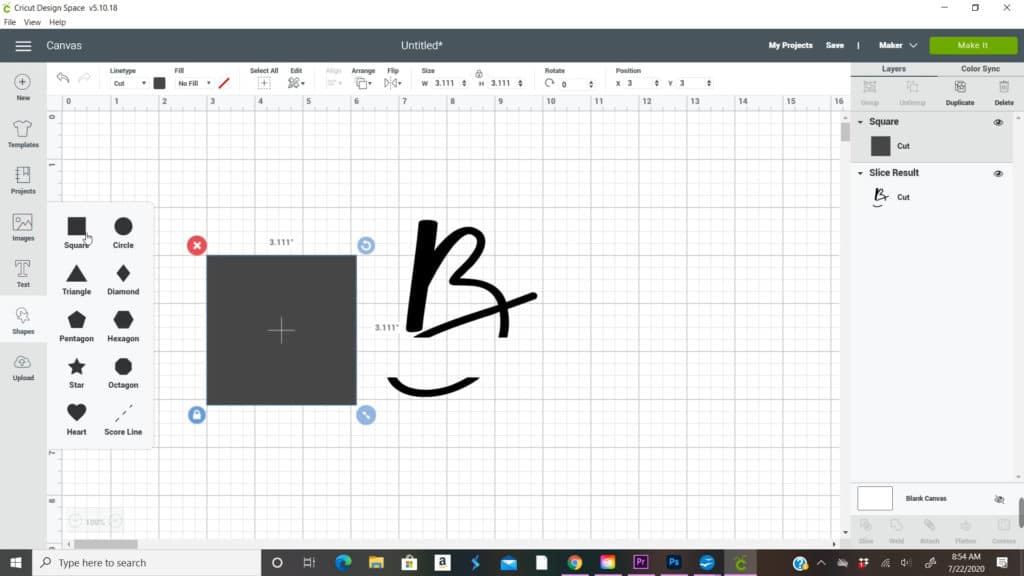
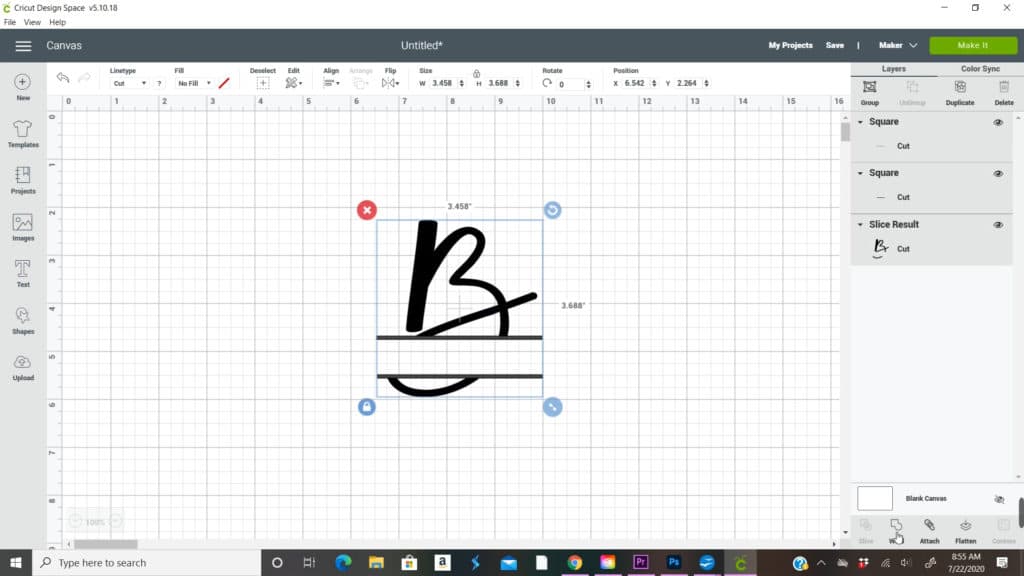
Chose a sqaure box under shapes on the left side of the screen
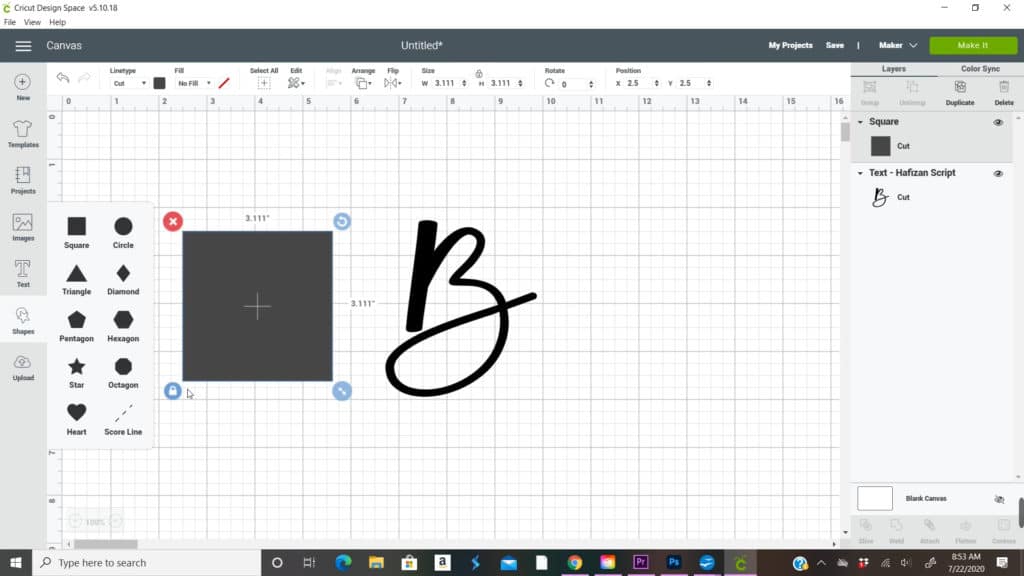
Click on the lock button to unlock the sizing of the square
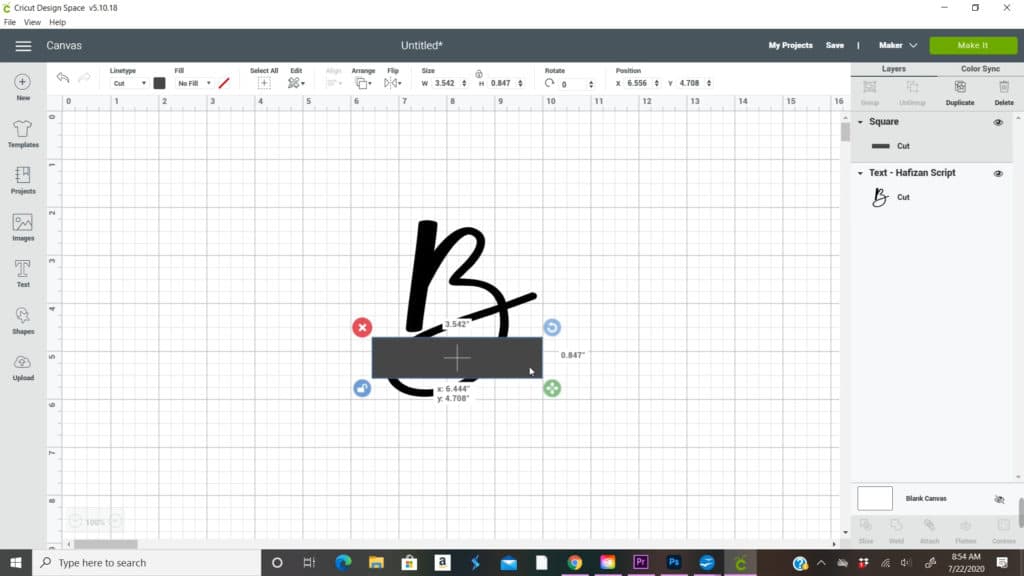
And resize it to an area where you are going to put the full last name. Each letter is different so where you put the square box for the last name is up to you. I like to put it towards the bottom of the b so you can still make out the B shape
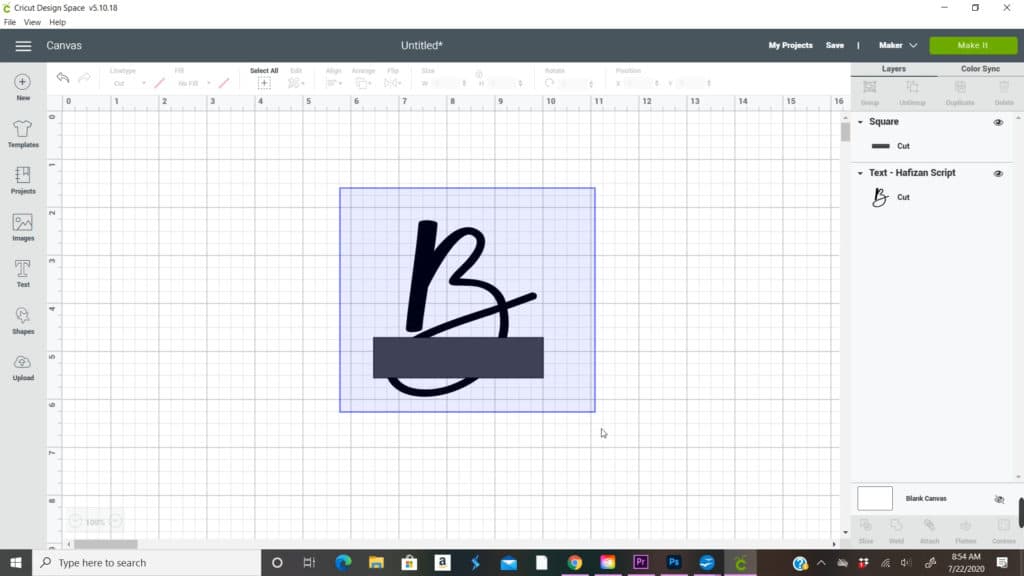
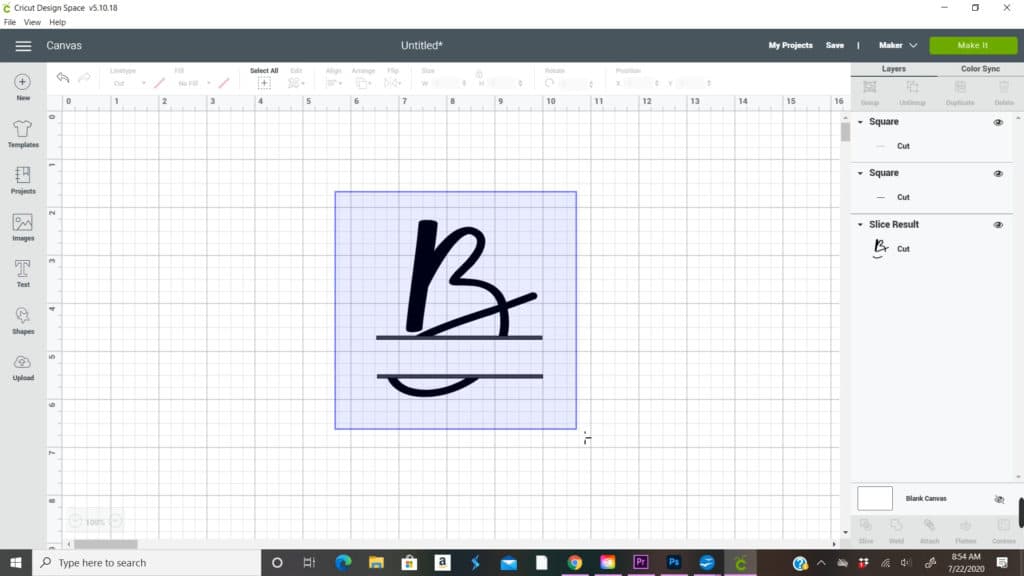
Highlight everything by holding down the mouse botton and dragging
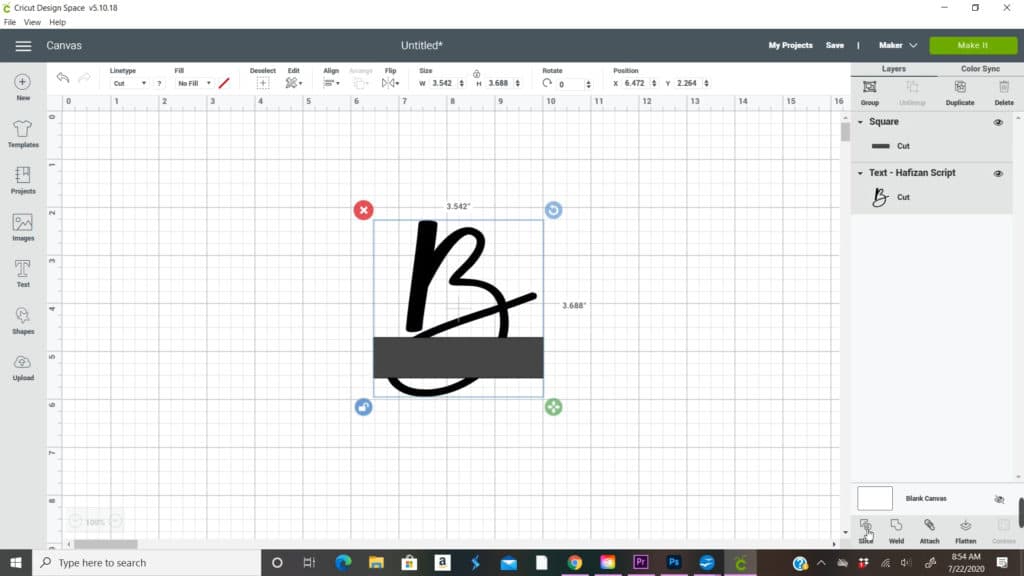
Then go click the slice button at the botton right
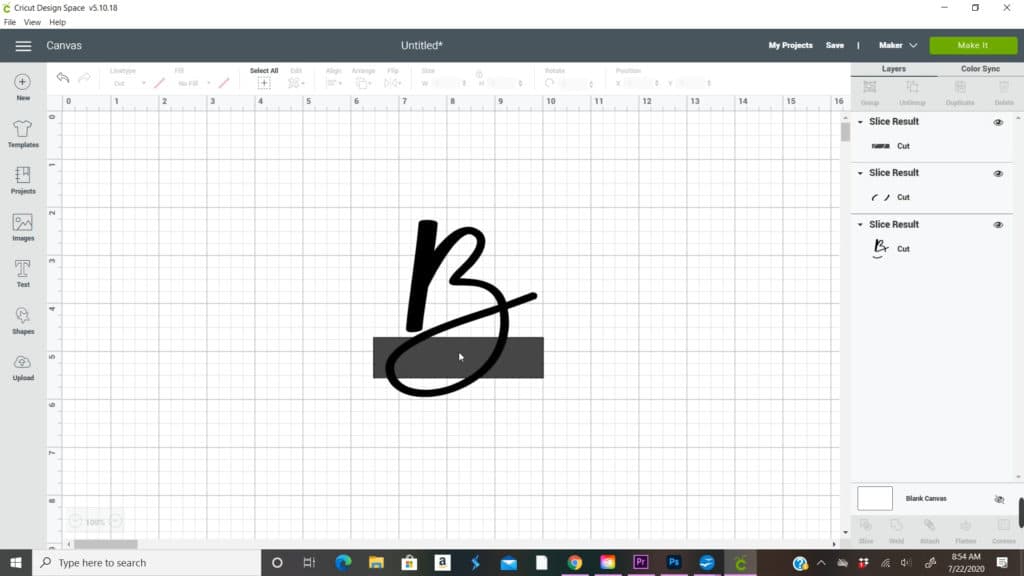
Then start clicking on the area of the now rectangle and start deleting them. There will be 3 layer you need to delete
After all deleted it should look like this
Now make another square box
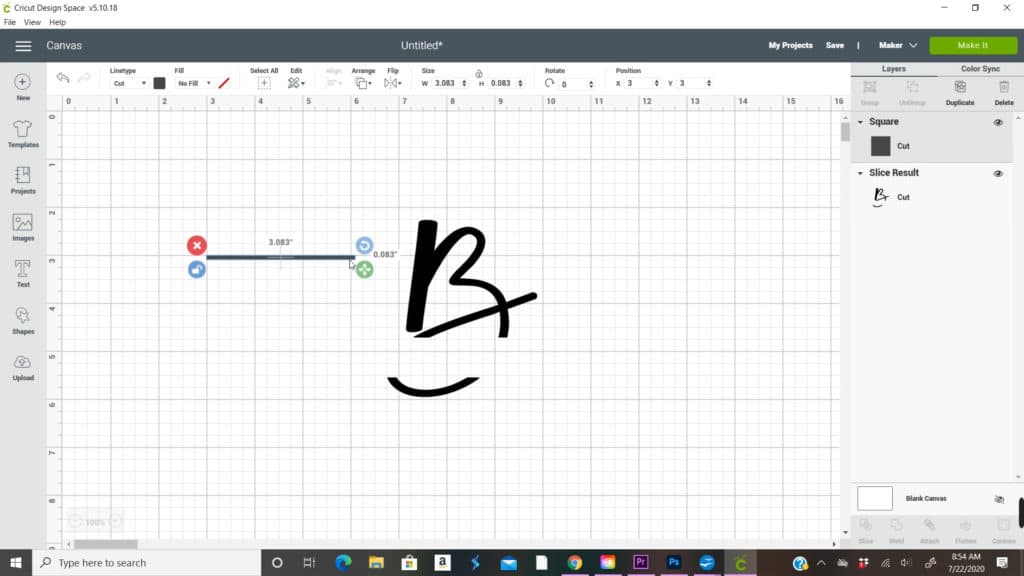
Click the lock botton to unlock it and size it to a thin line
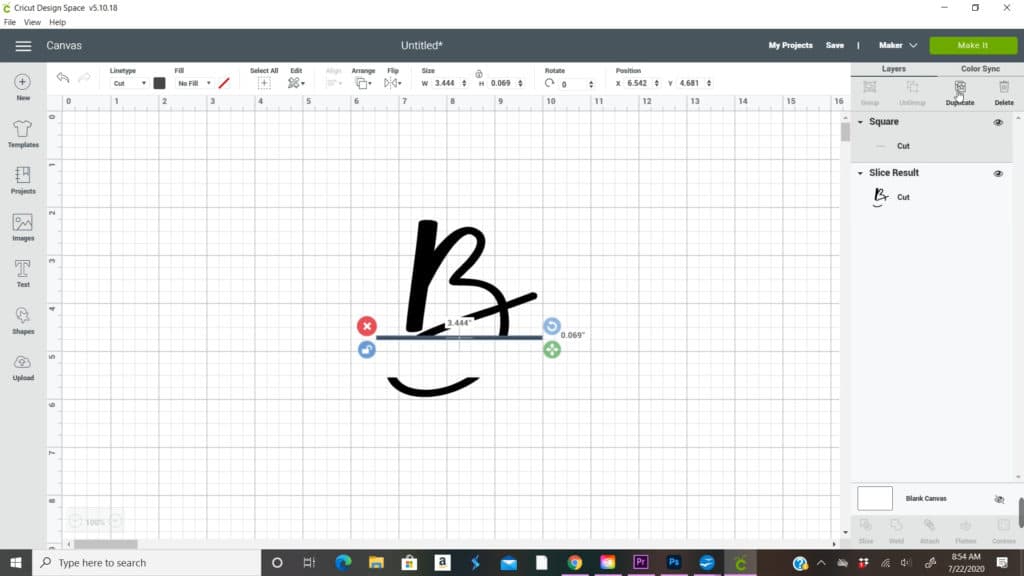
Line it up and size it according to your letter and the empty space
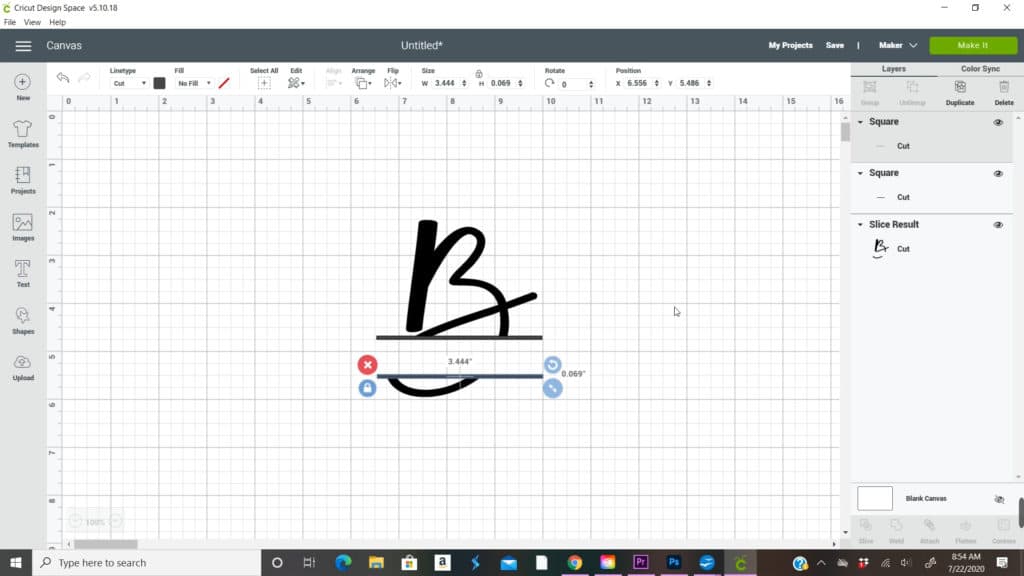
Once you have the lined sized and lined up where you like duplicate it which is on the right upper part of the screen
Now highlight everything
And lick on the weld button on the bottom right side of the screen
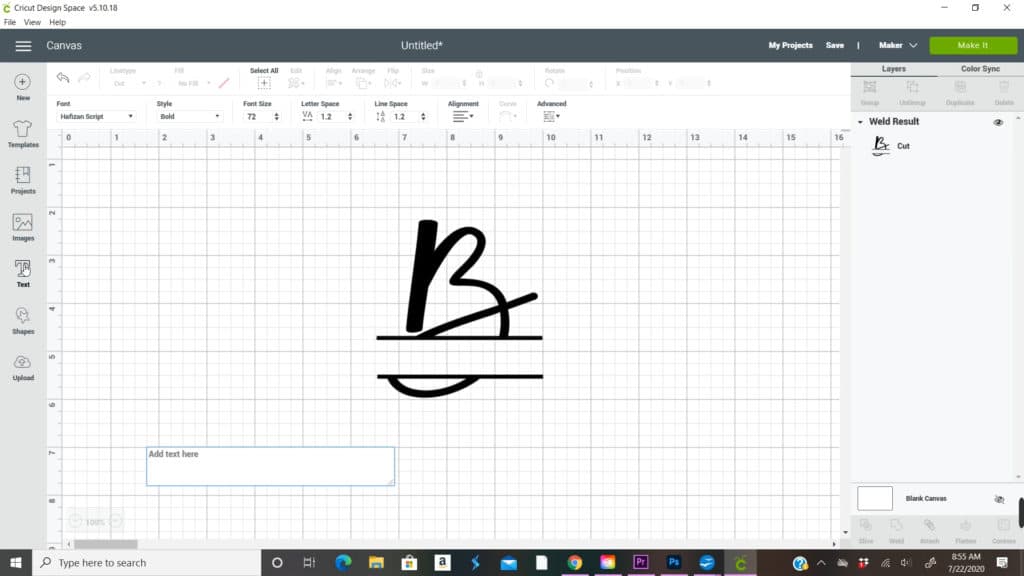
Then create a new text box
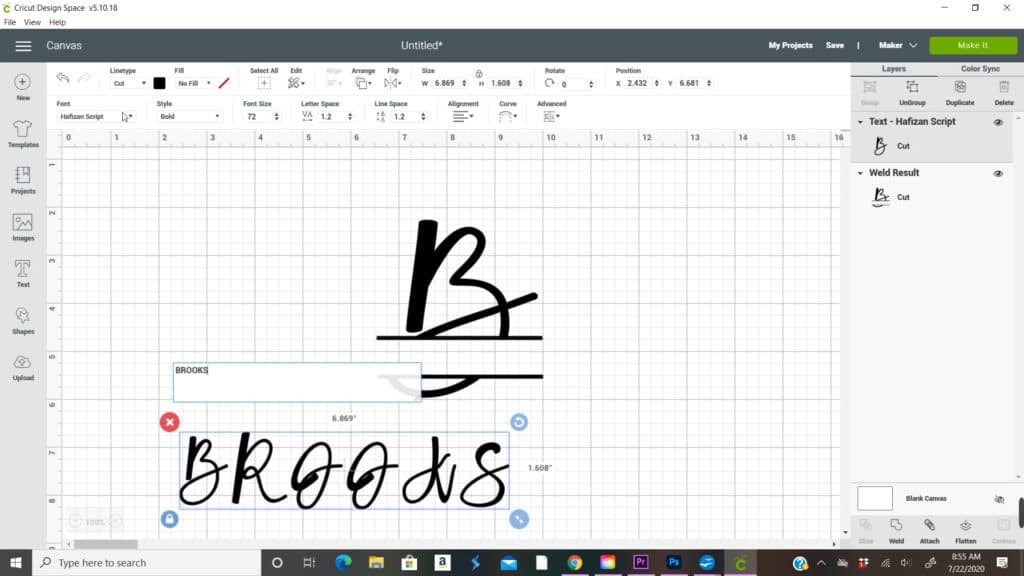
Type out the last name you are doing for this project
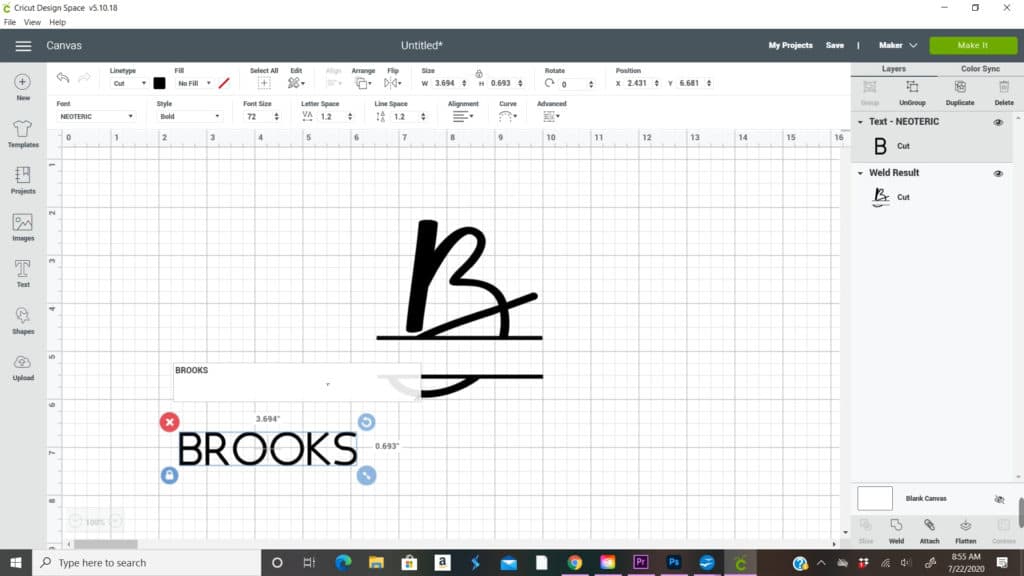
Go and change the font to what font you want to use. This one is Neoteric
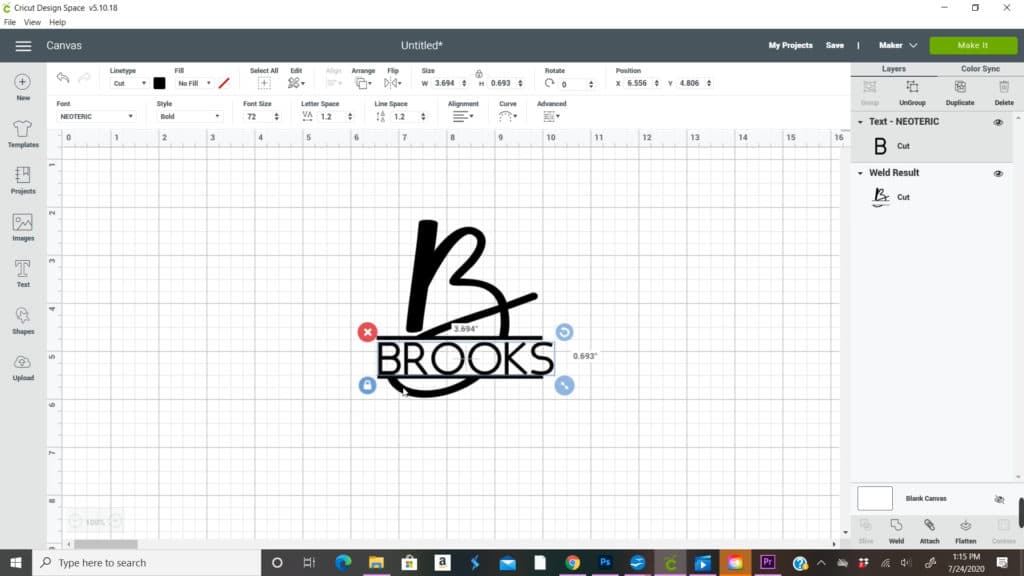
Move the name to fit in the blank space of the letter
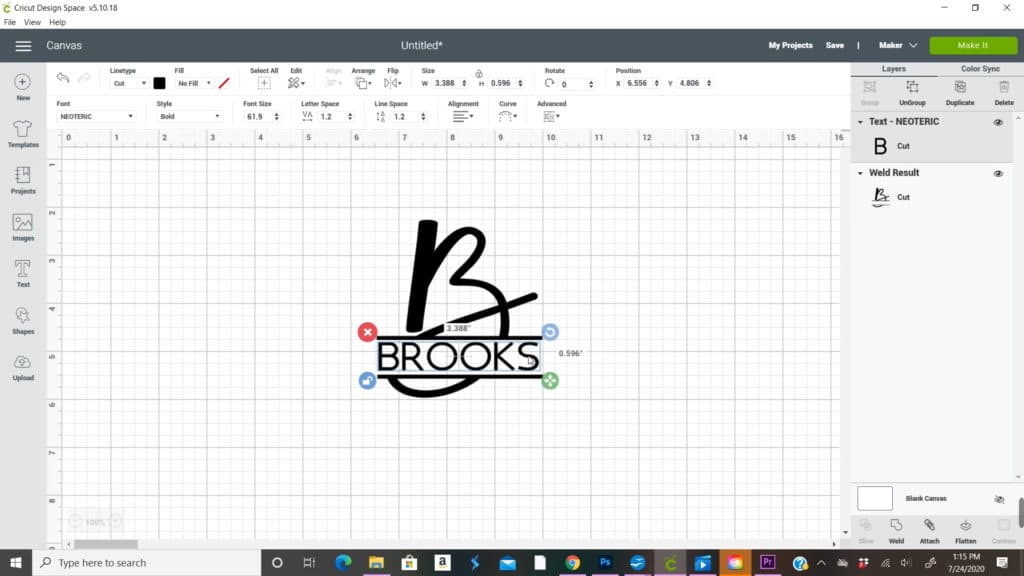
Click the lock button to unlock and resize it to fit in the area and to give you enough space in between the lines and the name
Highlight everything and weld them together
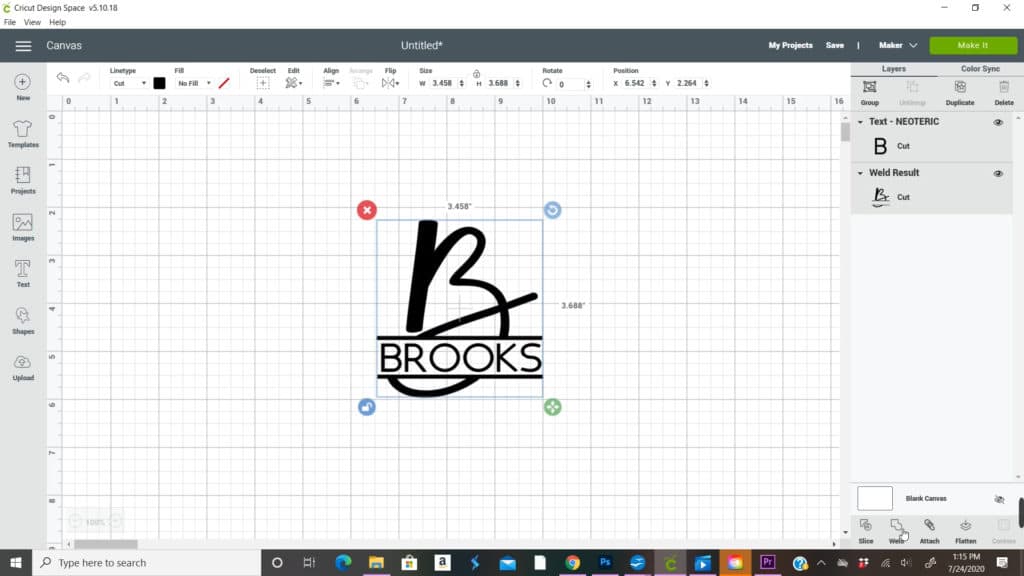
If you need to resize it to fit your project you can do so now. Then just click make it and cut it on adhesive vinyl.
Take your cut piece of vinyl and weed out the letters and the two square lines you added
Now take a piece of transfer paper and place it over top of your weeded vinyl
Use your fingers or a flatten tool to rub down the transfer paper to the vinyl
Now peel the transfer paper back making sure all pieces of the vinyl come off with it
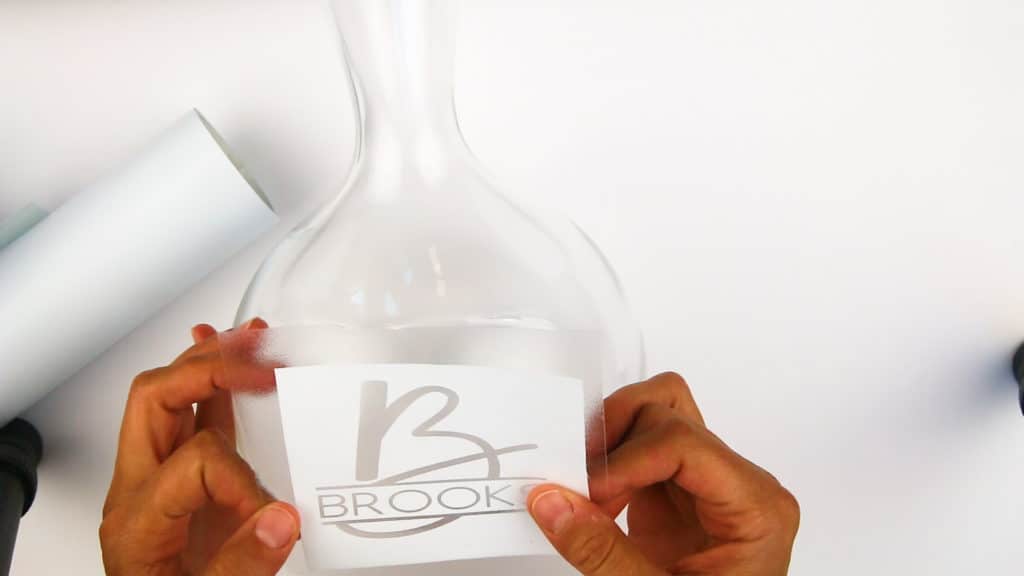
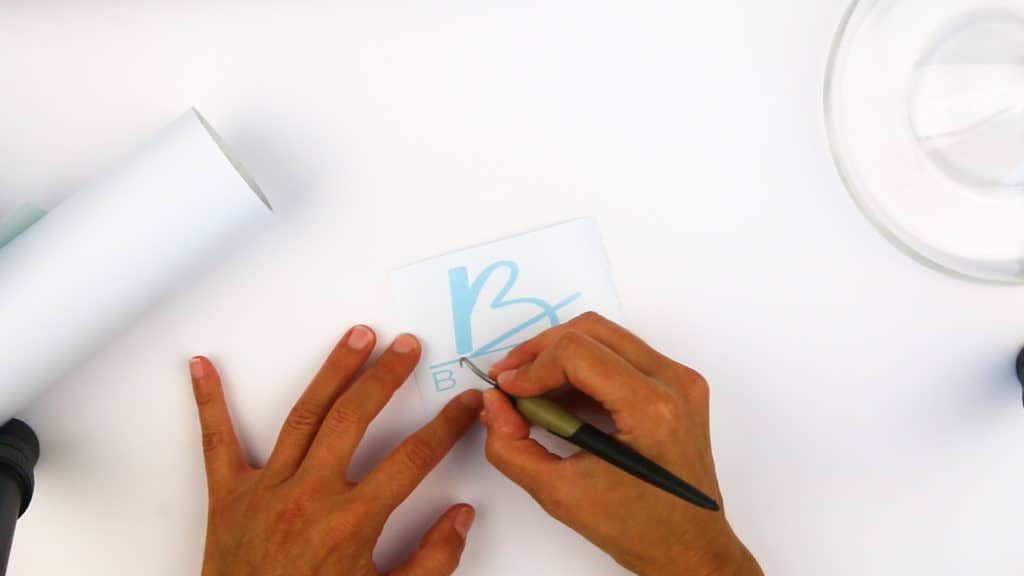
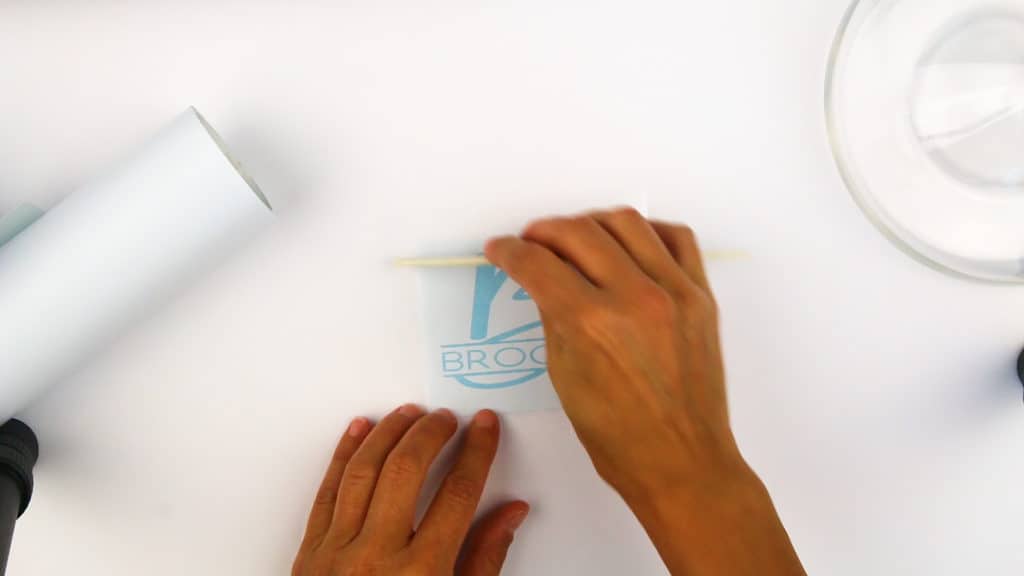
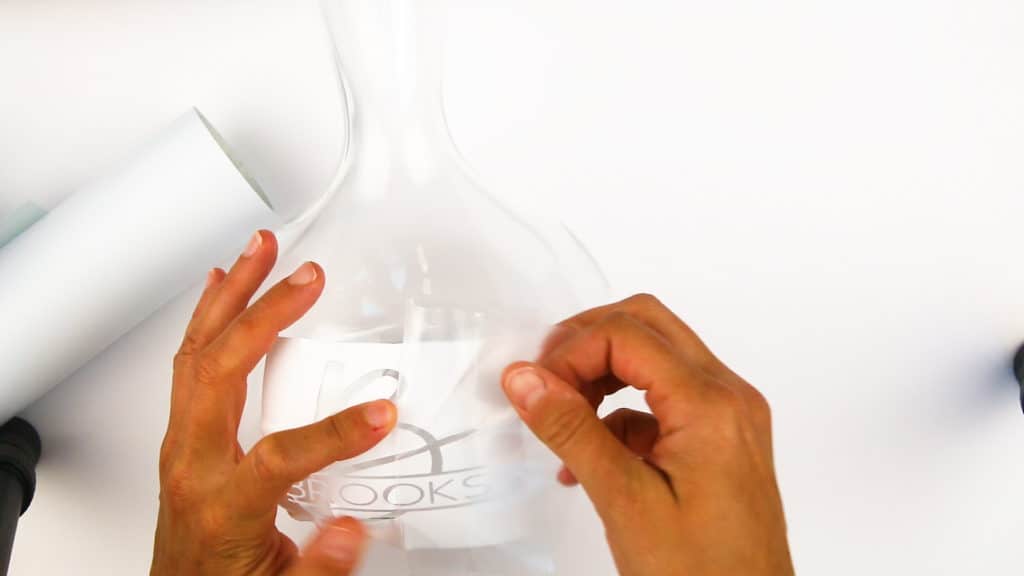
Take your wine decanter and center your vinyl on it
Start rubbing down the vinyl to the wine decanter, which may be a little difficult in some spots because of the curviness of the decanter. You just need to get the majority to stick
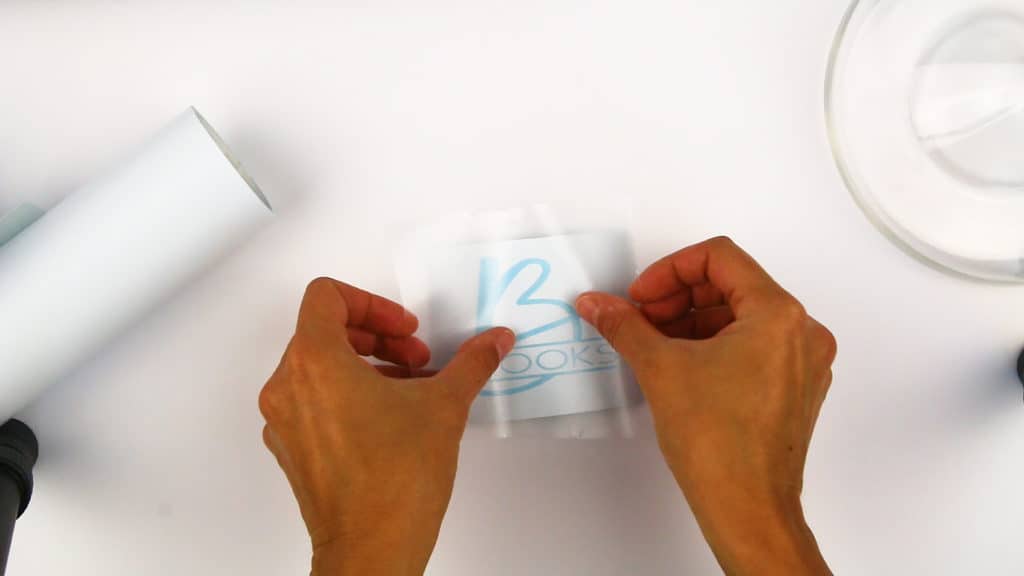
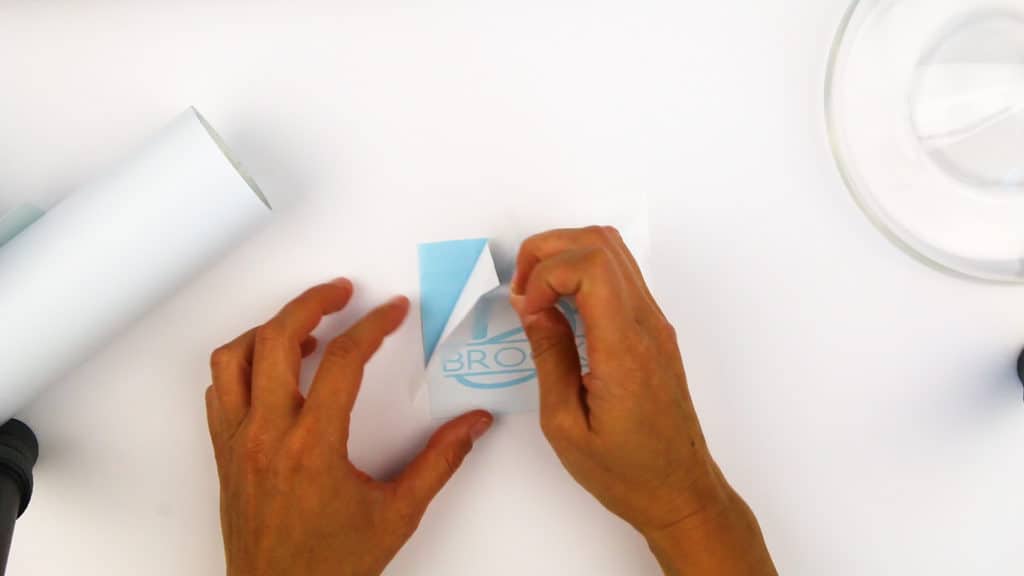
Start to peel off the transfer paper while leaving the vinyl on the glass. If so of the vinyl pulls up with it just rub it down as you peel the transfer paper
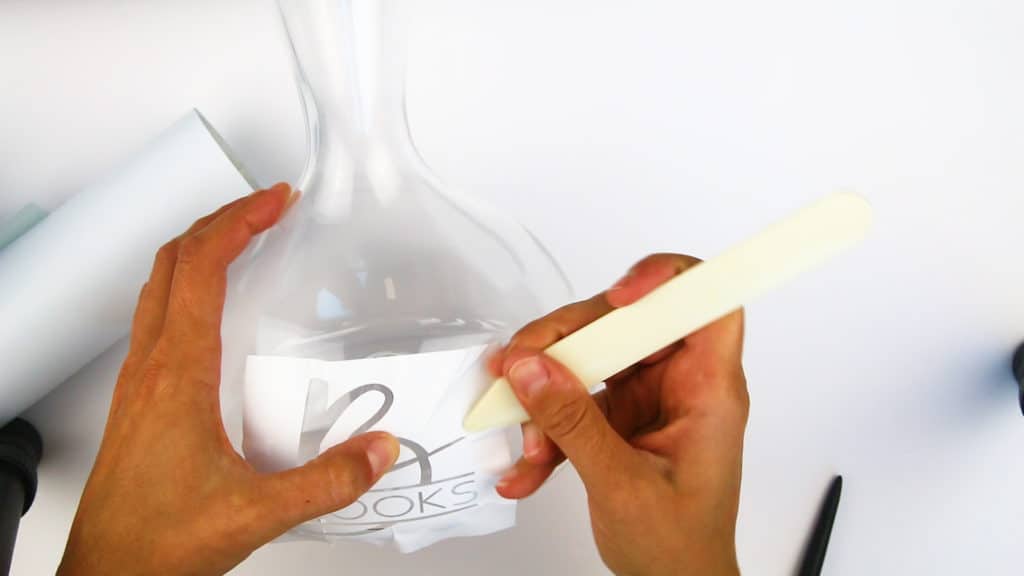
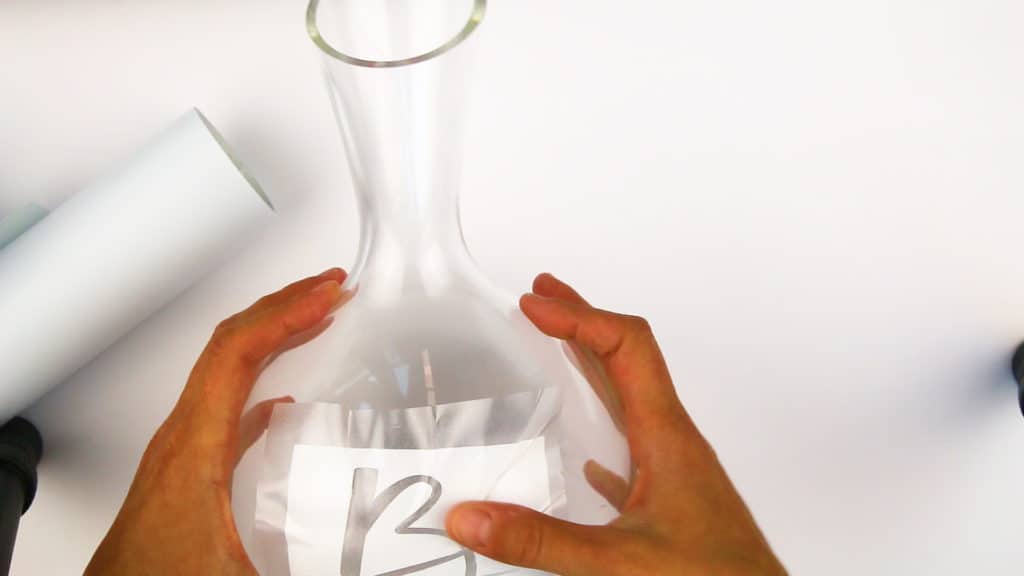
Now rub down any areas of the vinyl that aren’t completly stuck to the vinyl. You want to make sure there are no bubbles near where any etching cream is going to go
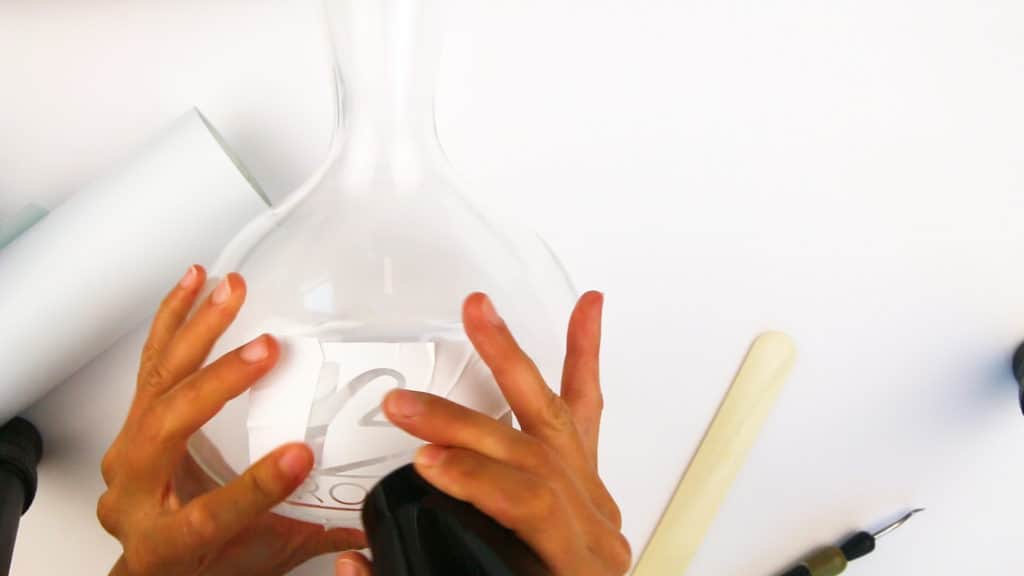
I like to use a hair dryer to make sure there are no bubbles and to really get the vinyl to stick
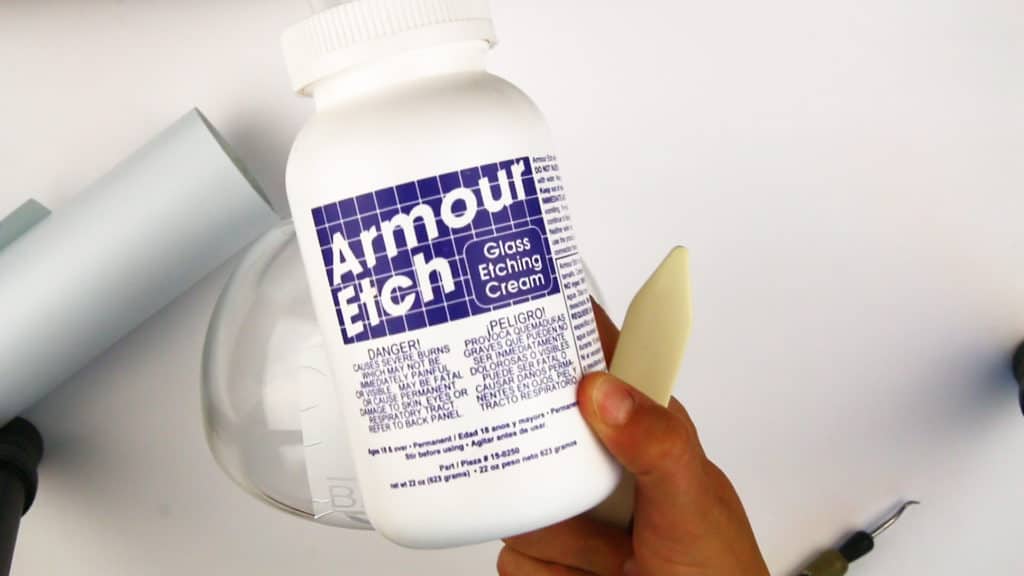
Now take your Armour Etch cream
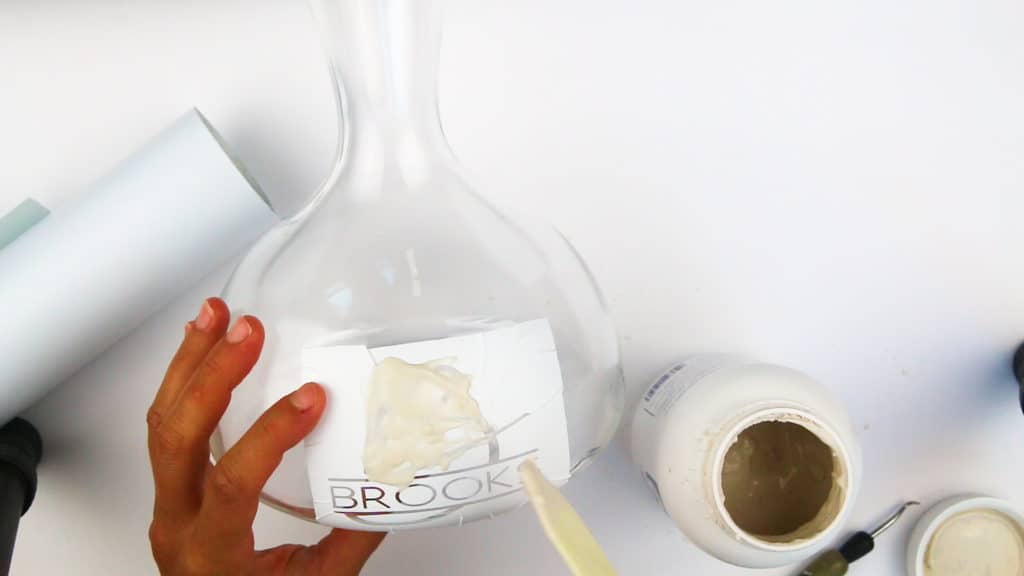
And start to apply it to the areas that need to be etched. Be very careful and not get it on any areas you don’t want etched. I use this plastic tool to apply the cream. You could use a Popsicle stick or even your fingers if wearing gloves.
It’s helpful to keep a wet paper towel handy so you can quickly wipe off any cream that got on an area you don’t want etched. This stuff starts to work fast so you have to be quick with removing it from any area you don’t want etched
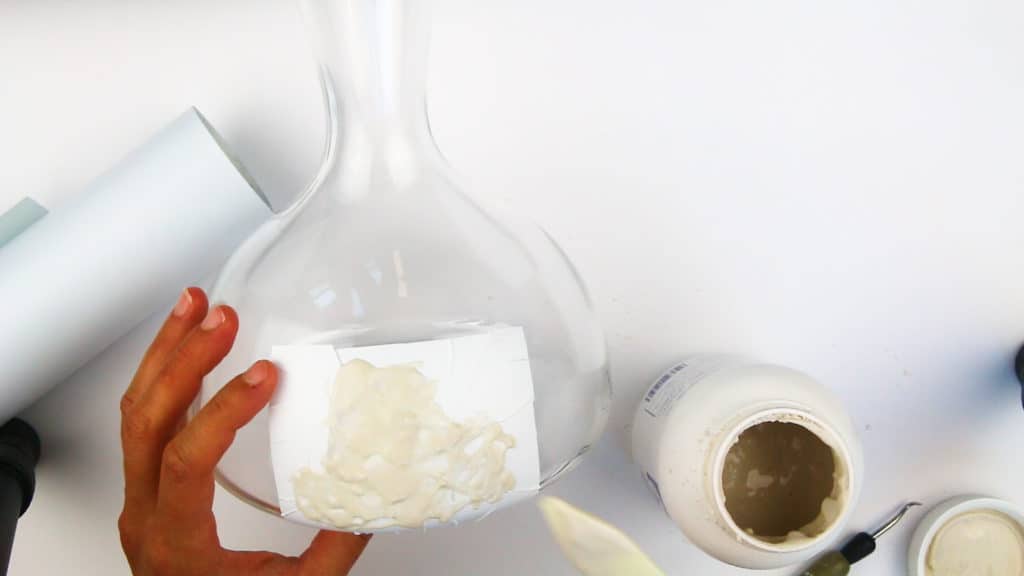
Once you have the cream on all over where you want etched (just needs a thin layer) Let it sit for about 20 minutes
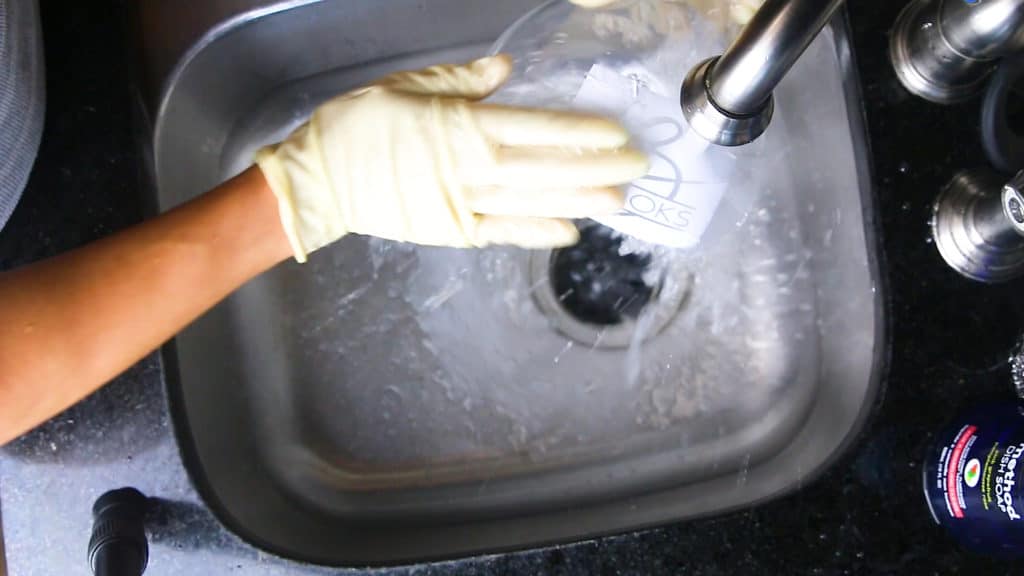
Go to your sink (I use gloves) and turn on the warm water and take some soap in your hand and rub off as fast as you can. Repeat with soap and water until all the cream is gone.
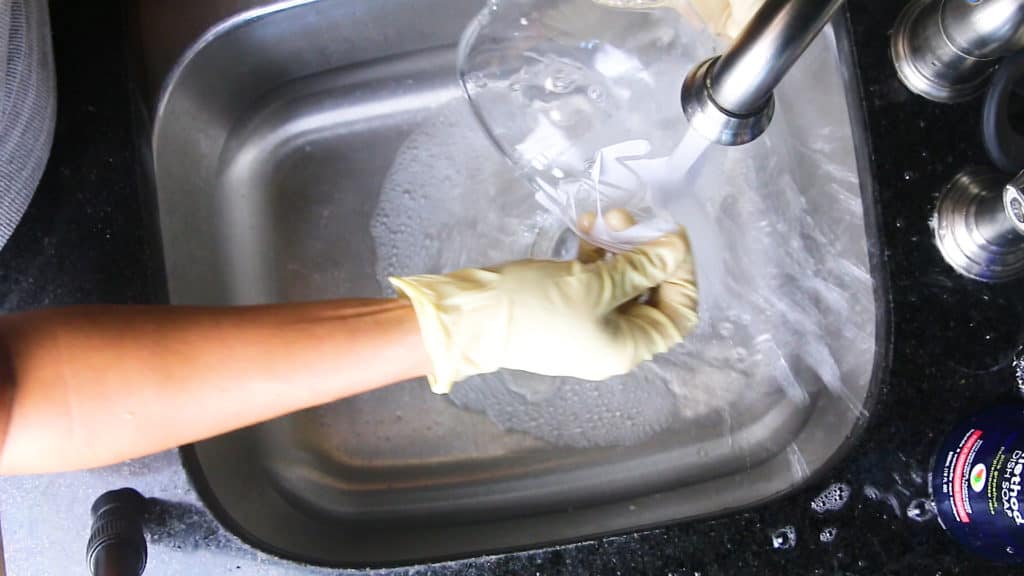
Start to remove the vinyl from the decanter and then give it one more soap bath and you are done.
Tips and Tricks for Cricut Etched Wine Decanter:
- Be sure and clean your wine decanter first before applying vinyl. You can use soap and water or rubbing alcohol. Let completely dry before applying vinyl
- Make sure there are no bubbles in the vinyl near the parts you want etched so it doesn’t seep in
- You can use a hair dryer to really get the vinyl to stick to the glass and to get out any bubbles
- Do not get any etch cream where you don’t want etch or that is covered with vinyl. Accidents happen. I suggest having a wet paper towel handy and quickly remove etch cream if it gets on an area you don’t want etch
- I personally wear gloves when having to physically touch the etch cream. I see it as if it does this to glass in a matter of minutes I rather it not touch my skin
- You only need a thin layer of etching cream. Doesn’t matter if you put a thick layer it’s not going to etch it anymore as with a thin layer
- 20 minutes is just my go to amount of time to leave the cream. It actually etches it a lot faster, but at 20 minutes I know for sure it has etched all it’s going to etch
- If you like to save money you can scrap off the etch cream and put it back in the bottle and use it again
- When removing the etching cream vigorously wash it with soap and water removing the cream as fast as possible I have found is the quickest, easiest way to get the job done.
Want Other Cricut Projects?
Cricut Personalized Slate Coasters
Cricut DIY Doormat
Etched Slate Cheseboard
Monogramming with Cricut
Or check out all my Cricut posts to help you with all those Cricut projects